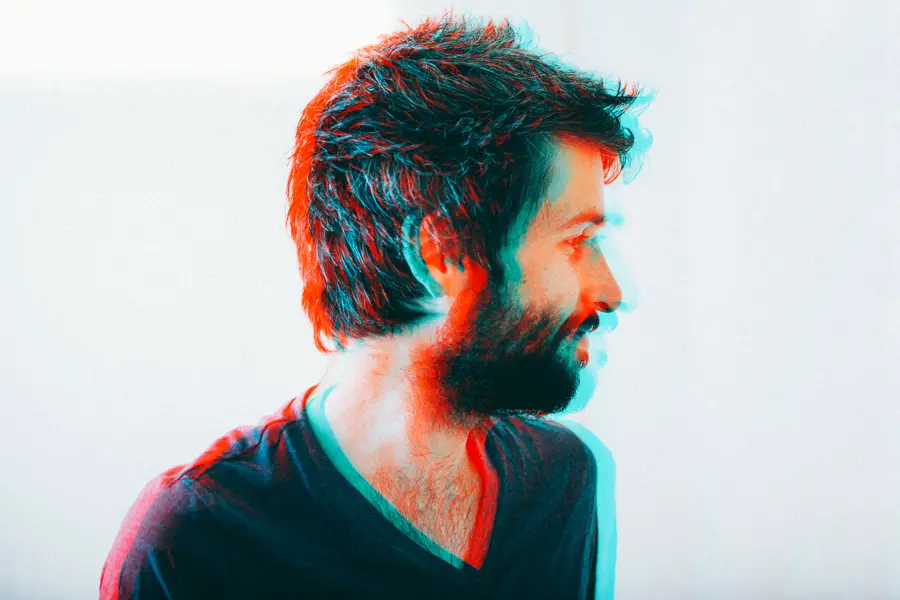
Recently I was stuck on hold with a major airline here in Australia and remember seeing a cool 3D inspired portrait that was used for a commercial advertising campaign in Melbourne. It got me tempted to have a go at trying to deconstruct the concept and put something together myself to kill the time. I must profess that I’m actually quite ordinary in Photoshop but it turns out it was a lot easier than I thought and I’d love to share how it was done even if the final image is a little gimmicky.
My attempt at a 3D inspired edit
Creating a 3D Effect to your Photography Portraits

For this tutorial you will need a copy of Adobe Photoshop, unfortunately it’s not possible in Lightroom however you may be able to do it with other editing programs similar to Photoshop like Gimp and others.
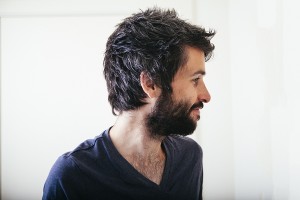
Start by opening your base image into Photoshop that you will be adding the effect to. I originally tried a photograph taken front on but found that the additional layers you create as part of the effect creates some issues (we’ll get to that in a minute).
Once the image is open in Photoshop we then go about creating two duplicate layers for the image. We’re doing this to remove the green and red channels of the image at a later point. But just in case you haven’t duplicated a background layer before, right click and select duplicate layer like so. Make sure you do this twice so we have two images to remove the green and red channels from.

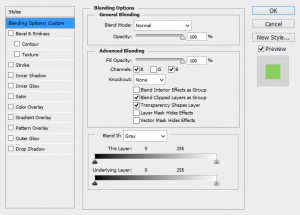
You should now have two duplicate layers which means we are almost there. From here select blending options from either layer and untick the G (greens) from advanced blending. We now repeat this with the other layer created but this time keep the G selected and untick the R (reds) like so. This will leave you with two duplicate layers where one has the greens disabled and another with the reds disabled.
Once you have done this we’re pretty much done. Select one of the layers and while holding the shift key drag the layer left or right. You will notice the effect start to occur. Repeat this with the other layer (once again holding the shift key to ensure the images remain aligned) and that’s pretty much it. You should now have something that loosely resembles what I put together at the start of the post.
As mentioned at the start, I’m no genius at Photoshop and don’t doubt that there are other ways in achieving this look. This worked for me at the time but I’d be interested in how others might do this.
Please have a look at the YouTube clip below which I quickly put together demonstrating how to do the effect even with an added cheesy webcam clip in the corner! I’m definitely no Aaron Nace from the awe inspiring Phlearn 😉
Hope this was of assistance 🙂
– Alex
