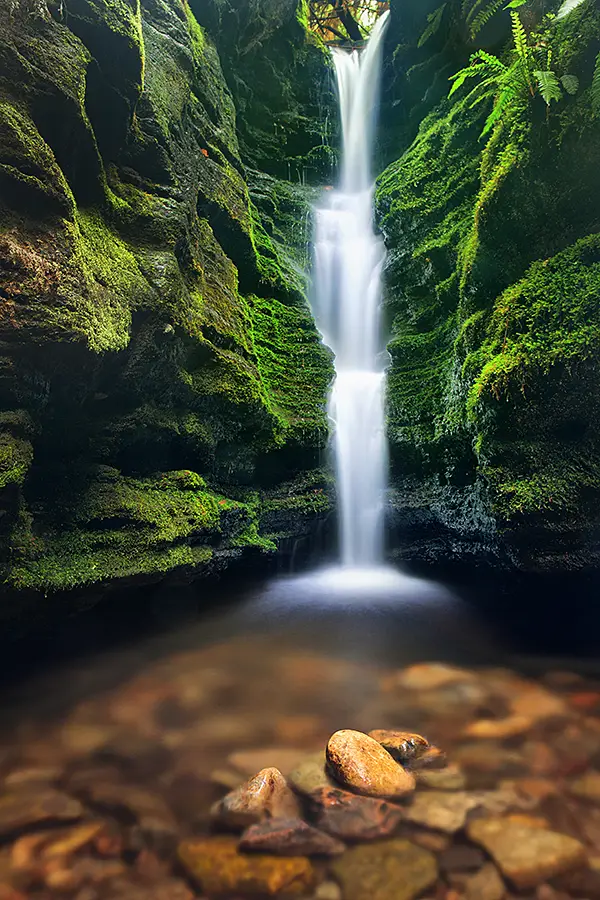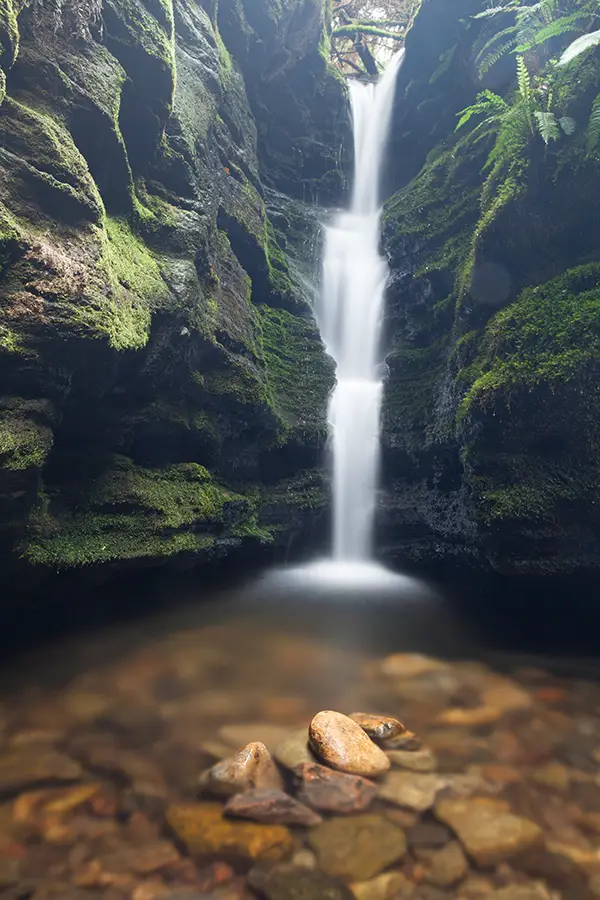

Secret Falls has been on my to photo list for some time after visiting it a few years ago with a friend when bushwalking through the area sans camera. It’s a beautiful little waterfall that does live up to its name even if the location isn’t really quite a secret if the amount of people photographing it is anything to go by…
The location of Secret Falls is a ‘secret’ and probably best not published here but I’m happy to disclose if you drop me an email.
[twentytwenty]
[/twentytwenty]
Taking the photograph
Based on the popularity and small size of the waterfall it made things especially difficult to get a unique take on the waterfall. Something as photographers, we are forever striving for, to get our own unique capture of a scene. With this in mind, I decided to get a bit wet and assemble some rocks in the middle of the foreground with the intention of capturing a long exposure that would blur the water as it passed the rocks. Are moving rocks around in a scene to create a composition cheating and take away the authenticity of a scene? I’d argue no but would be interested to hear if others feel otherwise.
With the scene setup, I set up my gear (Canon 5D Mark II, Canon 24-70, Hoya circular polariser and manfrotto tripod) and began taking some test shots of the scene. It’s interesting, a friend and I were having a discussion recently about focus stacking and the notion of using multiple photographs at varying focus levels to maximize the sharpness of an image. I laughed it off and said it would be rare for me to ever need to do this but what do you know, a week later, I was putting the theory into practice swallowing my naysaying words and using the technique for this shot. The reason I opted to focus stack this image was the difficulty in having both the foreground and background rocks sharp. Generally, shooting wide with an ultra wide angle lens and high depth of field (f/11 onwards) it’s rare to run into this issue but by using the 24-70 which isn’t quite as wide my normal go to lens, the Canon 17-40, it was difficult to get the whole scene in focus.
Focus Stacking
Focus stacking works under the same principal as exposure blending in which your camera is set up on a tripod and you take various exposures or in this case, different focus levels which is then selectively combined into the final image. For this image of Secret Falls, I took a reading in aperture priority mode and got a reading at f/13. This gave me an exposure time of 25 seconds. I changed the camera to manual mode and dialed in f/13 and 25 seconds. The reason for changing to manual mode is to avoid any variation in exposure that aperture priority may have introduced. With the camera set in manual mode, I focused the image on the foreground rocks and then took another image with the focus selected on the background. This left me with two images that I would then need to blend in Photoshop.
Processing the Images
Getting the photo as right as much as you can when taking the photo makes post processing the image far more easier. By using a circular polariser when capturing the photos, this increased the saturation slightly, reduced glare on the water and allowed me to get a longer exposure time. With the two images captured loaded in Photoshop (one with the background in focus and another of the rock in focus) I loaded both images into Photoshop and made the following changes.
- Focus stacking – As mentioned above, two images were taken for the purpose of focus stacking, one for the rock in the foreground and another for the foliage in the background. Using layer blending, I used the background (foliage focus) image as my primary image and then introduced the second frame (focus of the rock) into the shot through layer masks
- Curves layers – Using a combination of curves and layer masks has become my go to for selective colour grading and brightness/contrast changes to an image. As an example from this image, I selected the green channel and bumped the shadows of the image to really bring out the green around the waterfall. This introduced a strong green colour cast to the whole image, which was mitigated through using layer masks and isolating the strong green to only being present in the foliage area around the waterfall. Similar changes to the image were made to the blue channel to bring out the blues of the waterfall and also to make selective dynamic range increases to the image
- Saturation and hue – When making changes to saturation, I rarely make changes to the saturation as a whole and prefer to make changes to individual colours for greater control over the image. For this image, I was particularly keen to play with the greens and reds saturation and hues until I got the desired effect I was after. The idea was to give the water a warmer feel around the rocks and give the greens a stronger hue
- Spot removal – Don’t laugh or cringe but I’ve become a sucker for the content aware tool that was introduced a few revisions ago in Photoshop. Selecting the area where a spot had got on my lens from the rain, I filled the area with the content aware tool and it worked a treat
- Resize and sharpen for web – Finally I resized the image to 900px/72 dpi at the longest edge and used the unsharpen mask (USM) tool to sharpen the image. Once again, I like to use layer masks when sharpening an image as it allows me to be selective in my sharpness adjustments to a scene. With some minor sharpness adjustments through layer masks the image was complete
Processing this image was fun. It’s always nice to put a new technique like focus stacking into play to see how it works and can benefit an image.
Where is Secret Falls?
Update – I’ve decided to add this section after receiving regular emails asking for the location of Secret Falls. When originally writing this article I was questioning whether to include the location of Secret Falls or not. For me, not disclosing the location had nothing to do with keeping the whereabouts of this small waterfall an enigma but more to do with the environmental impact which disclosing may create. For this reason, when accessing Secret Falls be mindful of the impact you have and follow an existing path rather than creating a new. Potentially this will ruffle feathers with some but this location has been known for years and should be shared for others to enjoy.

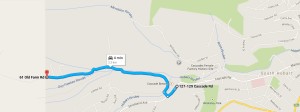
The location of Secret Falls is conveniently located near the CBD of Hobart just up from the Cascade Brewery. The location of Secret Falls is at the end of Old Farm Road which you enter via Cascade Road. The drive from Cascade Road to the end of Old Farm Road takes roughly 5 minutes and will eventually lead you to a carpark which I believe for memory is the Old Farm Fire Junction. Walk towards the Junction and you will have 3-4 bushwalks going in varying directions. When I first visited Secret Falls with a friend, we had no idea which path to take and walked most of them in the search of Secret Falls. It was quite tragic but was a nice afternoon out. So to avoid our mistakes, avoid taking the far left or far right tracks. These will not take you to Secret Falls.
The location of Secret Falls is along the Myrtle Gully Falls track and roughly 100m from the Myrtle Gully waterfall itself. Unfortunately it’s difficult to be specific on the exact location of Secret Falls as it is well hidden by undergrowth and deep gully however the best indication is to keep an eye out for a track that goes down the embankment created by bushwalkers/photographers when accessing the waterfall. If you’ve made it to Myrtle Gully Falls, you have gone too far and need to retrace your steps back a little. As said earlier in the post, please be respectful of the environment as you are making your way to the waterfall and follow the path that others have created rather than creating your own.
Thanks for reading and if you have any questions feel free to drop a comment or email as I’d be happy to help further.
– Alex


Great image! I think you hit the saturation and light just right. It looks like it was taken in the Mt Field area but I’m not sure.
Thanks Steve. This is actually not far from the Cascade Brewery on a walk just a few minutes drive from there 🙂
Hi Alex. Just want to say thanks for the direction to secret falls. I found it 🙂
Thanks for stopping by Herry! Hope you enjoyed – it’s a beautiful hidden gem 🙂