A quick tutorial using Adobe Photoshop CS5 on how to remove colour cast from filters or performing general colour grading. I hope this is implemented in Lightroom eventually as it’s the one thing that has me opening Photoshop.

A quick tutorial using Adobe Photoshop CS5 on how to remove colour cast from filters or performing general colour grading. I hope this is implemented in Lightroom eventually as it’s the one thing that has me opening Photoshop.

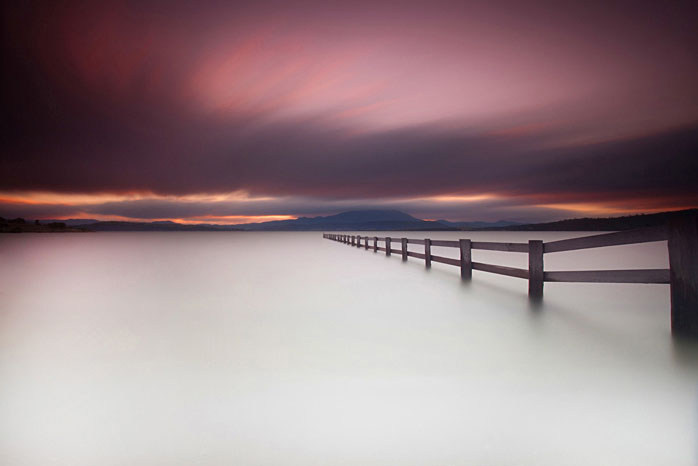
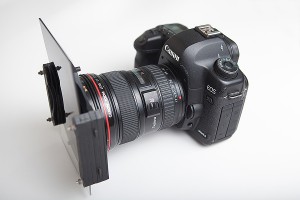
A small buying guide and photography tips to assist you in making the right purchases to photograph daytime long exposures. Using strong neutral density filters will allow you to shoot 1-5 minute exposures during the day depending on the conditions. If you’re bored with photography, neutral density filters are a great way to rejuvenate your hobby and get passionate again.

It can be rewarding but also sometimes challenging as you’re forced to look at a scene from the perspective of how a long exposure will transform it. This guide should help guide you on what equipment you will need if you want to shoot daylight long exposure photography and a few photography tips on how to calculate the long exposure shutter speed.

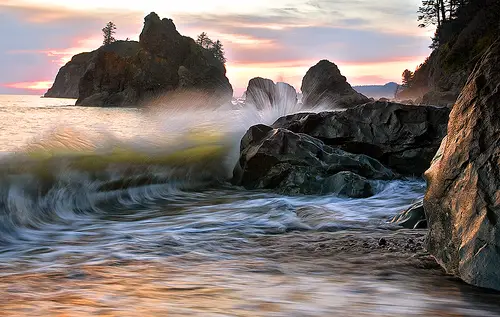
As more and more photographers post their shots online, it becomes harder to find emerging talented photographers worth watching. I’ve compiled a list of some of my favourite photographers who inspire me with their amazing work. All images are linked to the rest of the photographers gallery.

It’s fair to say 2009 was the year of the long exposures for me. I’ve had a lot of fun with the Canon 5D Mark II and B+W 110 filter over the year and looking back am surprised how many photographs I actually took.
I hope 2009 was a good year for your photography!

 Eeek huge image, sorry!
Inspired by a thread on a photography forum I frequent, I set out to mount some of my favourite shots. The process is easy and also quite cheap so it works out a nice way of presenting your photography.
A few things are needed
Learn from my mistake and avoid the print from bubbling by putting the mounted print under a heavy book to smoothen it out. Also take care when placing the print onto the foamcore so you’re not stuck with fingerprints.
This wouldn’t be complete without a cheesy timelapse video with cameo appearances from my 7 year old cousin and dad.