Posted on 2 Comments

Before and After – Sunlight at Hopetoun Falls

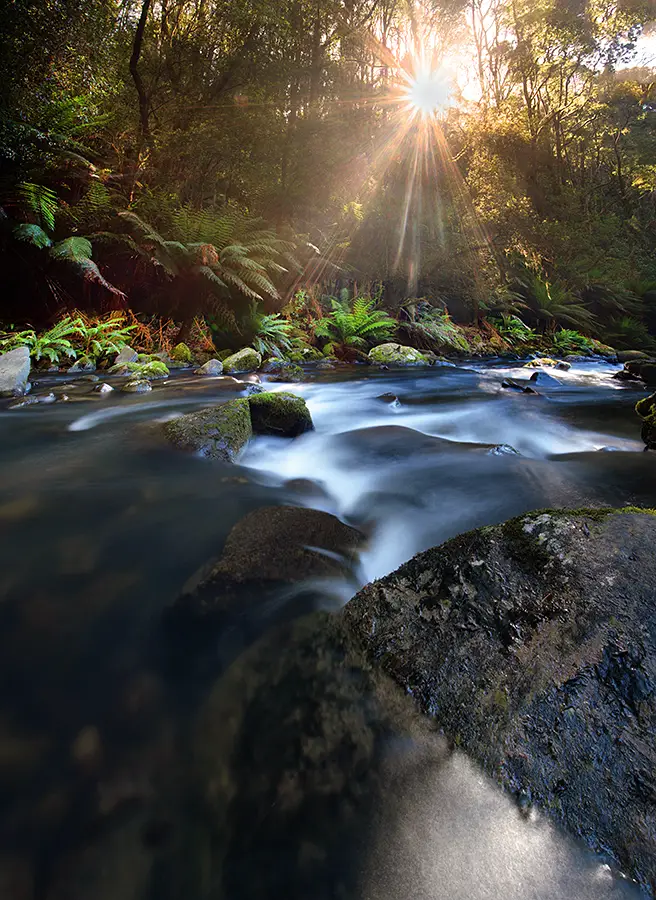
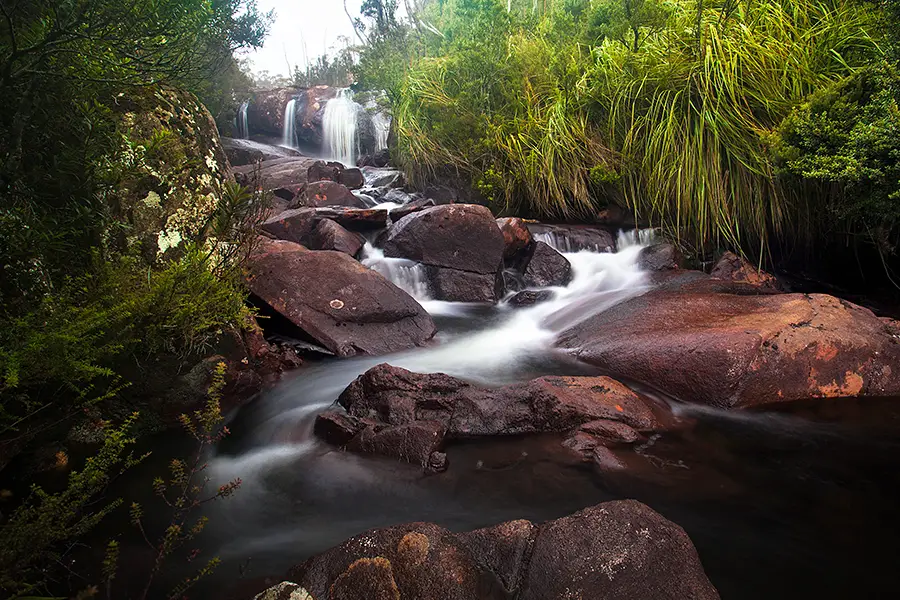
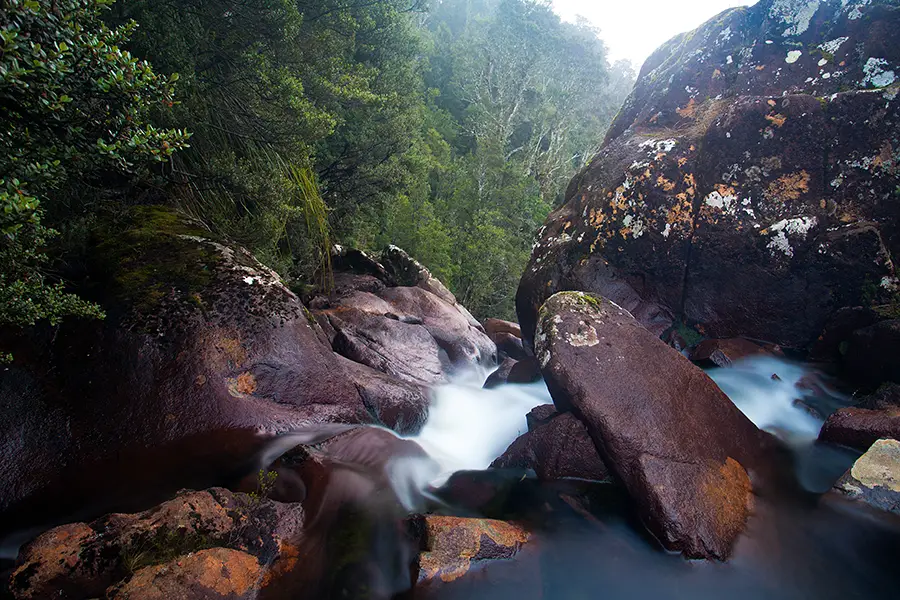
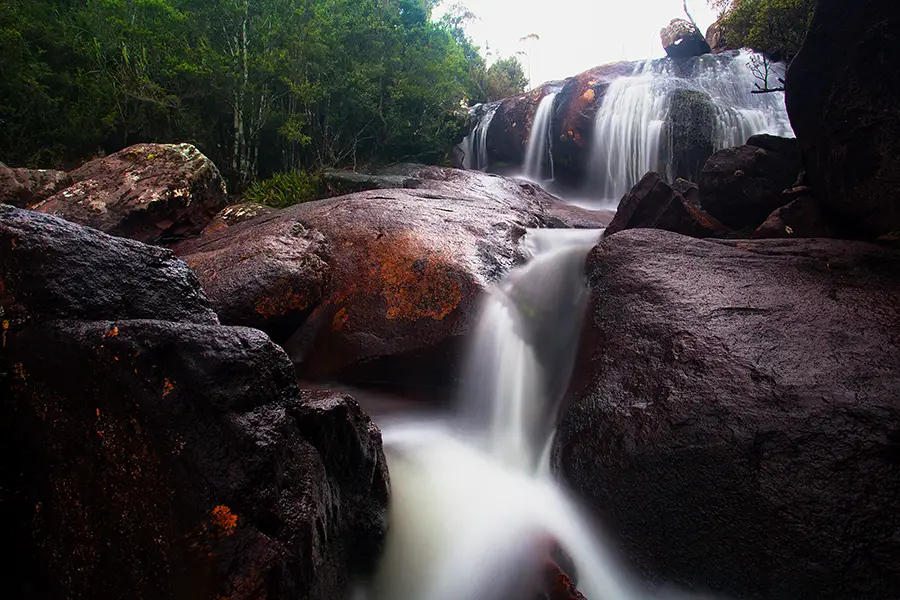
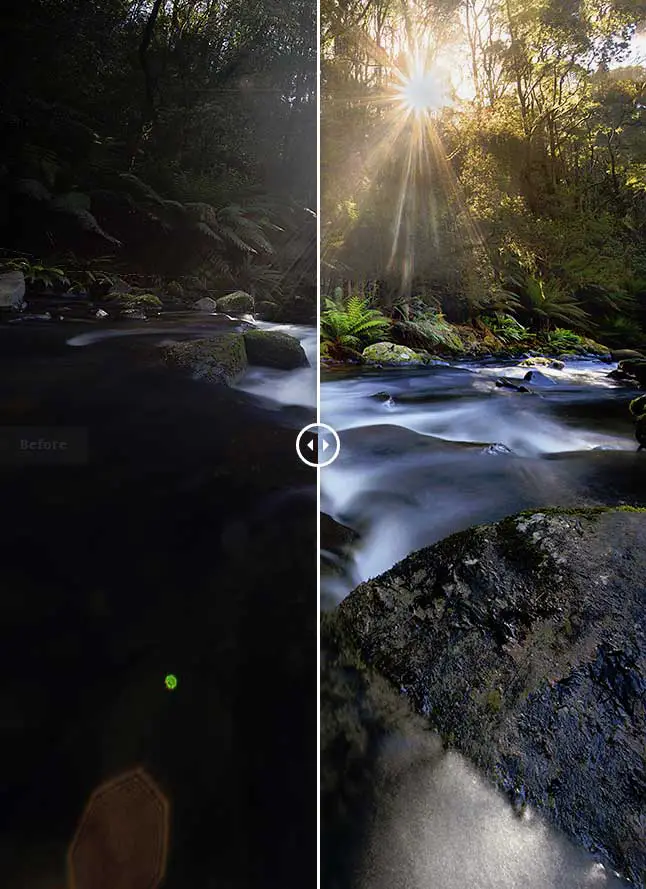
This is an entry for my [ilink url=”http://www.alexwisephotography.net/blog/category/technique/before-and-after-technique/” style=”note”]Before and After series of photographs[/ilink] where I share how I captured and post processed an image. This particular image is from Hopetoun Falls looking back down river of the water that runs off from the main fall. Hopetoun Falls forms part of the Otways Ranges and is a beautiful part of the world. If you’d like to see more photos from this trip be sure to check out my [ilink url=”http://www.alexwisephotography.net/blog/2013/12/08/weekend-trip-down-the-great-ocean-road/” style=”note”]post from the Great Ocean Road[/ilink] which includes this among many.

[twentytwenty]
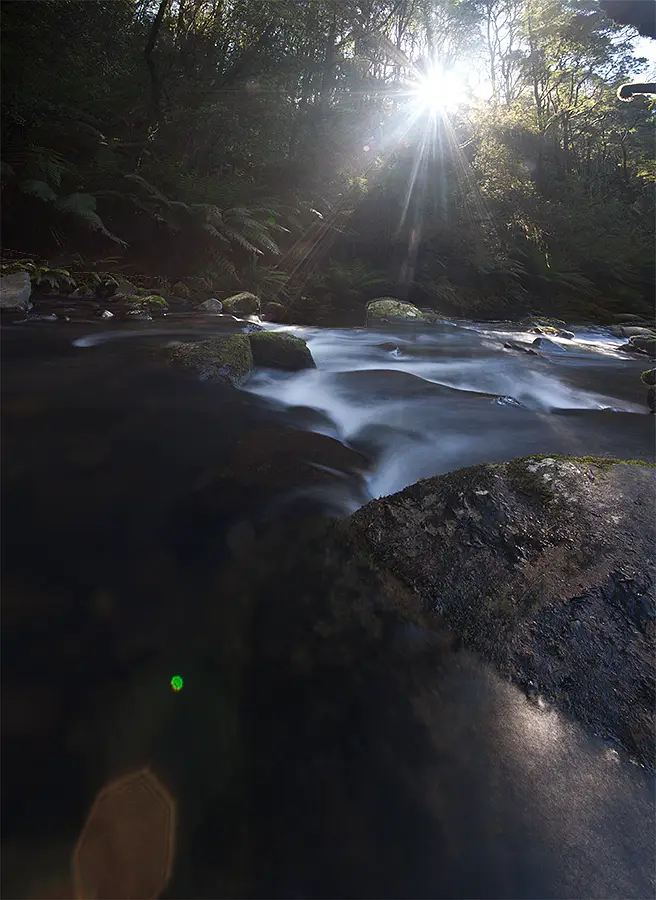
Sunlight at Hopetoun Falls Before
Sunlight at Hopetoun Falls After
[/twentytwenty]

Capturing and Editing Sunlight at Hopetoun Falls

This is one of those photographs that as a photographer, we view it through our eyes and then when we try to capture it in camera it’s incredibly difficult to replicate what our eye is seeing. On this particular day we had shot the waterfall most of the day under overcast conditions (perfect for photographing waterfalls). Later during our time at Hopetoun Falls, the cloud started to clear and the sun began to shine stunningly through the trees. Rather than pack up my gear like I normally would when the sun starts shining harshly at a waterfall I wanted to try pull off a shot of the sun bursting through the trees.

Taking the Photo
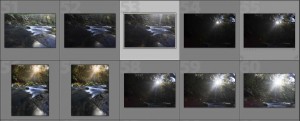
Bracketed images that would be later stitched and combined in Photoshop

Framing the photo straight away I knew if I wanted to get both the stream and sun bursting through the trees in shot I would have to take two photos and stitch them together. Even though I was shooting with a Canon 17-40 it still wasn’t wide enough to fit in the one shot so a two image stitch would be the go. Shooting the images I’m using my Canon 5D Mark II, Canon 17-40, Hoya Circular Polariser and Manfrotto tripod.

I also knew that trying to capture the dynamic range properly in one shot for each stitch was going to be very difficult. Not one to normally use the auto bracketing exposure (AEB) feature on my camera, I opted to take 3 exposures of the top half of the stitch and another 3 for the bottom part of the stitch which resulted in a slight mess of images in my Lightroom catalogue.

In case you’re not familiar with the AEB feature I wrote [ilink url=”http://www.alexwisephotography.net/blog/2013/01/12/automatic-exposure-bracketing-aeb-explained/”]article about Auto Exposure Bracketing[/ilink] a while ago now which explains the feature a little more. I took the multiple exposures as it provided me with some insurance that if I didn’t get it right with the neutral exposure I would also have the under and over exposed images to play with.

Combining and Editing the Photos

When it comes to exposure blending my level of competency is around average so the idea of combining this with a two image stitch was a recipe for disaster. I processed the images from the trip and let the images for this one sit for a while. Normally when I shoot, I like to process my images within 24 hours of taking them. I hate the feeling of sitting on unedited images and like to get them processed, not necessarily to post online but just to have them processed according to how I remembered the scene. For this one, I was actually too intimidated by the prospect ahead and knew I was in for some fun in Photoshop.

It wasn’t until a weekend a few weeks later that I finally decided to give combining and editing the images a crack.

Combining The Photos

Having used auto exposure bracketing to capture an under, neutral and over exposed image for both the top and bottom parts of the frame, I went about creating two image stitches for each bracket.

By this I mean, I created a two image stitch of the two over exposed images, again for the neutrally exposed images and another for the under exposed images. This resulted in 3 separate stitched images consisting of 1 over exposed stitch, 1 neutral exposed stitch and 1 under exposed stitch.

When stitching images, most people tend to recommend various different pieces of software like PTGui but I’ve had quite good luck with the Photoshop stitch tool. This can be found under File > Automate > Photomerge.

Editing the Photos

[box type=”info”]Haven’t blended images in Photoshop before? Read my Photoshop image blending tutorial to get started[/box]
Edits made to the stitched image

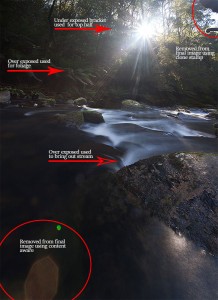
Now that I had these 3 separate image stitches of each exposure, I went about opening the neutral image in Photoshop and layering the over and under exposed images as layers on top. The over exposed image would be used to bring out the dynamic range in the foliage surrounding the waterfall and the waterfall itself while the under exposed layer would be used to capture the sun bursting through the trees. Luckily, it wasn’t as hard as I originally thought but just required a lot of low opacity layer masking to subtly bring out areas of a layer. The hardest part was blending the sun into the shot which required me to use a combination of the brush tool and gradient masks to ever subtly drop it back in without it looking uneven to the rest of the scene.

I’ve attached a screenshot to the right which highlights the different parts of the image where layer masks from the 3 images were used. Call me lazy but I’ve become a fan of the [ilink url=”http://tv.adobe.com/watch/learn-photoshop-cc/using-contentaware-fill-to-remove-distractions/”]Adobe Photoshop Content Aware Tool[/ilink]  which for the most part works perfectly. Generally if this doesn’t work I’ll revert back to the [ilink url=”https://www.youtube.com/watch?v=MY023ZQJy0M”]Adobe Clone Stamp Tool[/ilink] to remove unwanted distractions like the branch in the corner and lens flare at the bottom of the stream.

Once all the images were blended in, I then went about making selective adjustments to the saturation and individual colour channels to colour grade parts of the image. I’m fond of using layer masks for saturation changes as it allows you to increase or decrease the saturation or change the hue of a particular area in the image without affecting the overall photo.  For this image, I used selective saturation and hue adjustments to both the water and foliage areas.

Finally some cropping was applied to the image and a warming filter was applied to add some warmth to the sunburst coming through the trees. With this I used a layer mask to ensure changes with the warming filter were only limited to the sunburst and not the rest of the image.

And that’s that. Something I learnt from this photo was that sometimes it’s okay to sit on an image and procrastinate about it rather than process it immediately. Sometimes I should probably do a bit more often.

Thanks for reading and I hope this was helpful,

– Alex
Posted on

Before and After – Dark Mofo 2014

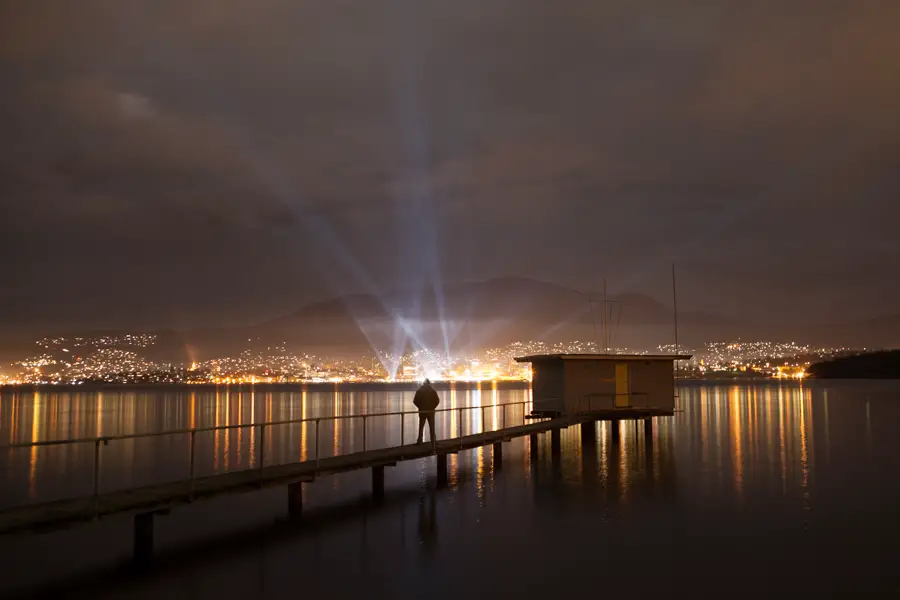
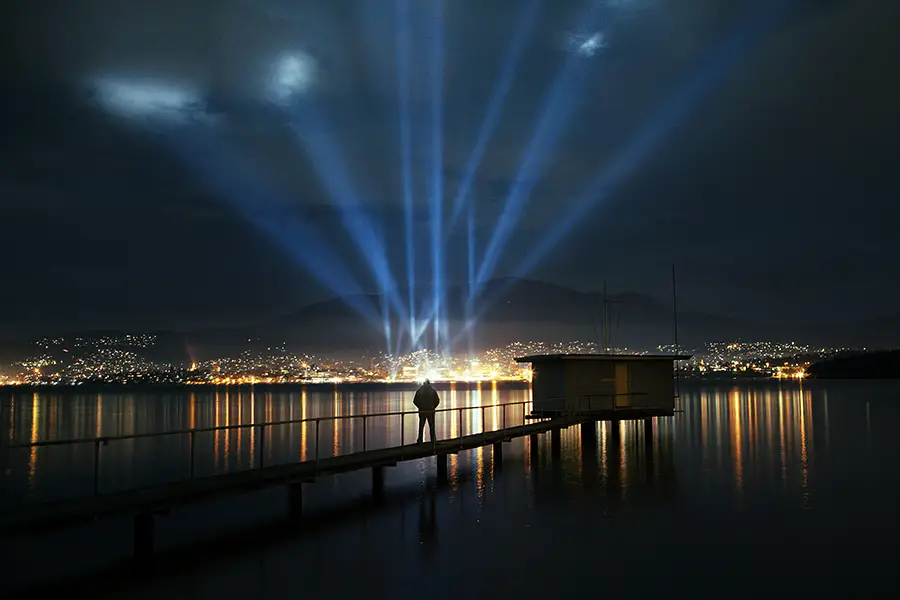
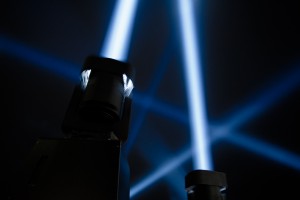
Following up from my recent post sharing photos of [ilink url=”http://www.alexwisephotography.net/blog/2014/08/22/a-quick-weekend-in-tasmania/”]a quick weekend photographing parts of Tasmania,[/ilink] I shared a photo from Dark Mofo 2014 and thought it was good timing to share a before and after of how the image came together.

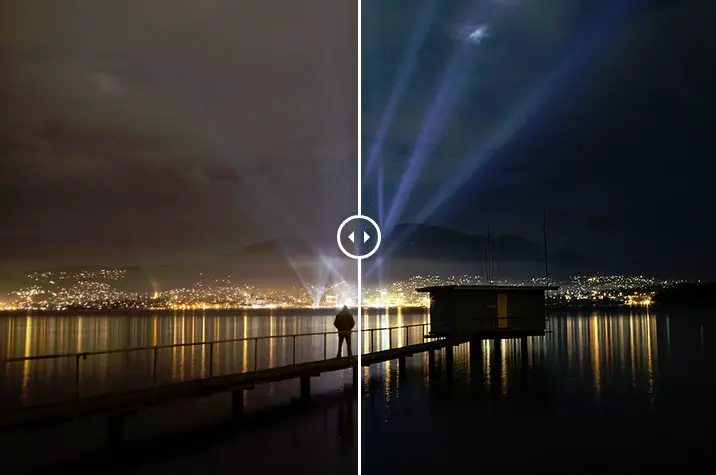
[twentytwenty]Dark Mofo 1Dark Mofo 2[/twentytwenty]

Capturing and Processing Dark Mofo 2014

This forms part of a [ilink url=”http://www.alexwisephotography.net/blog/category/technique/before-and-after-technique/”]Before and After Series[/ilink] where I share both the before and after images and do my best to provide an explanation of how the images were captured and processed. I’m not one to heavily process my images but when I can’t capture what I see, I will resort to using Photoshop and multiple layers to achieve what I visualised before even pressing the shutter.  Perhaps some may feel that this is cheating and I appreciate that this level of post processing isn’t to everyone’s tastes but I would argue that post processing like this remains within an acceptable level of photography post processing and does not cross over to photo manipulation. The later involves adding skies, moons or sunbursts from other shoots where the lines of an acceptable level of Photoshop starts to be questioned. But let’s move on to how this particular image was captured and post processed.

Capturing the Images

Some background about this years Dark Mofo

This year Dark Mofo had an installation of multiple lights scattered around the city of Hobart where the general public could go and control them for a few minutes. Last year the organisers of Dark Mofo had a one light installation which was centered in the city of Hobart – making things a bit more easier for photographers. This great image of Dark Mofo 2012 by Ben Short captures it in all its glory.

With the lights being controlled manually, imagine a kid dialed up on red cordial controlling the lights and them quickly moving around the sky (in case you’re curious I recorded this admittedly terrible video of two of the installations doing their thing). Rather than take a photo close up of the installation I looked for somewhere out of the city which would provide me with a viewpoint that captured all of the lights located around Hobart. For this reason I chose Bellerive which provided a direct view from across the river looking towards the city and the Dark Mofo light installations. After standing and watching the lights flicker around the sky I knew straight away that I would need to capture multiple exposures of the lights and combine them in Photoshop if I was to get the result I was after.

Capturing the light installation

Setting up for the image I decided to use my [ilink url=”http://www.adorama.com/ICA5DM2.html?KBID=65353″ style=”note”]Canon 5D Mark II[/ilink] , [ilink url=”http://www.adorama.com/CA2470.html?KBID=65353″ style=”note”]Canon 24-70 2.8 L[/ilink] , tripod and interval remote for the photo. Composing the image I used the jetty with me standing on it in the foreground and the Dark Mofo lights in the background.  This would require multiple images to be captured of the light installations (to capture them at the different points in the sky) and then another shot of me standing on the jetty.

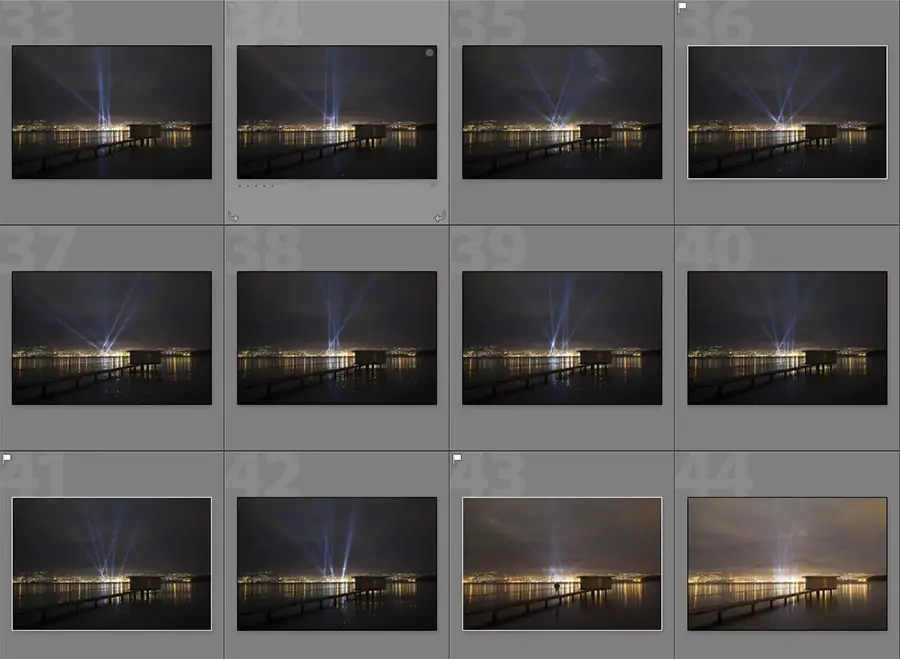
Capturing the light bursts I wanted to capture shorter exposure times so ramped up my ISO to 2000 and set my camera to aperture priority mode and shot at F/2.8 which resulted in an exposure time of around 0.5″ of a second.  I set the camera to burst mode and fired around 15 shots of the lights. These would later be selectively combined to form the top part of the image

Capturing the image of me standing on the jetty

For the image of me standing on the jetty, I changed my camera settings to manual and set the ISO to 200, aperture to F/4 and an exposure time of 15 seconds. Using the interval remote, I was able to set the count down timer to be one minute, giving me plenty of time to get down to the jetty and stand ready for the photo to capture. The reason I used a longer exposure (15 seconds) was to smooth the water of the bottom part of the image. I found the shorter (0.5 second) exposures were leaving the water a little choppy from the outgoing tides and by capturing a longer exposure time this would also capture more reflection of the light installation.

Post Processing the Images

The final image was composed of 8 images and various saturation, curves  and contrast adjustments (using Niksoft ProContrast and Viveza for the later).  The image below gives you a sense of how rapidly the lights were moving based on the exposures that were captured. Note the exposure time was 0.5″ of a second so the 10 blue temperature photos you see were taken over the space of around 40 seconds. Quite a lot of movement!

bracket-images
Some of the 15 images that were bracketed to capture the quick moving lights

Once I’d loaded the images up into Lightroom I exported them as full JPG and loaded them into Photoshop. Here I used one of 0.5″ second exposure images as the base image and then added the other images (including the one of me standing on the jetty) as layers. The idea here was to selectively mask myself and different parts of the light installation into the base image by using layer masks.

[box]Haven’t used Photoshop Layer Masks before? Check out this tutorial on using Layer Masks  that should bring you up to speed.[/box]

Using layer masks on each light layer, I selectively introduced parts of the light into the base image and also masked myself standing on the jetty into the shot. Once this was done, I set about using some curves masks to play with the red, green and blue colour channels to make some subtle changes to the colour of the image.  Lately I’ve become quite the fan of the Pro Contrast Tool and Viveza that forms part of the [ilink url=”https://www.google.com/nikcollection/”]Nik Collection[/ilink]. I’ll generally use one of each and then play with the opacity of the layer. For this specific image though, I used a Pro Contrast layer just on the light beams of the shot to give them a bit more punch.

The above is a little confusing so to help explain things a little better I’ve put together a small clip that starts at the base image and enables each individual layer showing the progression and processing of the images.

Hopefully the clip provided some clarification regarding how the different layers were used and the subtle changes which using curves and ProContrast had on the image. If you have any questions about the process or the image itself be sure to leave a comment or drop an email and I’d be happy to help.

Thanks for reading,

– Alex
 

Posted on 2 Comments

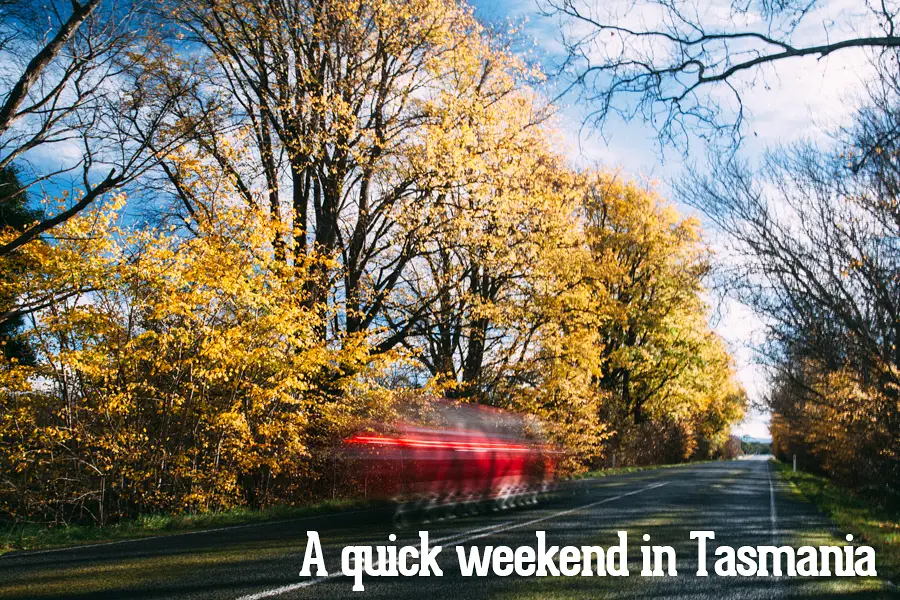
A Quick Weekend in Tasmania

Admiring the lights at Dark Mofo 2014

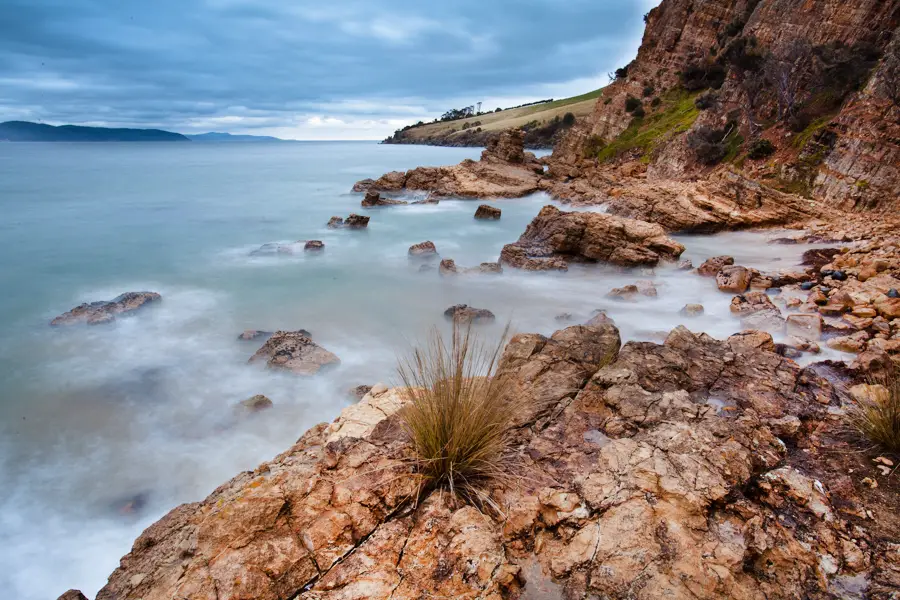
IMG_3877As you’ve probably come to notice through reading past posts on my blog, I shoot a lot with Jon Sander, mostly because he brings refreshments and carries my gear whenever we go take photos. Haha I kid. He’s a good guy that lives close to me so when we’re both feeling spontaneous and in the mood to take photos it works well and we’re able to organise something very last minute. He’s been nagging me for a while now to go to New Zealand with him for a week. Instead I proposed that we still go overseas but to my home state, Tasmania. Originally the idea of the trip was to walk into Reynold’s Falls which is situated not far from Cradle Mountain. I’ve been wanting to walk it for probably 5 years now but have never got around to it. We decided to book flights in Feb to do the walk around June. It was a great idea at the time until we started doing some research and received some very valuable information from Casey Smith and Laurie Davison (thanks to both for the information provided, extremely grateful and will definitely come in handy when we do eventually walk it in summer). It was later when we sat down and started to really plan the walk that it occurred to us, we were aiming to walk 7-8 hours into the waterfall around the shortest day of the year. Factoring in a 3~ hour drive to the start of the walk, it was going to be a long day without much time for photos and that’s not even taking into account what the weather would potentially be doing. In the end we decided due to the shortage of light around that time of the year and the potential that the waterfalls could be flooded we decided to can the trip and arrange a last minute trip that would be focused on a quick trip around parts of Tasmania.

Dark Mofo 2014

Admiring the lights at Dark Mofo 2014
Close up of one of the many Dark Mofo 2014 light installations

Last year I was disappointed to of missed Dark Mofo’s first light show installation.  This photo by Gavin Wakerall displays last year’s installation in its stunning form. There were so many amazing photos taken of the installation and I was kicking myself for not making a last minute trip home. When I heard that Dark Mofo had a new light installation planned for this year where instead of a fixed light installation, the lights would be spaced around Hobart and operated by the general public, our cancelled Reynold’s Falls trip wasn’t turning out to be as bad as we originally thought.

Coming from Hobart airport and not quite sure how bright the lights would be, we visited Bellerive a favourite location of mine and a great spot for a direct view of the city. Fortunately for us the lights were well and truly visible from the Hobart eastern shore and we killed an hour or so taking some photos before making a quick trip into the city for a closer look. I actually found it incredibly difficult to photograph. Imagine school kids wired on sugar operating the lights, fluctuating around the sky randomly and quickly. In the end I opted to stand on the jetty and take a self portrait admiring the lights as they did their thing. All in all, it was a nice way to kick start the weekend and get things going.

[box size=”large” style=”rounded”]Curious how the photograph was captured and post processed? Don’t miss the Dark Mofo 2014 Before and After post[/box]

Clifton Beach

Not keen to waste any time we decided to take the chance and get up early for a sunrise shoot at Clifton Beach. It’s a favourite spot of mine as it’s reasonably close to Hobart (35~ mins drive) and has plenty of opportunities for photos. Unfortunately for us though, the sunrise was clouded over and we didn’t see any light or colour but nevertheless, we pulled out our camera’s and had a bit of fun.  Admittedly it was pretty awful shooting conditions but nice to break things up before heading towards the mountains later in the day.

An overcast sunrise at Clifton Beach
Jon shooting the best sunrise of his life...
Jon shooting the best sunrise of his life…

Although for a moment there, the dull (read – terrible) sunrise almost ruined the trip all together with the first shot splashing all over my camera. Freaking out I quickly smothered my camera with my jumper, turned it off and put it aside until we got home. Having photographed Clifton many a times, it was nice just to potter around the rocks and explore for possible future compositions when the tides and swell are different. After a slightly nerve wracking trip home, worried about my camera, we got home and I eventually turned it on to find that it was working fine. Phew. Thanking the camera gods for that. I haven’t had the best luck over the years and managed to drown my previous 5D Mark II at Turpin Falls a couple of years ago. More about that day and tips on what to do if your camera does go for a swim or gets a few splashes can be read in that article. Although a rumoured Canon 5D Mark 4 or experimenting with a new Sony mirrorless like Ricardo De Cunha has recently done would have been slightly tempting if it was to have died 😉 With the worry of a dead camera resolved, we were all ready to go for a colder trip to the Hartz Mountains National Park in the hunt for cold foggy Mountains.

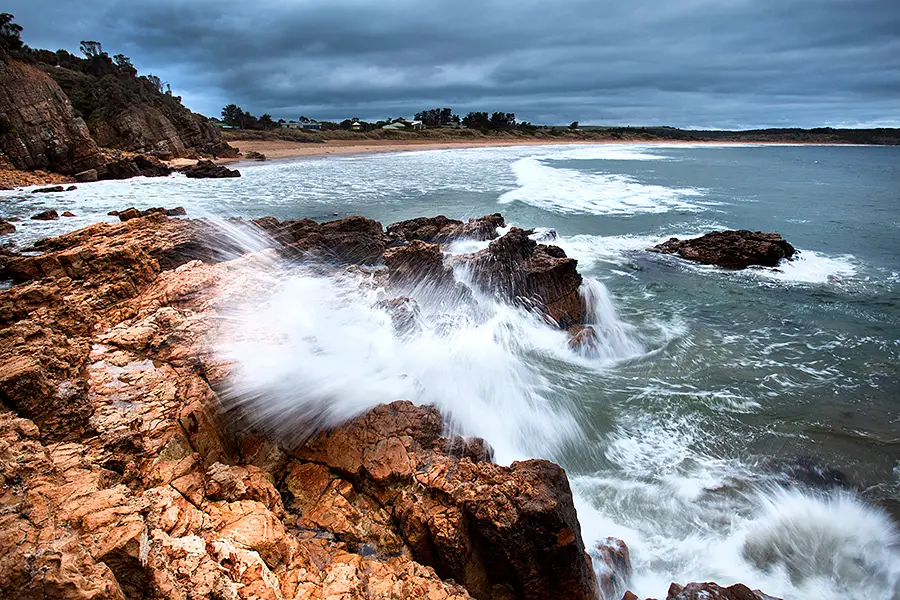
Waves rolling through Clifton Beach

Hartz Mountains National Park

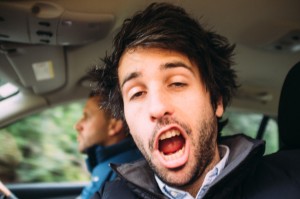
Selfies - I've got them down pat
Selfies – I’ve got them down pat

After finishing up at Clifton Beach and driving home in the rain, we weren’t feeling overly confident about our next trip off to the Hartz Mountains National Park so slightly took our time as we ate breakfast pondering the rest of the day. Tasmania being Tasmania where the weather is all over the show, the weather slightly cleared and we decided to take a chance and continue with our trip with a quick stop at Huonville for a bite to eat. I’d been wanting to walk into the Hartz Mountains National Park for a while now as each time I’d walk in with friends it had been shrouded in a sea of fog so we hoped this time it may be slightly clear allowing us to get some photos of the Hartz Mountains.

Road side reflections near Huonville with the Fujifilm X100

Once we arrived at the Hartz Mountains National Park the fog was quickly rolling through the area.  Wanting to get a photo of the Hartz Mountains not completely shrouded in fog, we got a wriggle on and quickly powered our way to the Ladies Tarn, the first of the tarn’s along this beautiful day walk.

Hartz Mountains National Park - A great day walk
Hartz Mountains National Park – A great day walk
Jon at Ladies Tarn, Hartz Mountains National Park

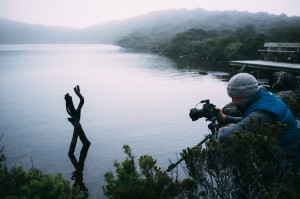
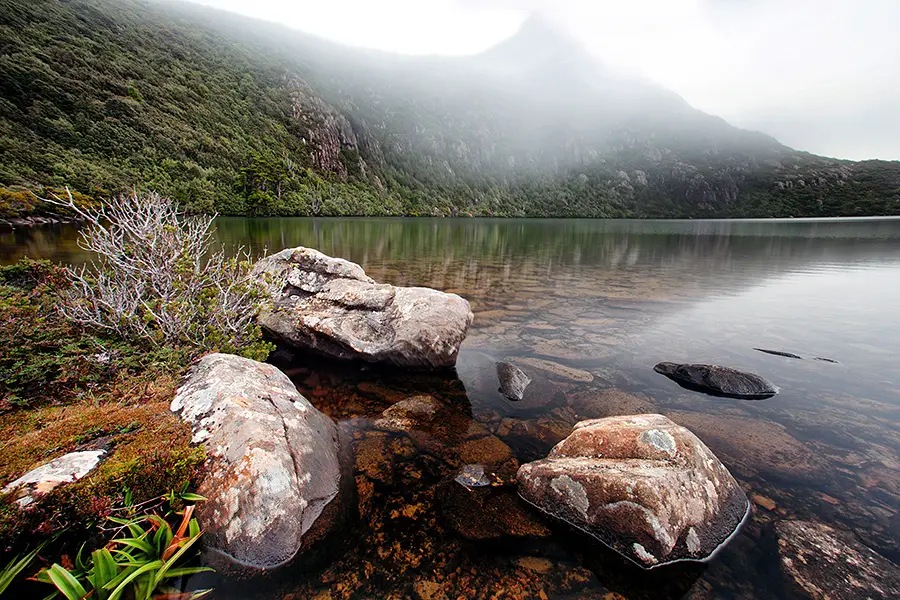
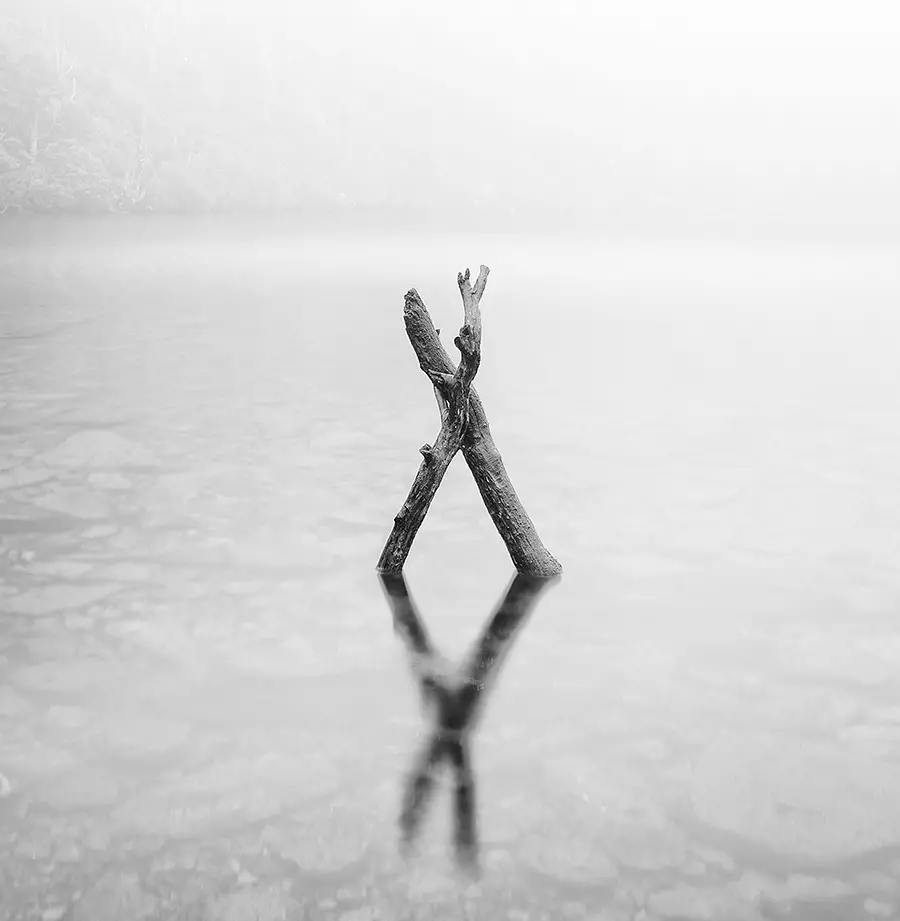
We arrived at Ladies Tarn in perfect timing with the fog just sitting about right and the water not ripply. It wasn’t long and the breeze had picked up bringing in plenty of more fog and the water quite ripply. It was nice spending half an hour here just pottering around taking snaps in the  such a quiet and beautiful place (admittedly that does sound corny but it was beautiful up there). The images below are both captured with my Canon 5D Mark II, Canon 17-40 and B+W 110 10 stop neural density filter. With the fog and breeze starting to pick up we decided to keep walking in the hope it would pass and we could make it to the top of the Hartz Mountains and get a view beneath the cloud/fog.

Ladies Tarn, Hartz National Park
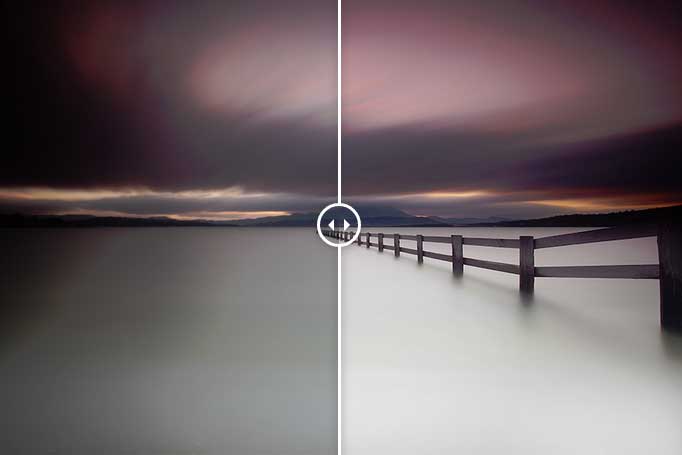
Playing around with minimalist long exposures at the Hartz Mountains National Park

After spending some time at the Ladies Tarn we decided to walk a bit further in the hope of getting a nice view from the top of the Hartz Mountains but unfortunately the weather had other ideas and the fog was very much setting in for the rest of the day so we set off home.

Arve Falls

As we were leaving, we were around 45 minutes away from sunset and quite close to a waterfall we spotted signposted as we drove into the national park.  Rather than drive and hope to find a good location in time for the sunset, we decided to take a quick walk in to Arve Falls for some photos as the sun slowly went down. It was a nice way to spend the day, starting by taking photos in the dark as the sun rose and taking photos in light as the sun went down and it became dark. Here are some of my favourites from Arve Falls.

Arve Waterfall
Arve Waterfall
Arve Falls
Arve Falls
Standing on top of Arve Falls looking down the huge drop
Arve Falls, Hartz Mountains National Park

Bicheno

After checking the forecast and it expected to be patchy rain for the following morning, we decided to give the sunrise a miss and slowly make our way up the Tasmanian east coast to Bicheno. After making many a trips to St Helen’s to explore the Bay of Fires I’ve never really stopped and properly spent some time in Bicheno other than to enjoy a quick chicken and camembert pie (amazing I might add).

En-route to Bicheno with a quick stop at one of my favourite parts of the drive

I’d been meaning to spend some time in Bicheno for a while so we decided to call it home for a night with the intention of taking photos along Harvey Farm Road and Redbill Beach with the hope of getting a clear sky to capture the milky way. Unfortunately for us, the plan for milky way photos wasn’t meant to be with the sky clouding over and then later dispersing to bring out the full moon. But we made the most of it and had some fun shooting until late into the early morning and then getting up early to shoot the sunrise.

Sunset and a full moon

Waves crashing on sunset at Bicheno, Tasmania
Jon taking a photo as the light quickly disappeared. May have resulted in very wet feet after this photo...
Jon taking a photo as the light quickly disappeared. May have resulted in very wet feet after this photo…
Sunset at Harvey Farm Road, Bicheno
My dream house - Such a beautiful location.
My dream house – Such a beautiful location.
Staring at the sky wondering where my milky way is?

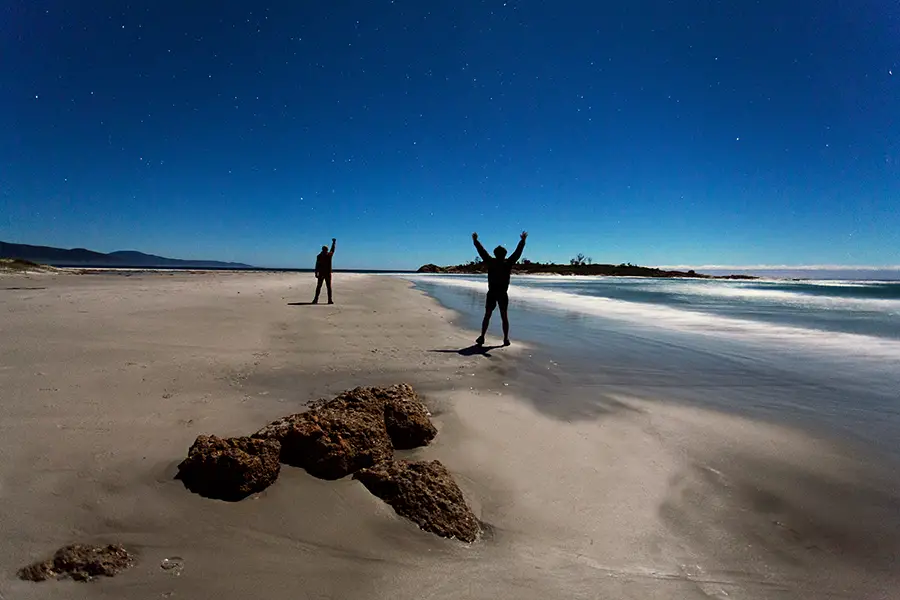
Amazing the difference a few hours can make. We decided to head back to our accomodation and watch the World Cup for a couple of hours. Having pretty much resigned ourselves that the cloud had set in for the night, I stuck my head out the door and joked to Jon would we go out if the cloud magically disappeared? What do you know? They disappeared so we put on our wet shoes and went for another stroll down the beach, shooting photos until around 3am or so and then getting back up a few hours later for sunrise. Good times.

The cloud quickly dispersed so we couldn't resist a team moon lit photo
The cloud quickly dispersed so we couldn’t resist a team moon lit photo

Up early for the sunrise at Redbill Beach, Bicheno

Up and early for sunrise at Redbill Beach, Bicheno
Light hitting the dunes at Red Bill Beach, Bicheno
Getting my feet wet. I'm not sure if my shoes remained dry all trip...
Getting my feet wet. I’m not sure if my shoes remained dry all trip…

Thanks

We had a great time and I’d highly recommend a trip to Tassie that gives you a bit of everything. It was nice to be enjoying a hike through beautiful foggy landscape one day and then be knee deep in water the next. I’m also excited to announce that Jon has finally launched a website/portfolio under the name of Drift and Wander. Check it out. He will be using it to release photo series from Patagonia adventures and upcoming trips. Drift and Wander Just in case you’re curious – Definitely going to give Reynold’s Falls a go in summer when there’s more light. Can’t wait. Thanks for reading! – Alex PS – If you enjoyed this post and want to receive an email of future posts, be sure to subscribe to my newsletter or jump on an follow me on Facebook.
 Related Articles

  • Guide to daytime long exposures – A guide i put together a while now that looks together at what equipment you will need for capturing long exposures during the day like I have in this post.
  • After a fun weekend project? Use welding glass as a neutral density filter –  Not ready to drop $100+ on a 10 stop neutral density filter? Use a piece of welding glass to imitate the effect. I show you how I’ve used welding glass in the past and walk you through how to remove the colour cast that the glass creates.
  • Little stuck on idea’s for your long exposures? A while ago I did a brain dump on all things long exposures with some of my favourite concepts for long exposure photographs. The possibilities with long exposures are endless and plenty of fun.
  • With winter not too far away, why not get out and photograph some waterfalls. This guide on how to photograph waterfalls will get you started.
Posted on

Before and After – Mortimer Bay

Over the coming months I’d like to share with you some before and after images of shots I’ve taken over the years. I’m a firm believer that there needs to be transparency in photography and the days of photographers hiding away secrets is done. Sorry to the old guard and old rules (oh yeah I just quoted Jay-Z in a post).  Sure, there’s some aspects of photography that can’t be taught but I for one enjoy a behind the scenes look of how other photographers work. It’s both beneficial to people starting out and people who have been shooting for sometime. I shoot quite a bit with various people and find even though we’re shooting the same thing and processing quite similarly, there’s always subtle differences and it’s that what I hope to capture in my posts.

Through these before and after images, you will sometimes find that there is a dramatic change between the straight out of camera image and the final image you see on my website.  While in others there may be minimal difference. For me, this is highlighting that we aren’t always fortunate to get great light while in other cases we are fortunate for the get great light and walk away with great photos in camera.

I’d like to use this as an opportunity to demonstrate how the image looked prior to my processing and briefly explain the processing techniques I used to achieve the final image. In some cases, the final image won’t be to everyone’s tastes and I fully accept and welcome that so feel free to chime in if you have any criticism of how you may have gone about things differently.

Continue reading Before and After – Mortimer Bay

Posted on 6 Comments

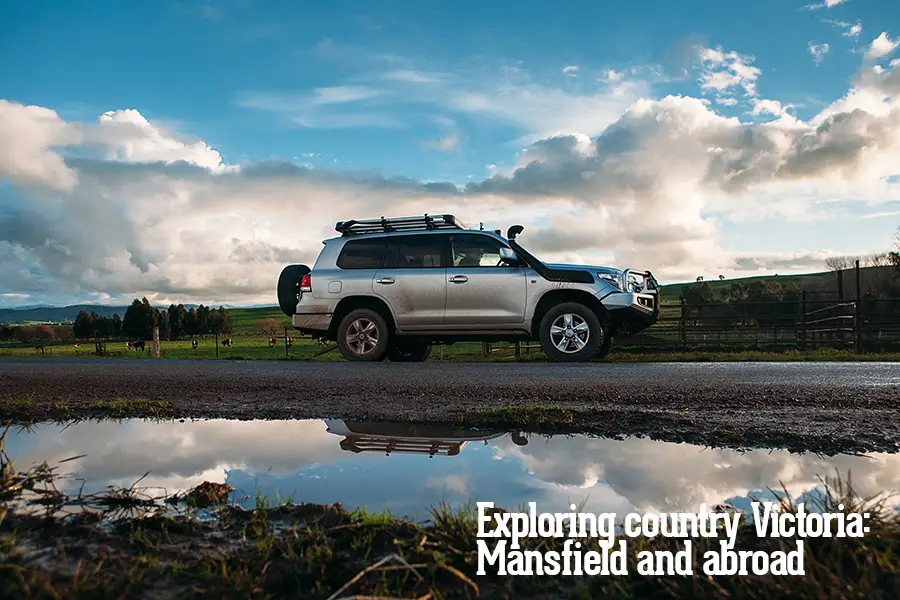
Exploring Country Victoria: Mansfield and Abroad

Title

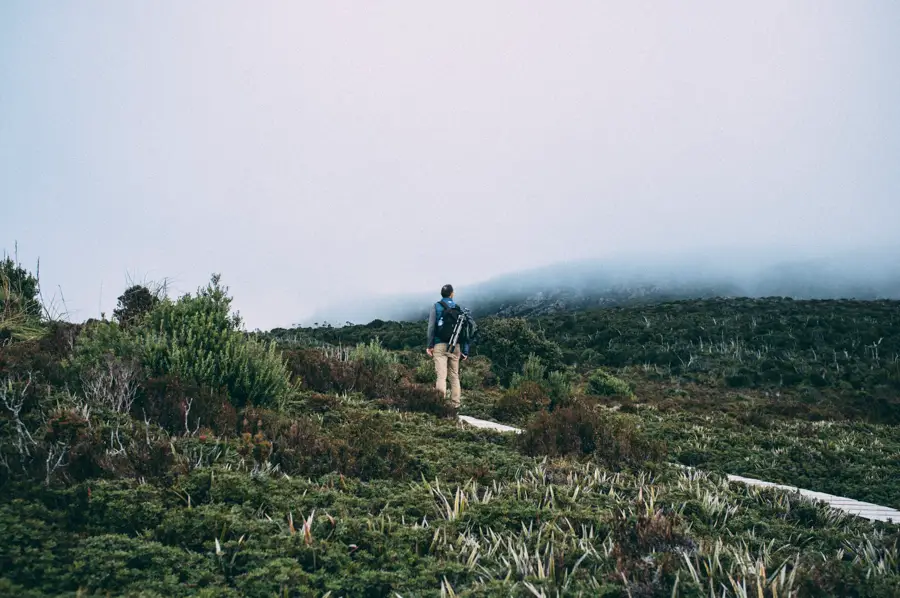
Walking through the fog at the Howqua Valley

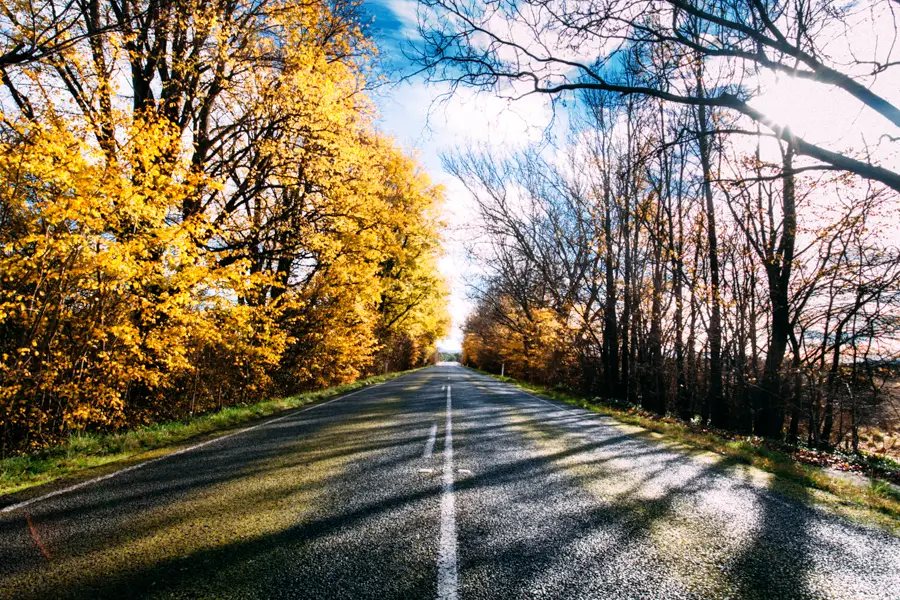
It has been a pretty full on couple of weeks for me. A few weekends ago I spent a solid 4 days fulfilling a promise to a friend, Jon Sander, with a much over due small trip around parts of Tasmania. It was a great and full on trip of photography where we were photographing the sunset one minute then shooting the stars under the moon lit skies until well into the early morning before rising without much sleep to shoot the sunrise. I’m looking forward to sharing the photos with you but I thought I might start with a trip I took with a family friend to country Victoria, in particular, Mansfield and the Howqua Valley over the weekend that has just been.

I must admit, seeing 800~ or so photos sitting on my hard drive from 9 days of taking photos creates a feeling of anxiety for me. Holy shit! Where do you begin?!  Slightly different to my normal style of taking sunset photos with 30-40 images to flick through. I’ve no idea how Drew Hopper did it with his beautiful photos from a recent Asia trip. Either way, I decided to bite the bullet and wanted to share with you images from Mansfield and abroad.

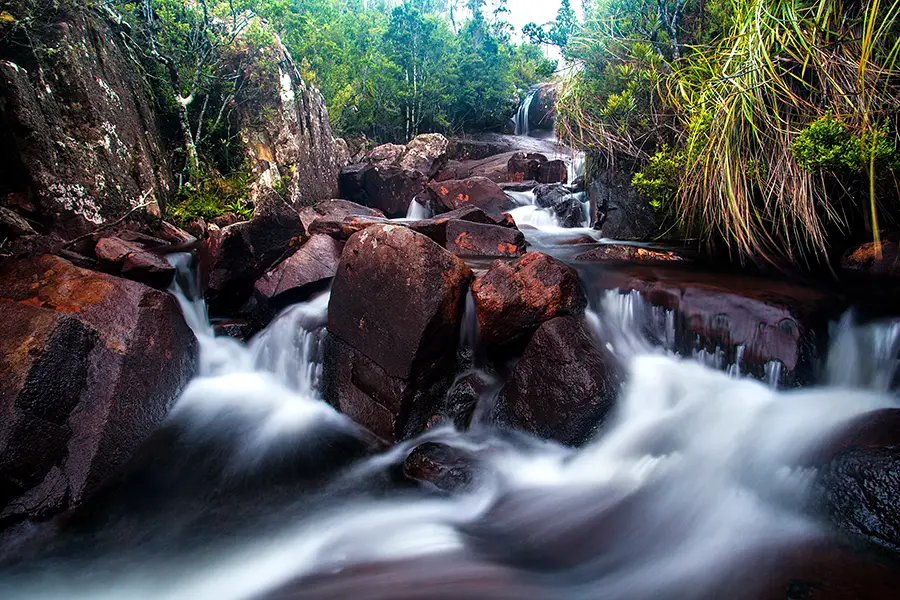
One of the many beautiful streams along the Howqua Valley

Continue reading Exploring Country Victoria: Mansfield and Abroad