Posted on 6 Comments

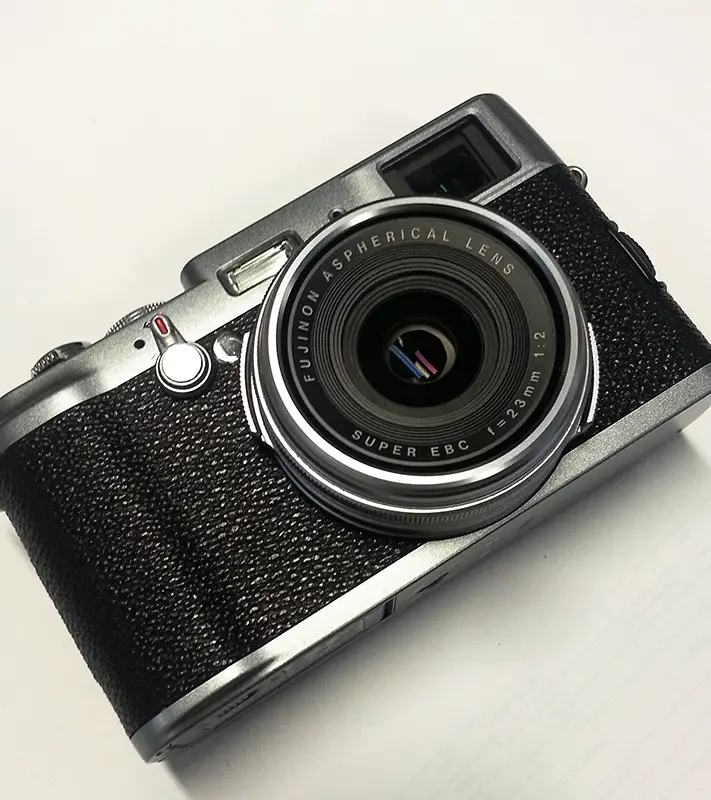
My new daily carry camera – Fujifilm X100

fujifilm x100
fujifilm x100
Fujifilm X100 – The latest addition to my camera bag

For a while now I’ve been feeling a little anxious about not shooting as much as I’d like. Before moving to Melbourne from Hobart I was a student with all the time in the world living close to coastline and lush waterfalls. Living in inner city Melbourne it can be a little difficult trying to balance photography around full time work as I’m often leaving for work when the sun is rising and leaving just as the sun is about to set.  I then had an idea. If I’m riding to and from work every day why not carry a camera and make the most of sunset and sunrise light? So I did.

After much procrastinating I thought the Pansonic Lumix LX7 camera was the camera for me so ordered it. Although a nice camera, it wasn’t the one for me so I sold it on Gumtree for about what i paid. A few days later I noticed a Fujifilm X100 pop up for sale on a forum I frequent. I couldn’t resist the price and from all accounts even with a few niggles, it’s a great little camera.

Since purchasing I’ve started carrying the camera every day and have found it a great little camera to use. Sure there’s a few little issues with the camera but hey, no camera is perfect and I can tolerate any slight niggles. The camera is a great ‘daily carry’ camera as it fits nicely into my bike bag and isn’t too cumbersome to carry if I’m out and about of a weekend.  If you’re in the market for something more portable than your DSLR I’d recommend you seriously consider a X100 (or X100S if budget permits!). I still plan on using my DSLR for long exposures, my baking blog and other bits but why not have something you can easily carry and still get some great shots?

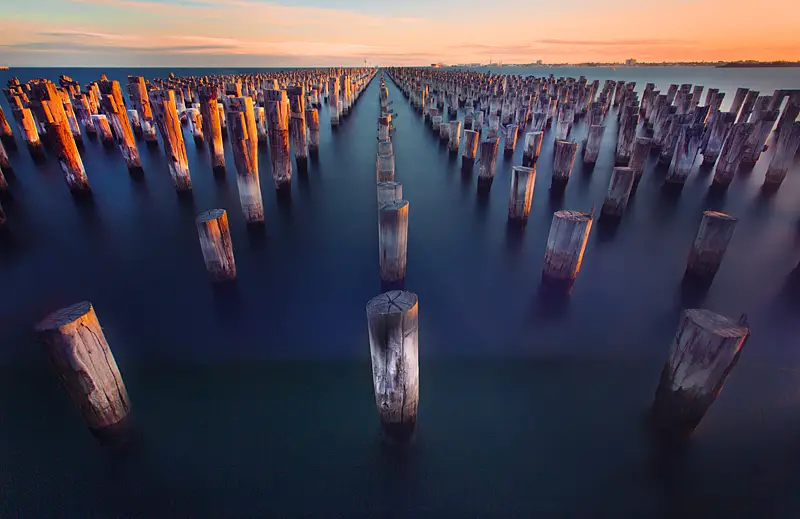
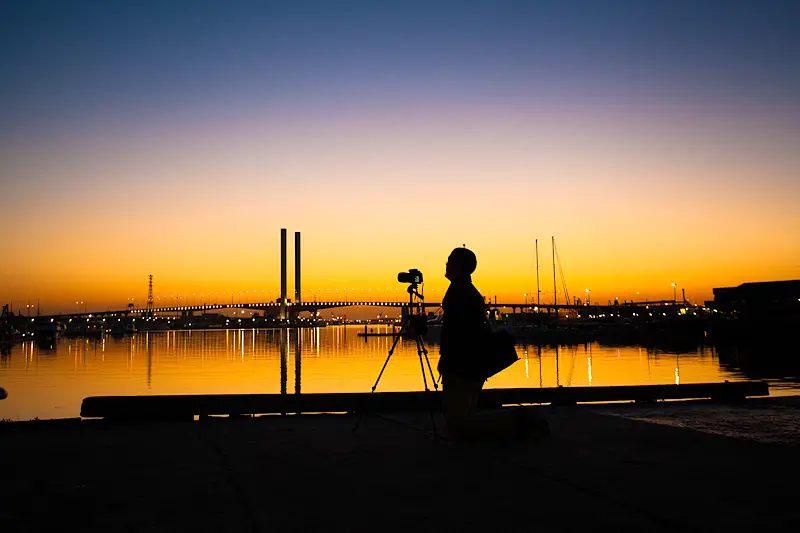
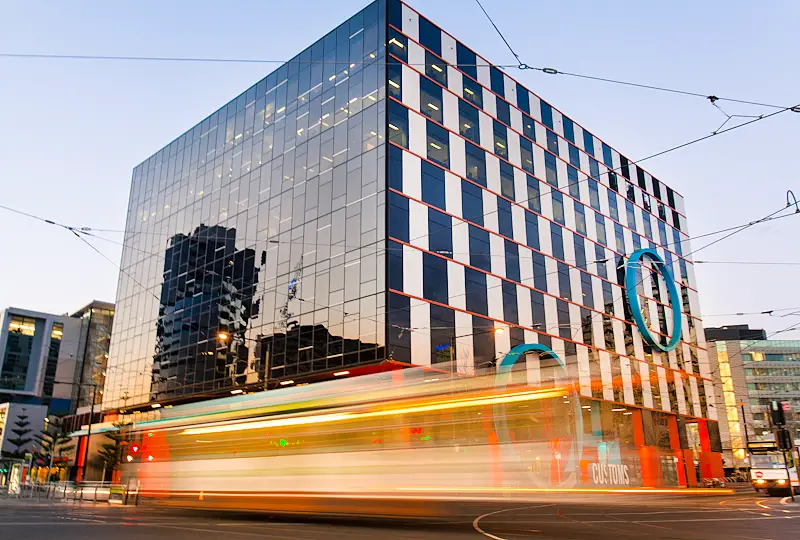
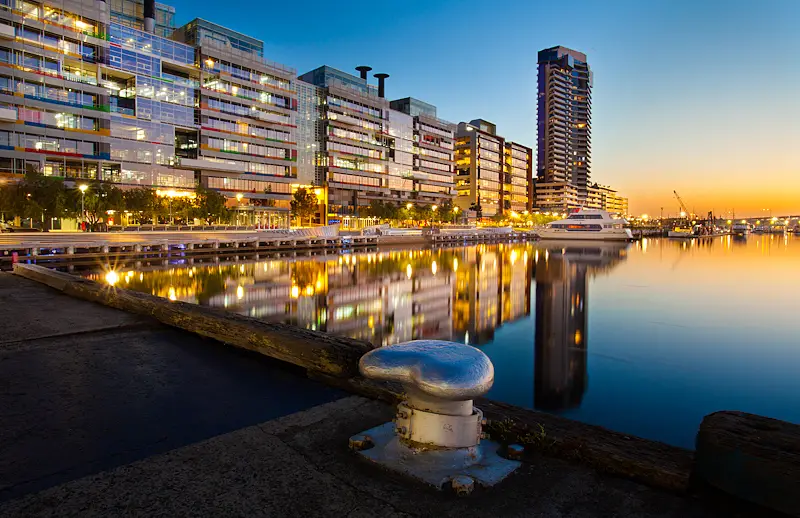
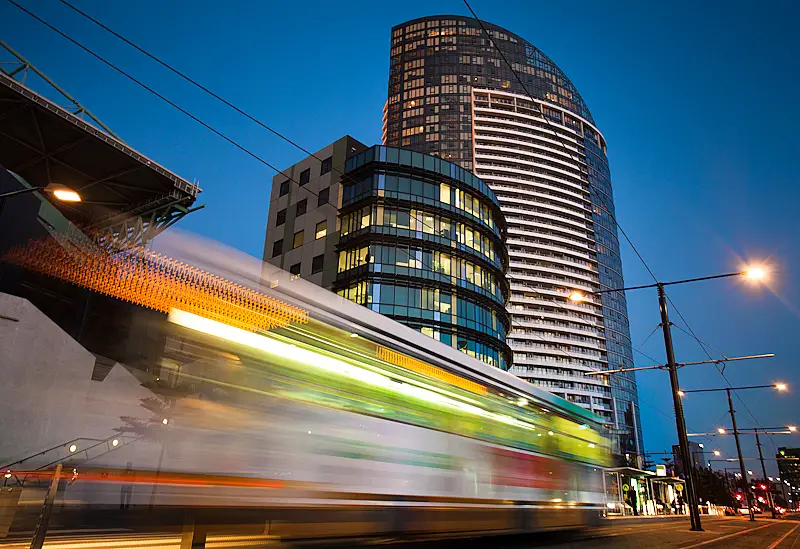
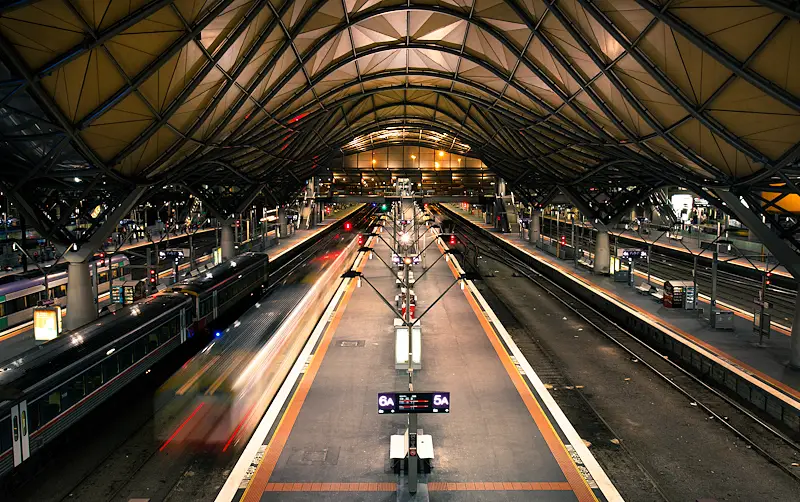
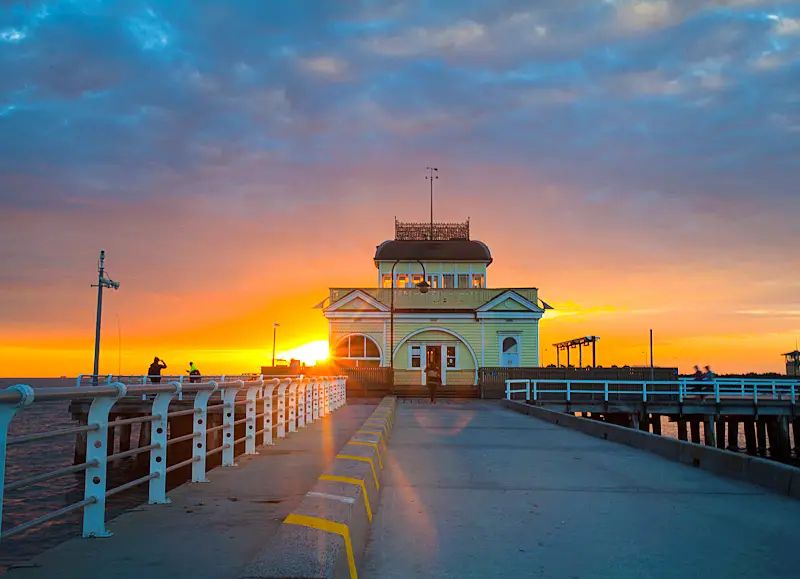
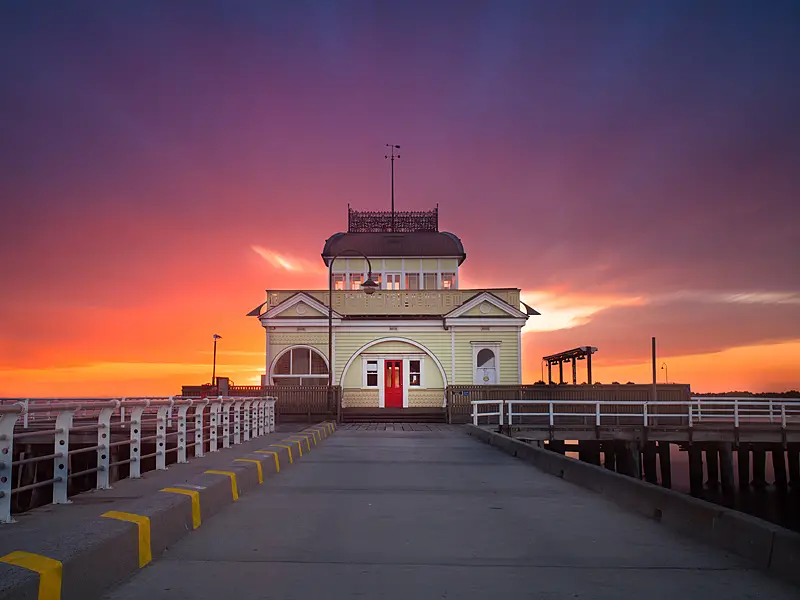
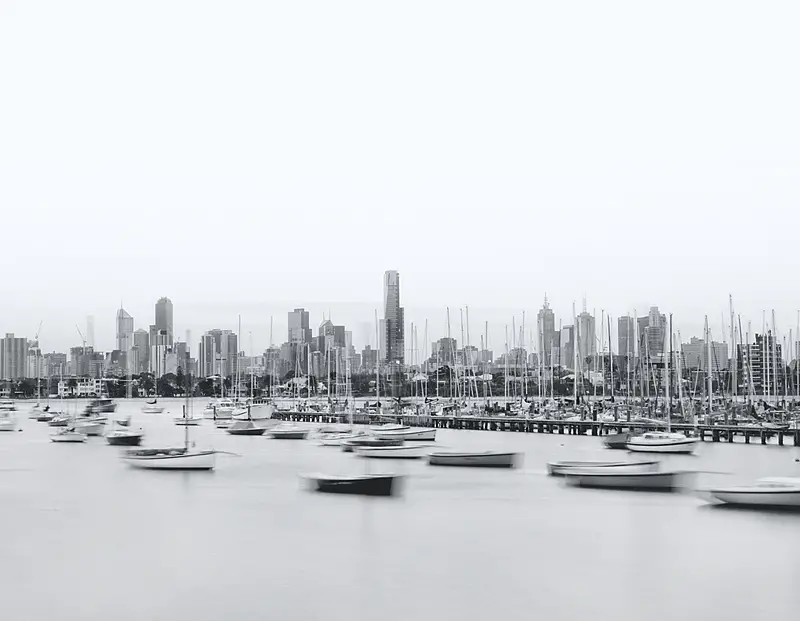
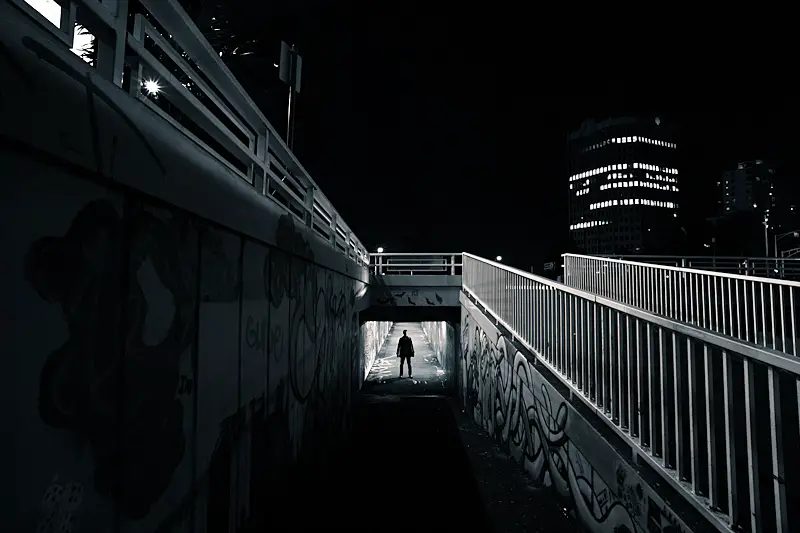
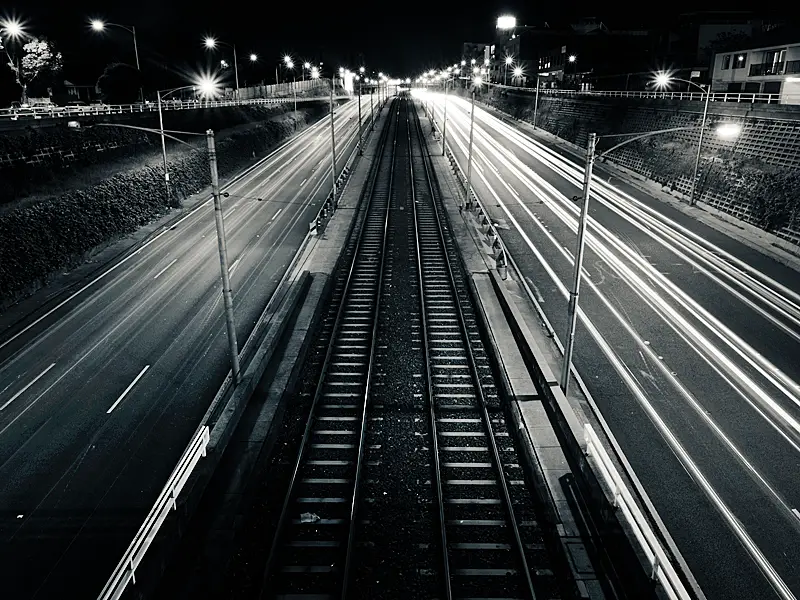
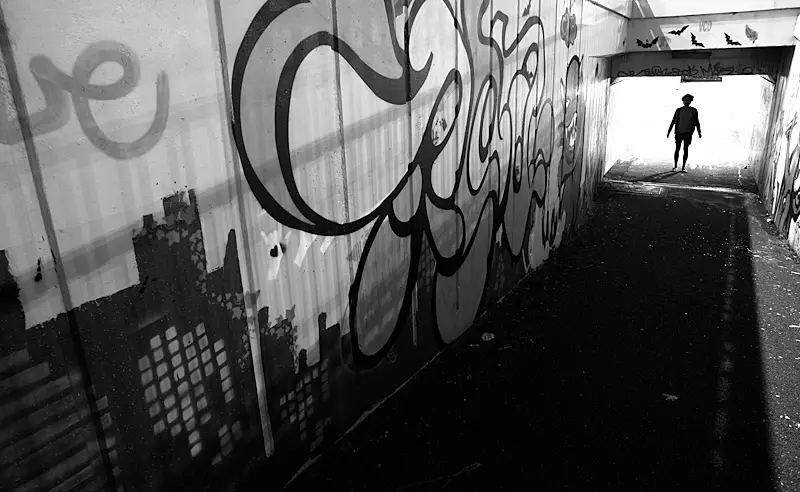
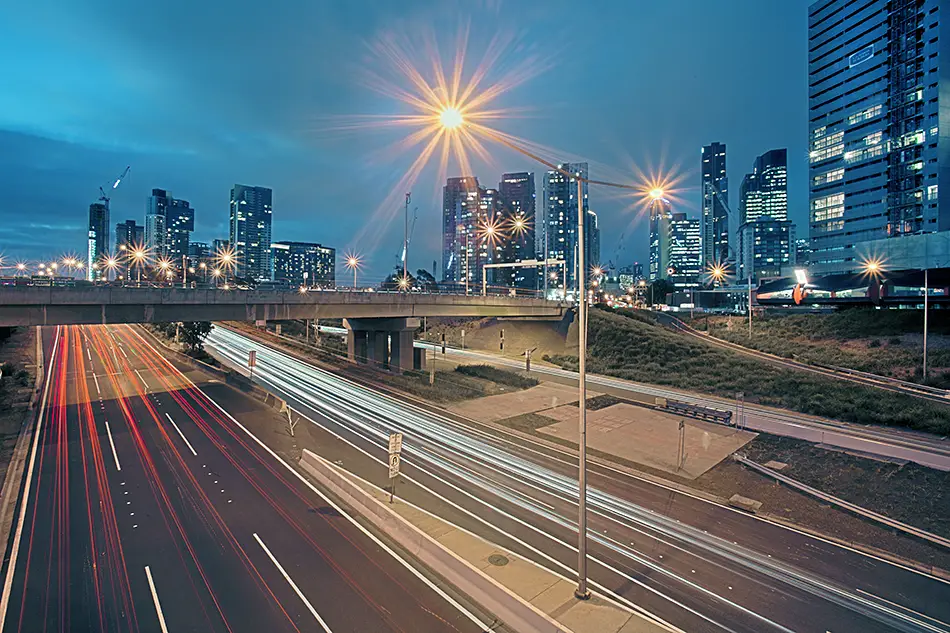
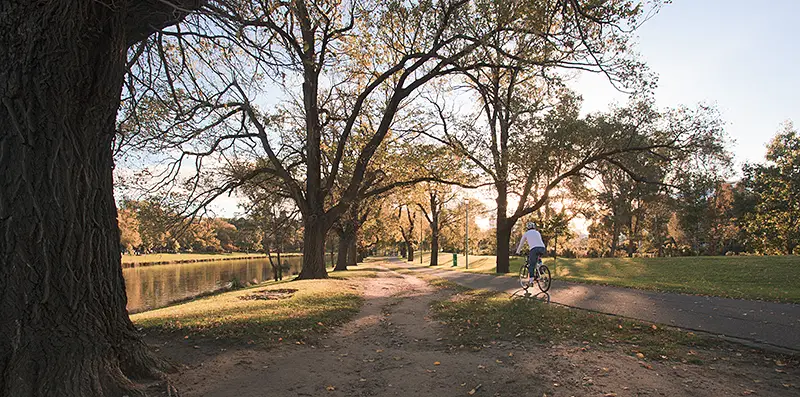
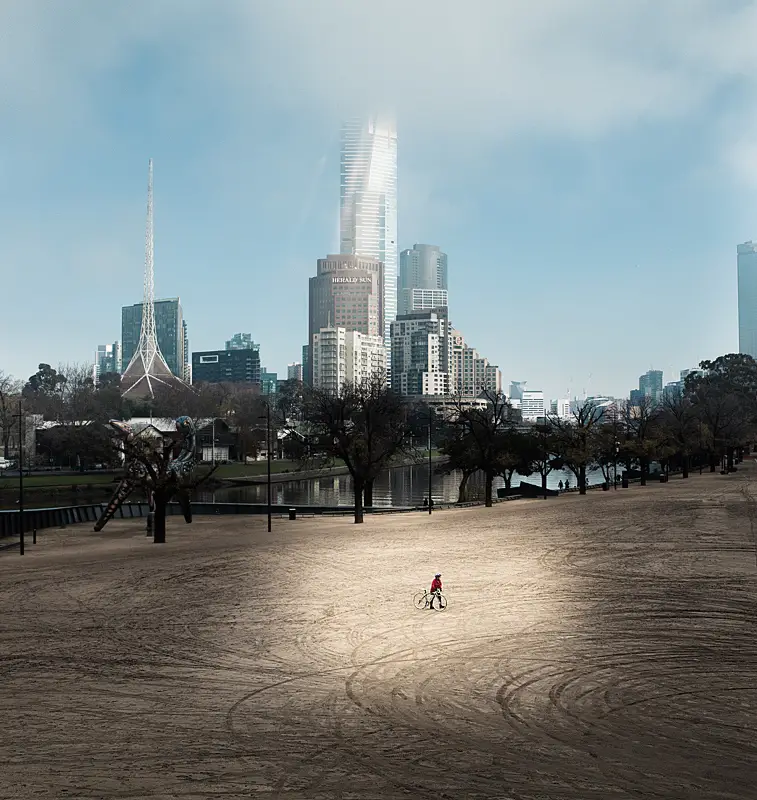
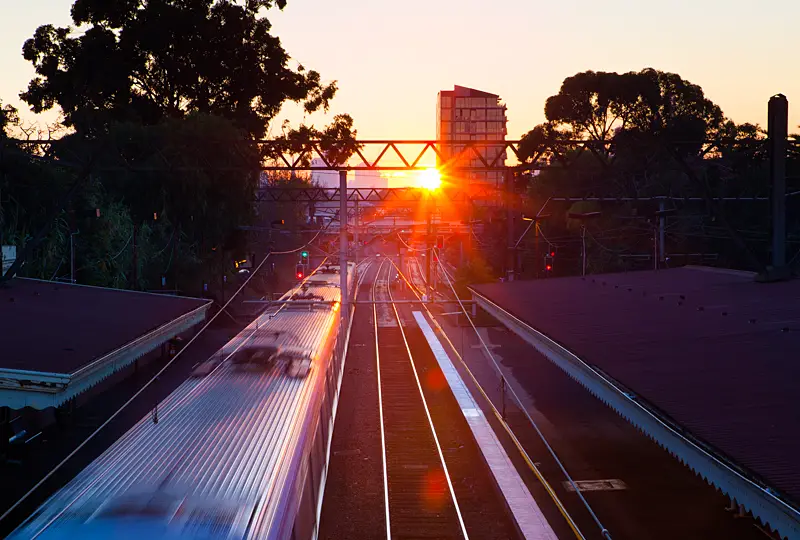
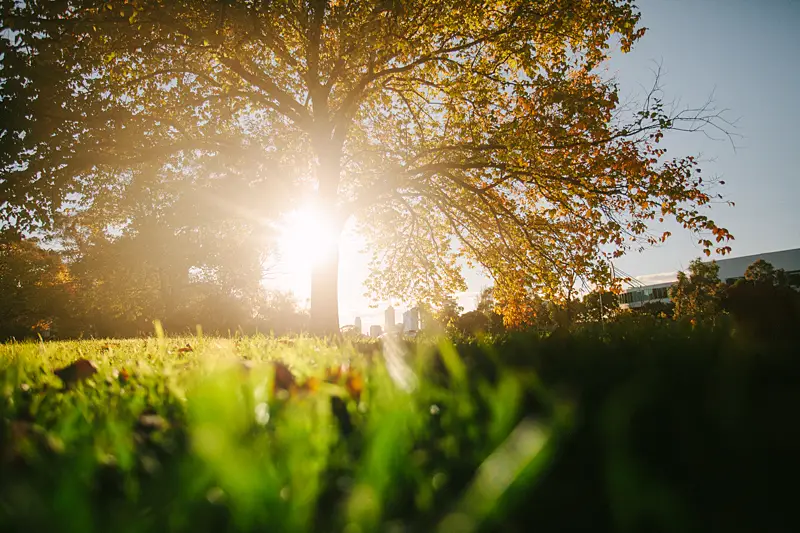
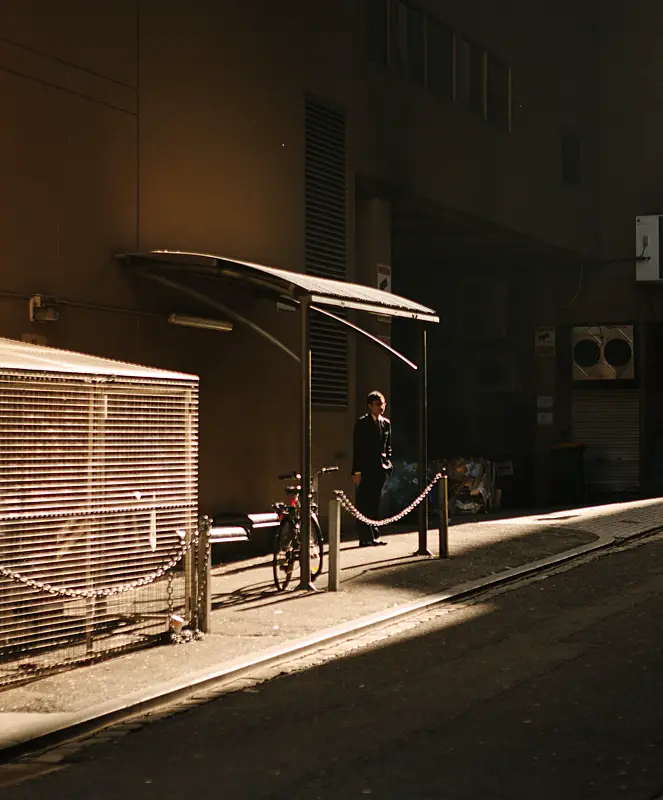
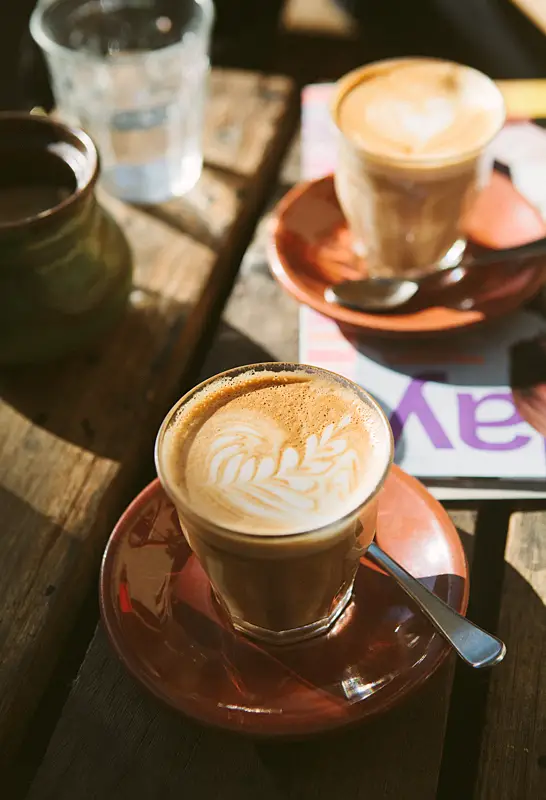
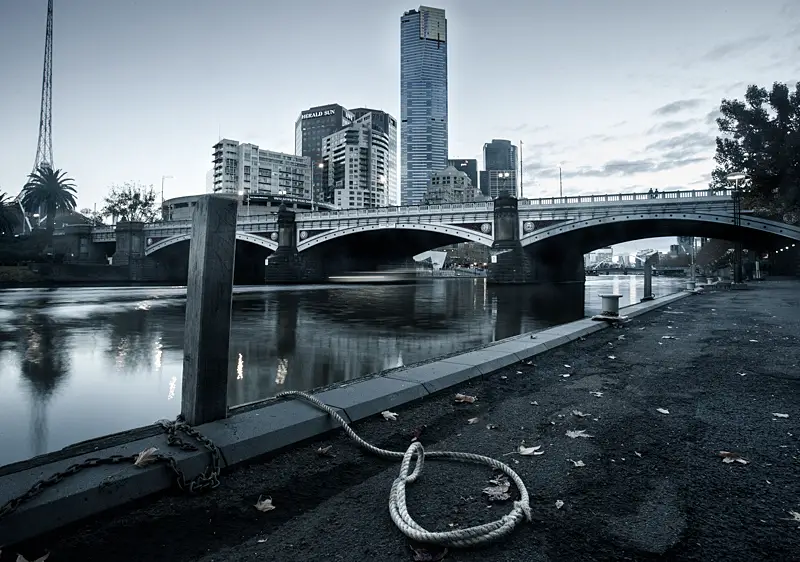
Here’s a collection of some of my favourite photos since purchasing the camera a month ago. All images are captured around Melbourme with most being on my way to and from work. I spend half my time riding keeping an eye out for things to photo. Sometimes it means I’m a little late for work but the results are worth it. In case you’re wondering, I went for a slight film look to the photos which was achieved by using Adobe Lightroom and the VSCO plugin. I’ve been a little skeptical of the plugin in the past but for some reason it just works perfectly for the style of images I’ve been shooting with the X100. I guess in the past it wasn’t appropriate for long exposures and landscape photos where accurate colour rendition of the scene is crucial. If you’re after a plugin for Lightroom that imitates film well, I can’t recommend VSCO highly enough. It’s great!

I can’t wait to give it a test run for some long exposures of waterfalls and seascapes. David from Flixelpix has posted some beautiful long exposures using the X100 on his blog so it’s definitely achievable.

PS, Sorry for overwhelming you with a ton of photos 😉

– Alex

[imagebrowser id=1]
Posted on 12 Comments

2012 Retrospective

It’s hard to believe another year has already rolled around. It doesn’t feel that long ago that I was writing a post this time last year with photos from 2011.

This year my photography increased quite a bit over the previous year partly due to a little side project called the Art of Baking that I’ve setup with my girlfriend (more on this towards the end). I’m happy with the direction my photography is going in. Probably like you, I’m never happy with my photography and there’s always a little thing or two that bugs me when I go to look back as the months pass. But finally I feel that I have a grip on the processing and composition where it’s feeling natural and isn’t just riding the current trend like others are known for. I love with photography that there’s always room for improvement and we’re constantly learning and developing. This is what keeps me coming back to apply new things and styles I’ve learnt.

Some of these things I’ve learnt throughout the years I’ve tried to document in various articles on this blog. Just in case you missed any here’s a recap with links through to the articles:


Bay of Fires, Tasmania

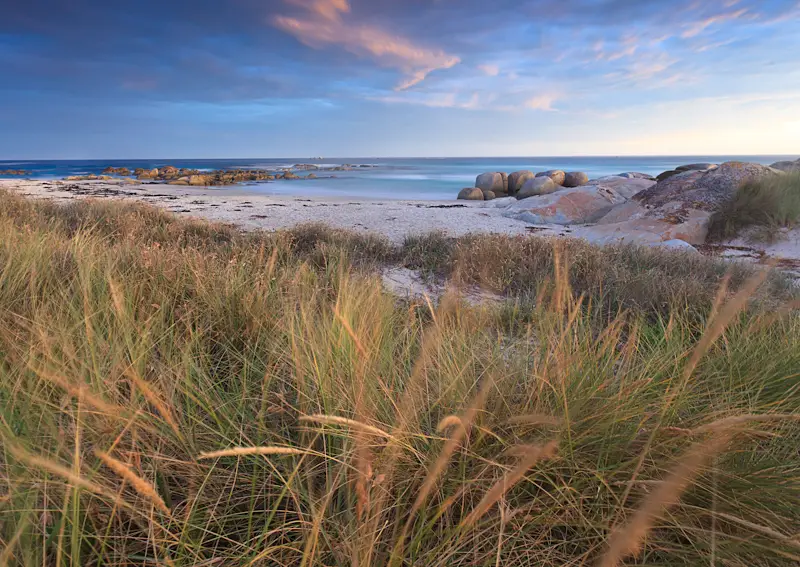
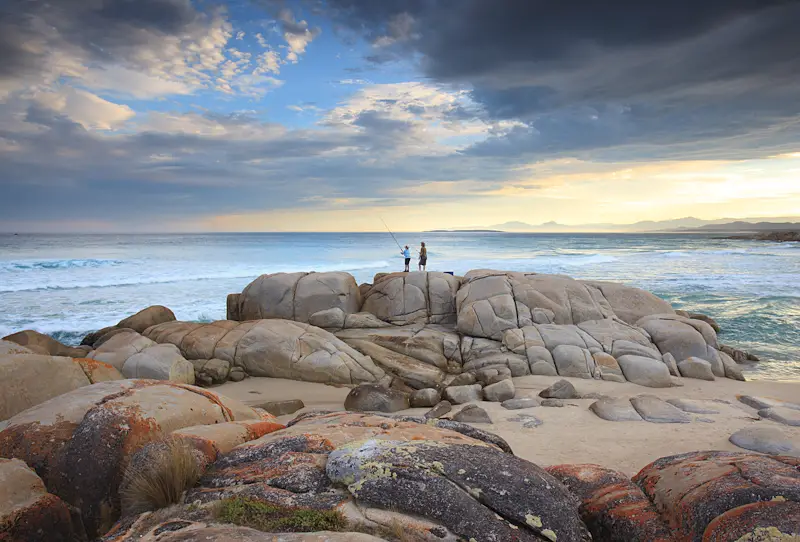
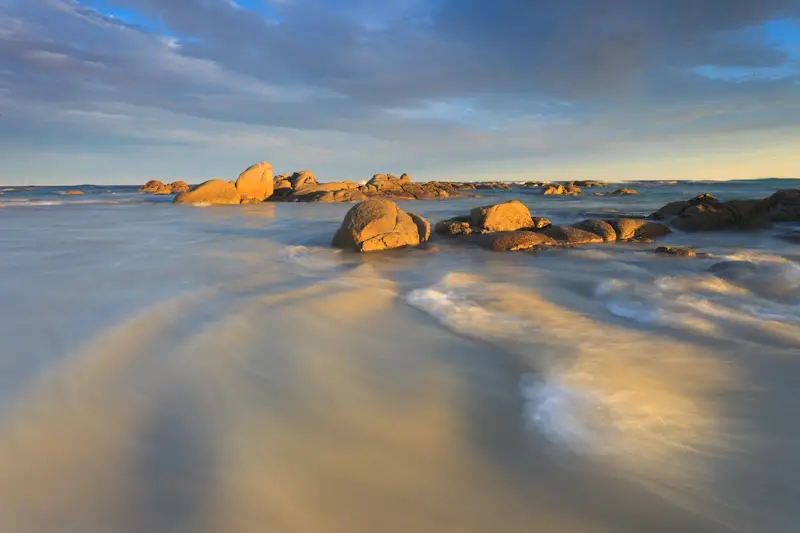
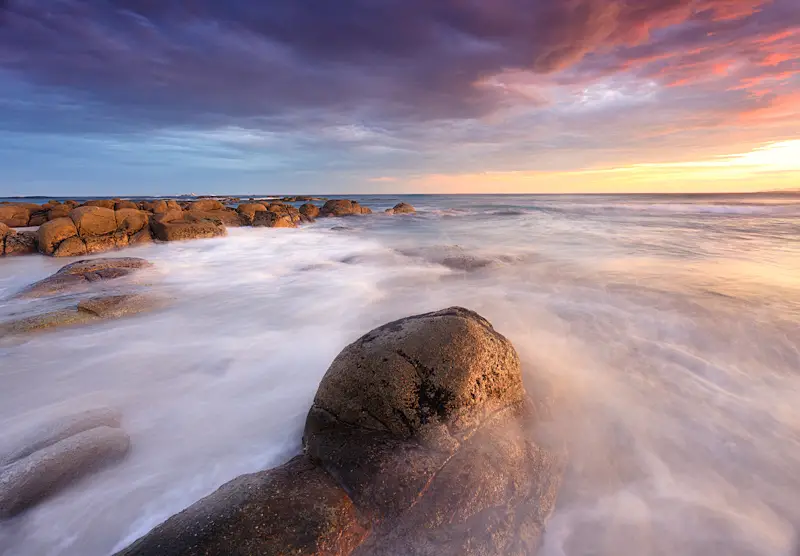
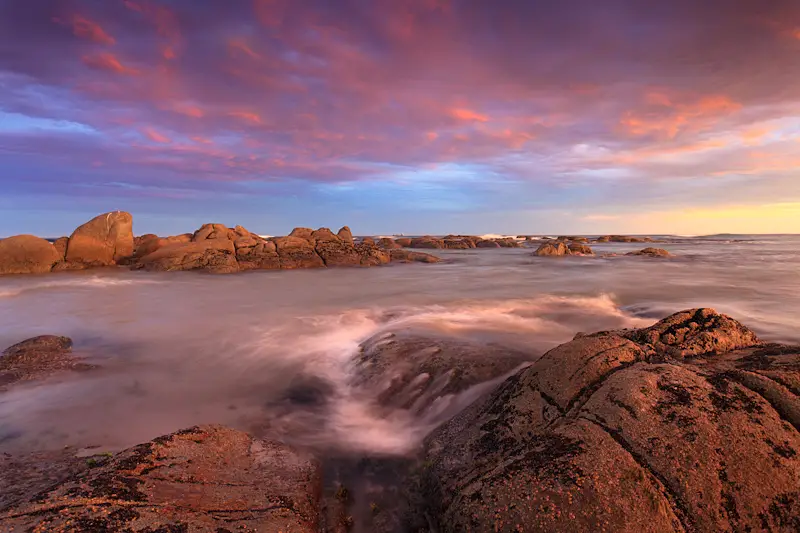
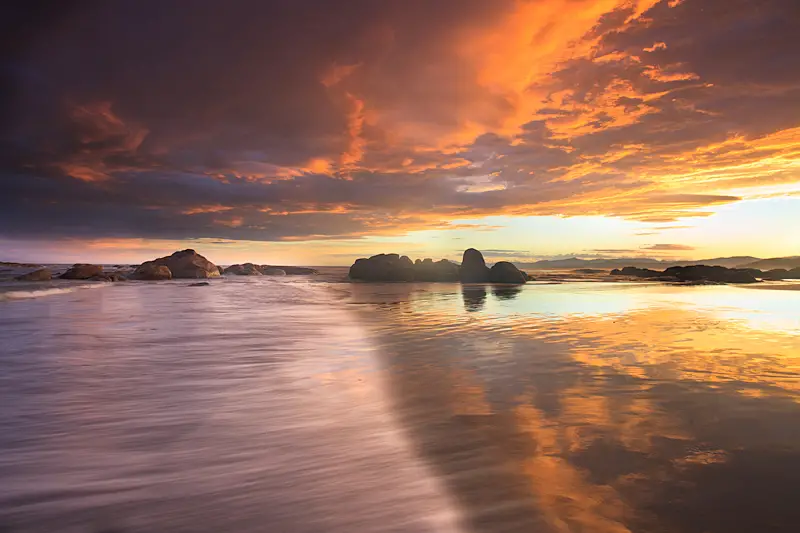
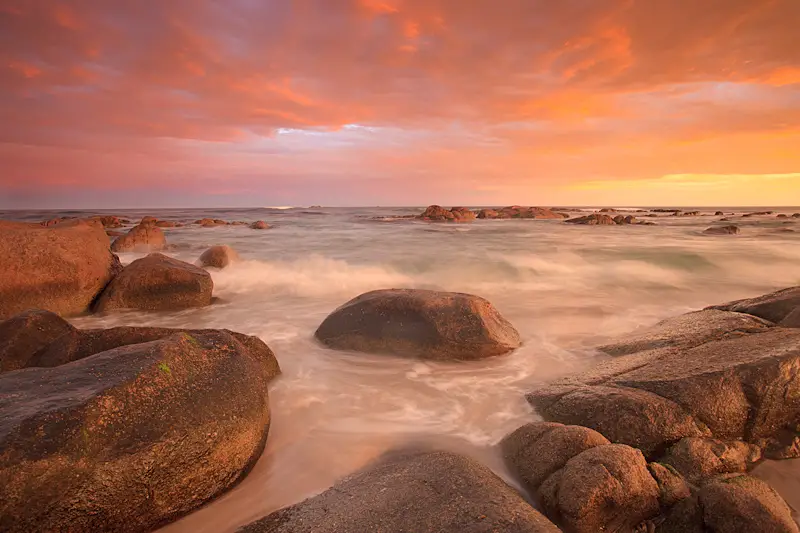
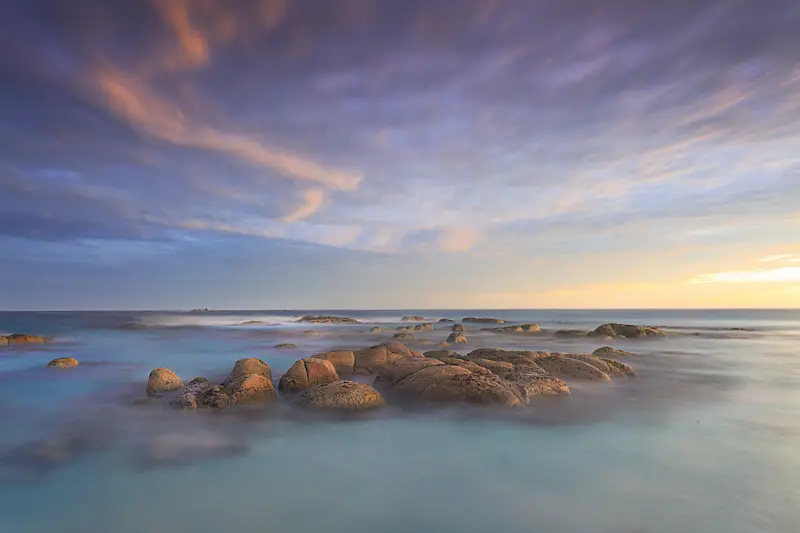
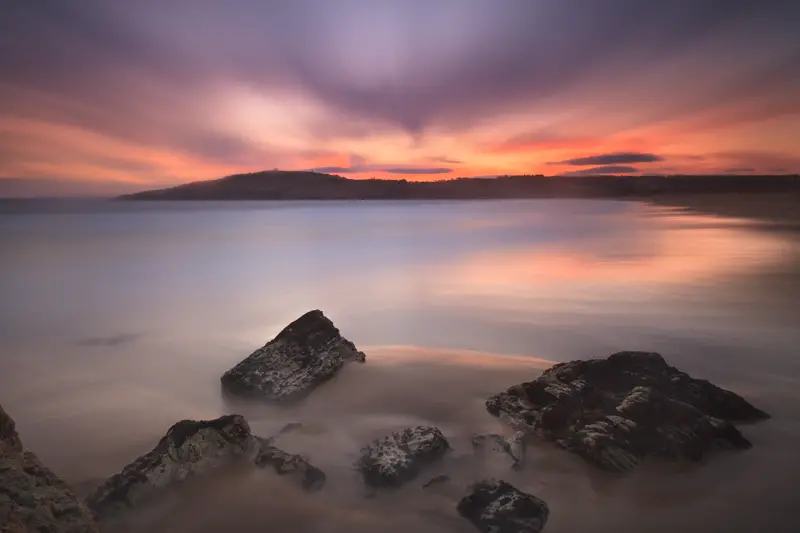
The year started off on a huge high for me photographically speaking. I’d spent a lot of time as a kid around the St Helen’s/Bay of Fires area when I wasn’t into photography so it was always high on my list to take some photos around there with nice light and colour in the sky. My family booked a holiday house up there after the New Year and we spent a few days up there. We spent a lot of time as kids around Beerbarrel Beach catching waves on our foam boogie boards at the time. It’s some of my favourite memories so it was nice to go back with camera in hand and get some photos. This was the result from a spectacular sunset one evening.

Aami Park

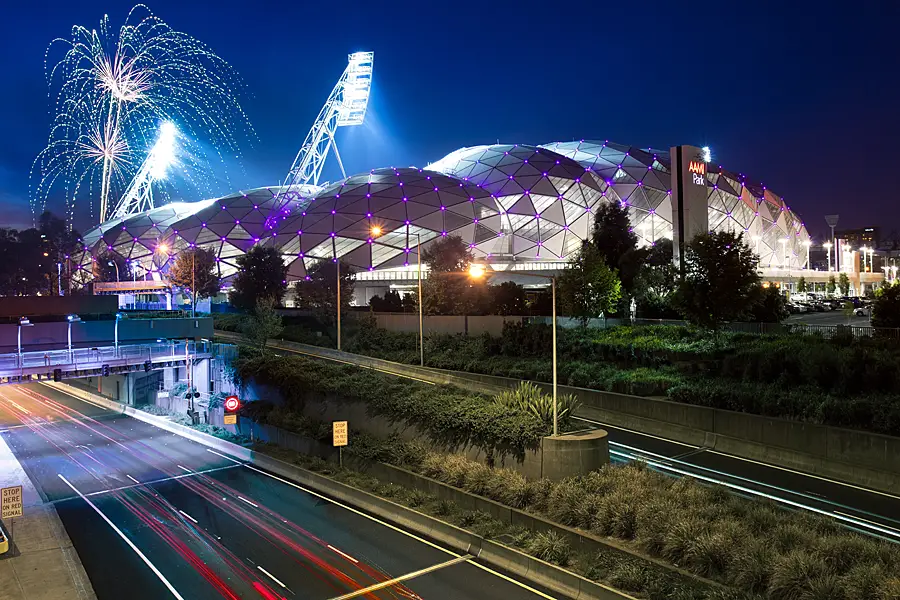
After coming home from a few weeks in Tasmania over the New Year, I was itching to take a photo of Aami Park on sunset when an A-League soccer (err… football rather) game was on to capture the stadium all lit up. Lucky for me I didn’t realise they used fireworks upon a goal being scored. It was a nice way to start the year shooting in Melbourne.

Docklands, Melbourne

Photo Mingling

Last year I tried to make an effort to meet new photographers as it’s always nice to meet others that share our odd obsession for standing around as our cameras expose for a long exposure. After many emails back and forth I met Jon Sander, a talented designer from Melbourne. We shot a few times throughout the year and are hoping to pull our socks up and do it at least once a month over 2013. Here’s hoping! PS, you owe me a beer Jon 😉

IMG_6467


Daily Carry

This year I tried to make an effort to carry my camera when riding to work or visiting friends for lunch of a weekend to capture things I might normally capture with my iPhone/Galaxy S3 on Instagram. These were a  couple of my favourite photos captured from randomly carrying my camera over the year.


Double Exposure Blending Tutorial

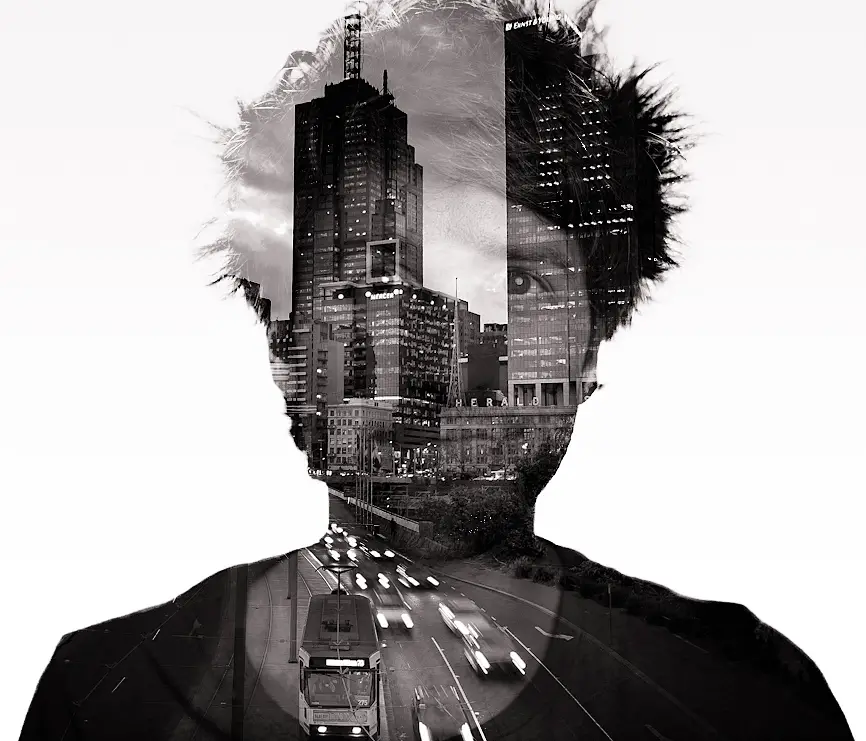
I’m always eager to read about new techniques whether it be in camera or in photoshop. One of these techniques was creating a double exposure blend which I created a tutorial about on YouTube. It’s a neat little trick that is worth a try if you have a close up photo of yourself and an image to blend over the top.

Landscapes and a Slight Mishap…

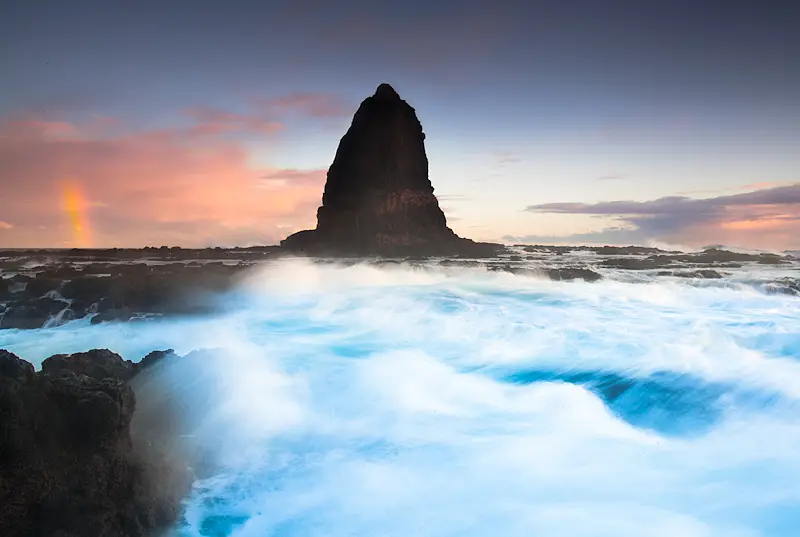
I also shot quite a bit with Ben Jensz over the year. Ben is someone I met when I first moved to Melbourne. We’ve tried to get around recent ish places to Melbourne as much as we can and this year was no exception. Although not shooting as much we would have liked, we got some photos in at Cape Schanck and various water falls around Victoria.

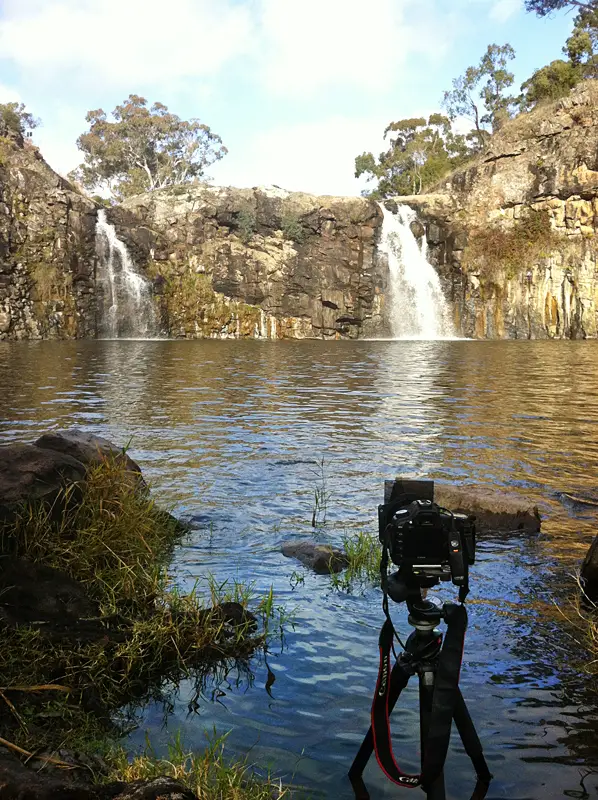
But there was one slight hiccup for me this year. The day my camera fell and went for a swim. It was all set up ready to capture a photo of Turpin Falls and was exposing for the minute until mid way through the exposure it somehow moved and fell into the water. As you can imagine I was devastated and had the camera inspected by Canon who declared it dead. Cutting my losses I quickly bought another Canon 5D Mark II to replace the camera so I could get back out shooting again and put the loss behind me. Sucks.

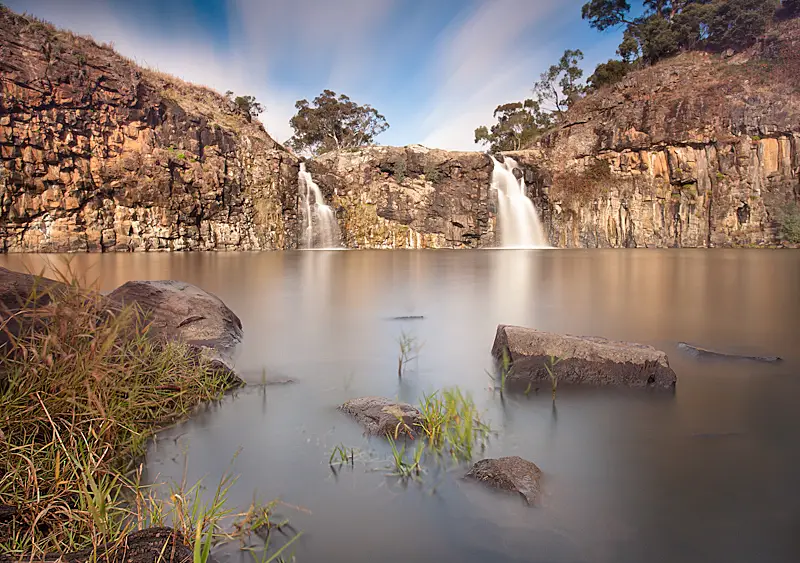
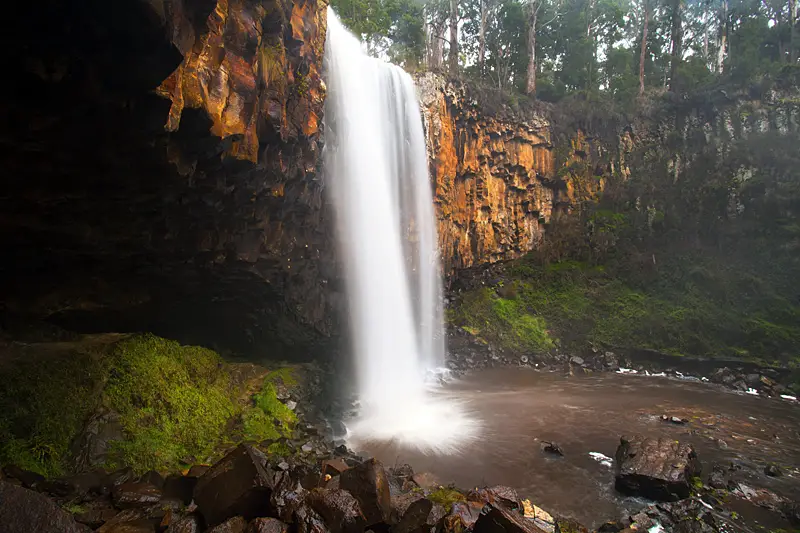
This was a photo of Turpin Falls captured just before the camera slipped and fell into the water…

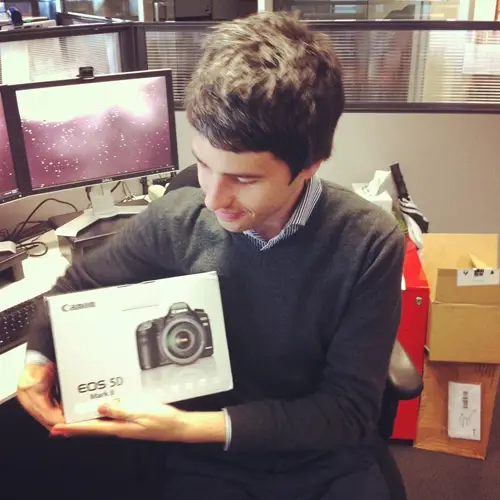
But as I said, a replacement camera wasn’t far away and I quickly made sure to order a new one. Here I am with my baby 😉

Last Couple of the Year

Unfortunately there wasn’t a whole lot of shooting towards the end of the year and here’s a couple from December at Park Beach and Clifton Beach both in Tasmania.

IMG_6587 IMG_6681

 Art of Baking

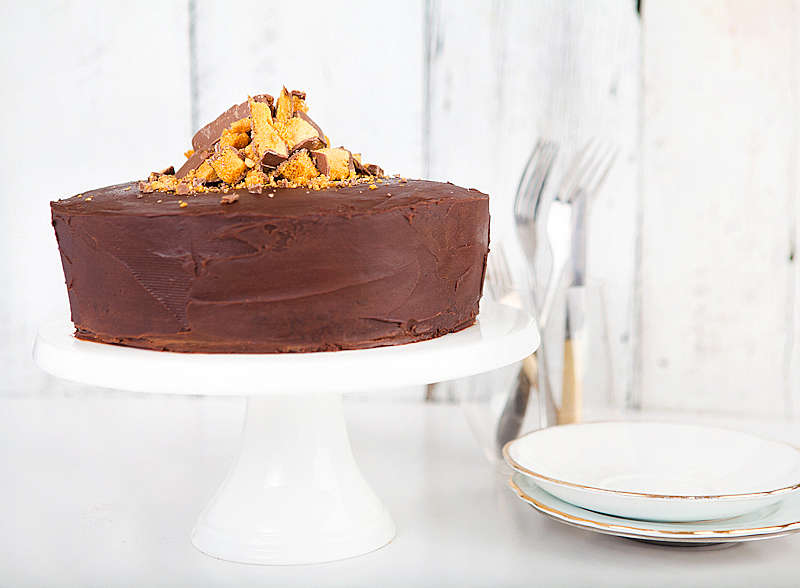
We’ve had a lot of fun with the project with a rising amount of traffic coming through and features in a couple of local magazines. I’ve found it quite challenging shooting with lights due to the obvious difference over my normal style of long exposure photography. But for the most part it’s been a fun project that I’ve really enjoyed doing with Rani. Without her baking prowess it would be nothing. I’ve tried to separate the baking photos by presenting them at the end. Be sure to check out our little blog.

 Thanks!

And that’s it for another year. Thanks for all your continual support over the year. It never goes unnoticed and I appreciate it a lot. I hope you had a great year.

You might also be interested in my 2010 Retrospective and 2011 Retrospective posts from previous years.

If you have any comments or just feel like saying hi, be sure to drop a line. I always look forward to hearing from people so don’t be a stranger.

Thanks,

– Alex

Posted on 6 Comments

Automatic Exposure Bracketing (AEB) Explained

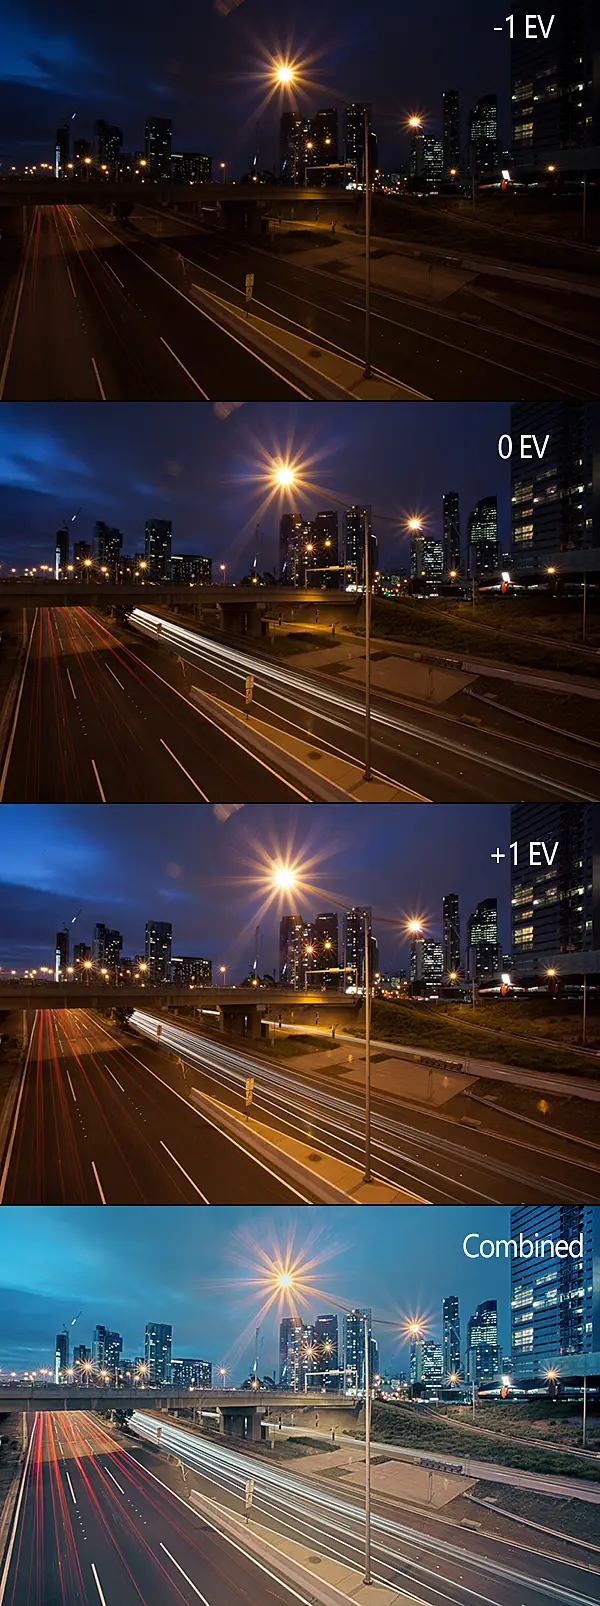
Recently a friend purchased his first DSLR camera and we’ve been getting out doing some shooting around Melbourne and Tasmania (where he’s based). Helping someone starting out with photography has been rewarding as I’ve been able to show him the things that I wish I knew when I was starting out with photography which has forced me to go back and read up on things. The little things like explaining the various camera filters and learning about features on your camera that you didn’t know were there. One of these features is the Automatic Exposure Bracketing (AEB) feature. As cameras have advanced, the AEB feature comes standard with most cameras now days. This guide is more so written for Canon cameras but the logic can easily be applied to other brands.

Continue reading Automatic Exposure Bracketing (AEB) Explained

Posted on 2 Comments

Exploring the Lightroom Split Toning Feature

IMG_2986

Split toning has become quite popular thanks to Adobe Lightroom making it easy for photographers to experiment and add duo-tone  sepia and film effects to their photographs. But split toning isn’t anything new and actually dates back to the late 1800’s. The technique was used by photographers including Ansel Adams to add a colour to either the highlights or shadows to a black and white photograph (as they were at the time). Ansel would occasionally add a very subtle purple to the shadows of his stunning photographs.

Since the days of Ansel Adams using split toning  the technique has evolved and we now use it slightly different to in the past. That’s not to say it can’t still be used like it traditionally was but as photography has evolved as have the way techniques are used. Photographers are now using split toning on the shadows and highlights of their images to recreate film effects like cross processing or adding a duo-tone like effect to their image. It’s a feature of Lightroom that I love to tinker with when editing my photographs and I’d been meaning to write a blog post about it for sometime now after making a YouTube tutorial on split toning last year.

What is split toning and how does it work?

Basically split toning involves adding a colour to either the shadows or highlights part of an image. One favourite of mine is adding a yellow to the highlights to give the image a warm feel. While other times I like to add a blue to the shadows to give the image a cold feel.  If you’re going for a warm or cold look to your image this can sometimes be achieved by adjusting the temperature of the image. Personally, I prefer the control which split toning provides but you can also adjust the temperature for a similar effect

For photographers using Lightroom the split toning feature can be accessed by opening the Develop tab and located fifth menu down from the right.  Once open you will be presented with two different options: Highlights and Shadows. Start by selecting the little box that appears next to Highlights and select the blue box (see below). Now do the same for the Shadows but this time select the yellow looking box.

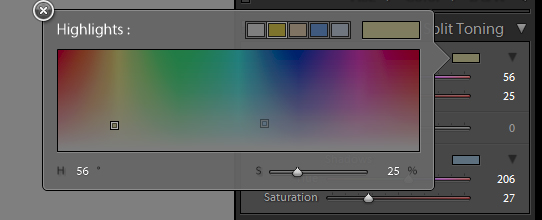
Selecting a colour to split tone the highlights


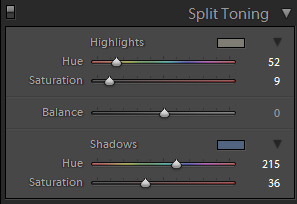
From this point I start to gradually change the hues of both the Highlights and Shadows, adjust the saturation of both and slightly play with the balance until at a level I’m happy with. There’s no perfect formula that will work all the time for images so I find the best thing to do is to play until you get the results you desire. If this isn’t making much sense then give my video split toning tutorial I uploaded to YouTube last year a look which explains the process better.

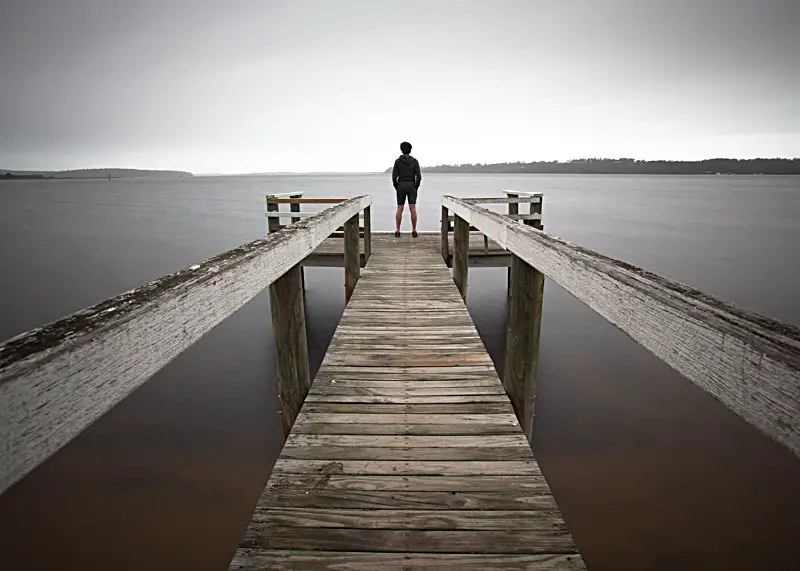
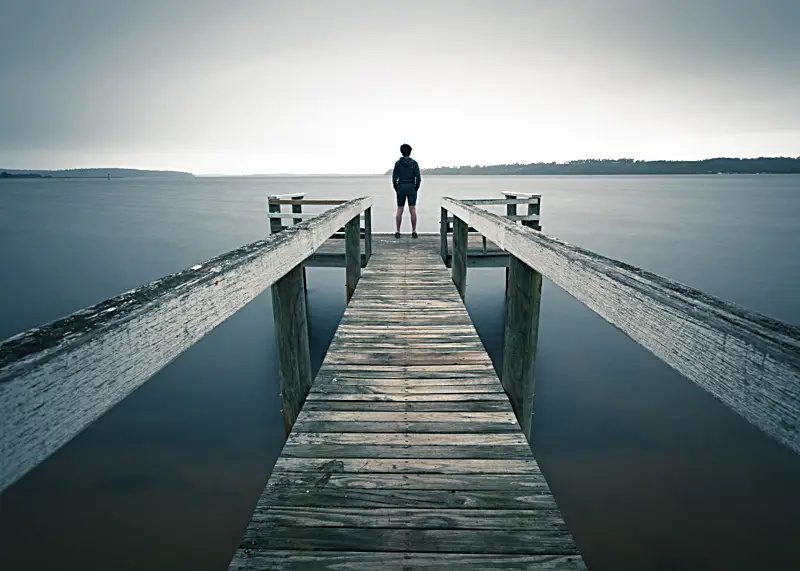
Let’s start to look at some images and the split toning settings that were used to give you an idea of how I’ve used split toning in the past –

IMG_6231-2
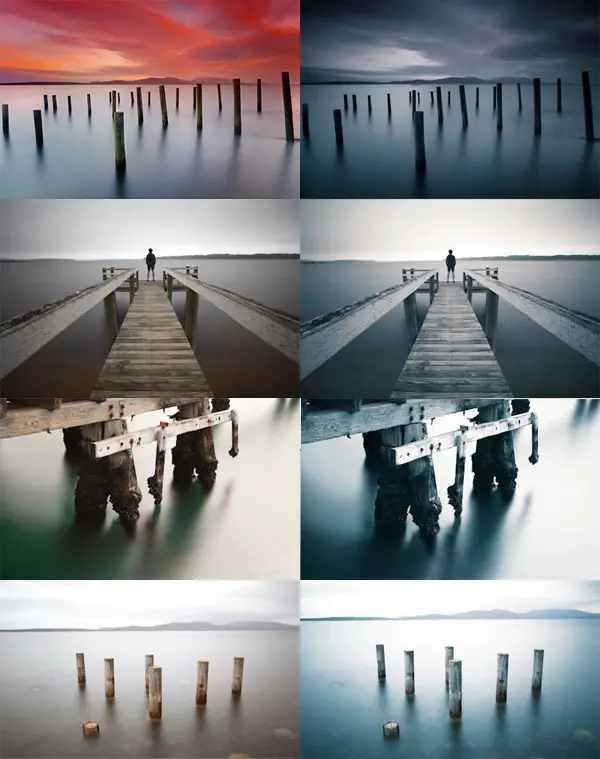
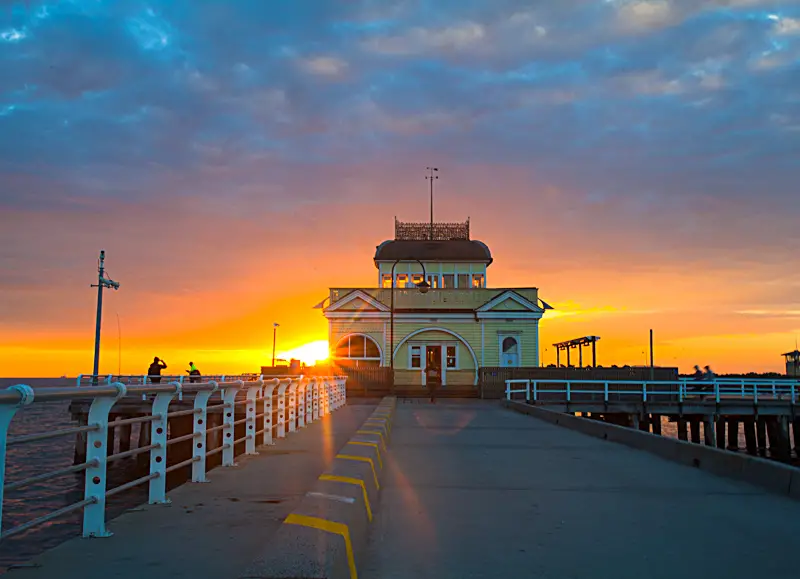
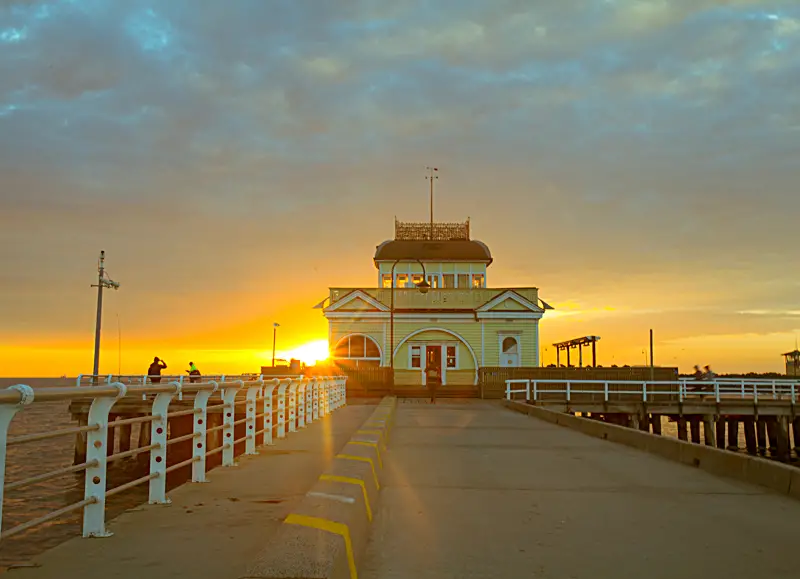
St Kilda Pier with natural colours
IMG_6231
St Kilda Pier with split toning applied


stkildasplit
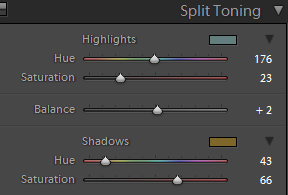
Split toning settings for the above St Kilda Pier photograph


IMG_2444-2
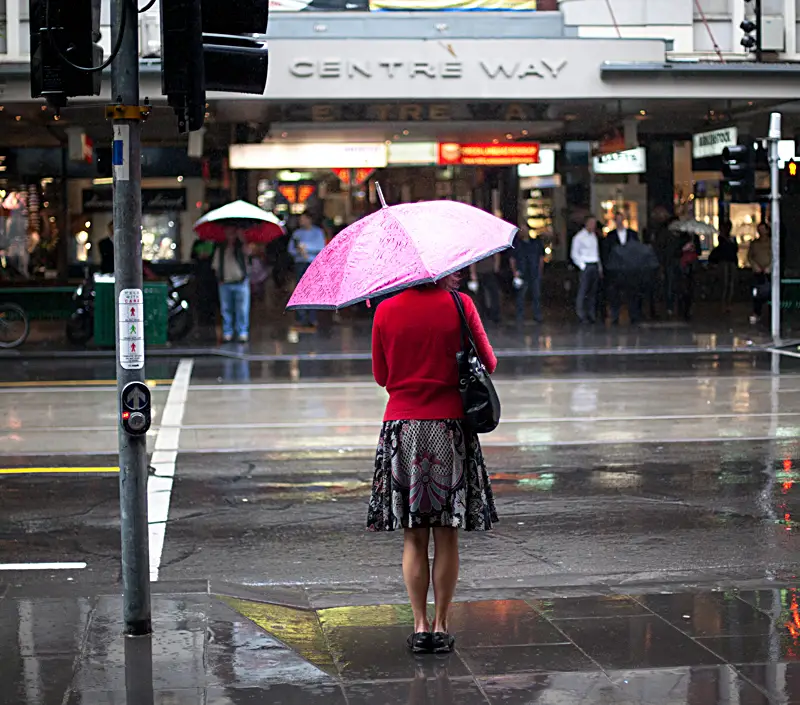
A wet miserable day with natural colours
IMG_2444
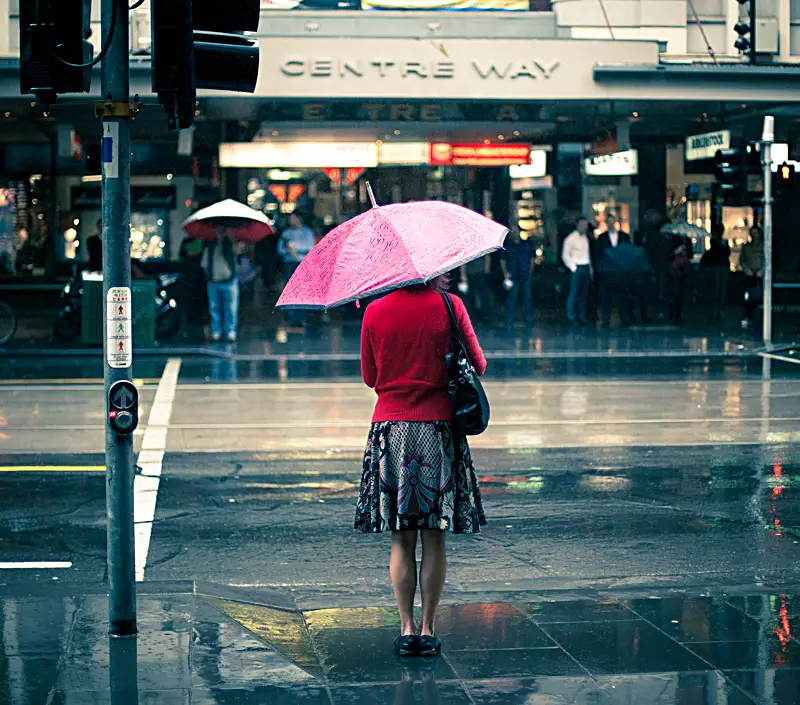
A wet miserable day with split toning applied


melbourne1split
Split toning for the above photograph ‘A wet miserable day’


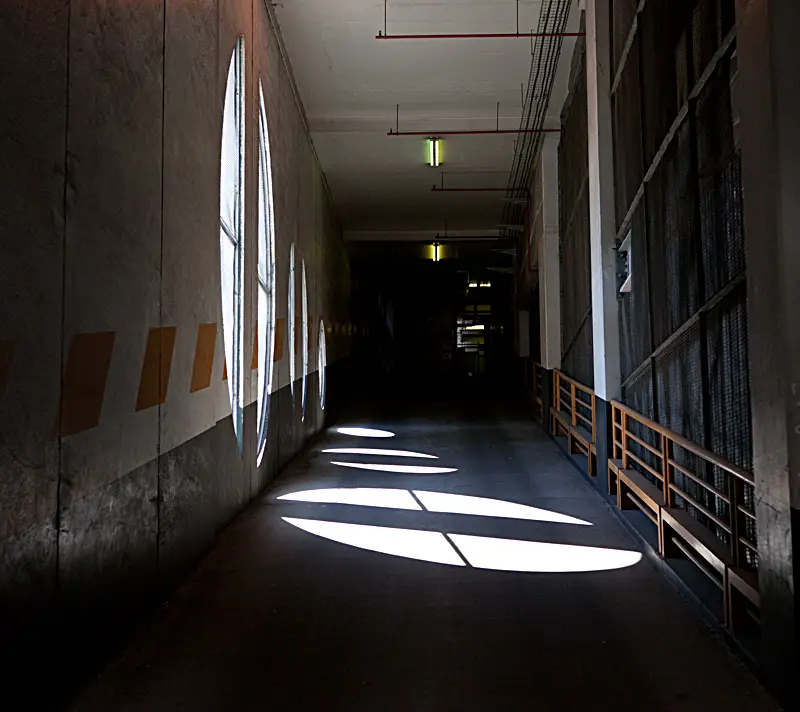
IMG_2192-2
Car park entrance with natural colours
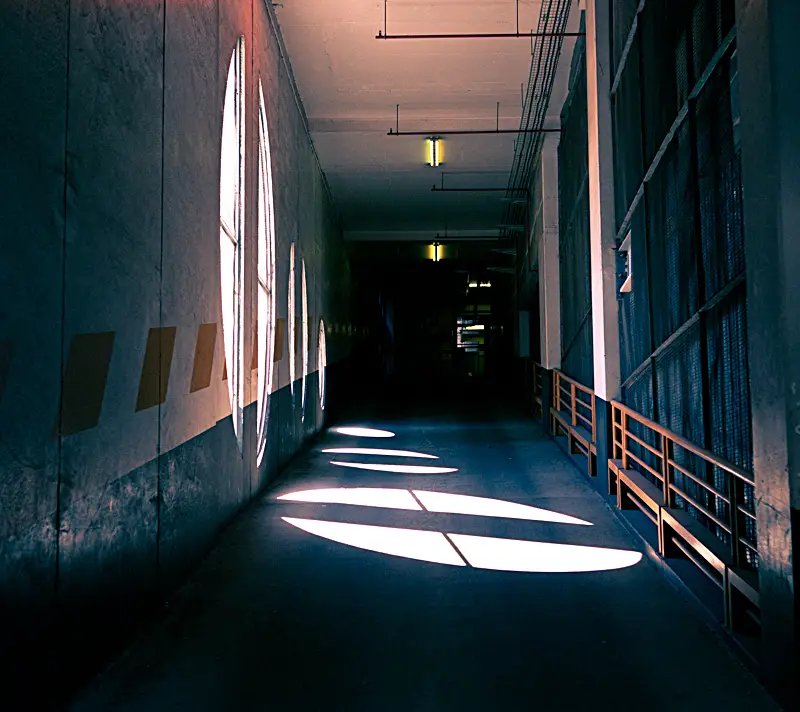
IMG_2192
Car park entrance with split toning applied


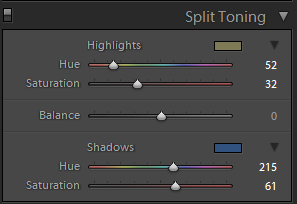
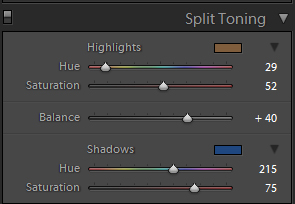
melbourne2split
Split toning settings for the above car park entrance photograph


IMG_2986-2
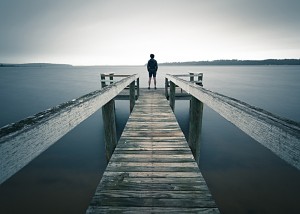
Self portrait with natural colours
IMG_2986
Self portrait with split toning applied


sthelenssplit
Split toning settings for the above self portrait


Adding Split Toning to Black and White Photographs

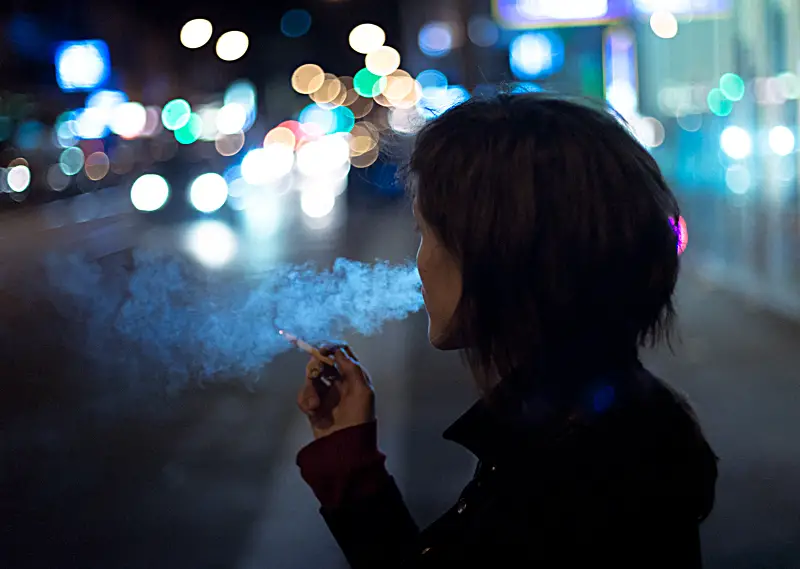
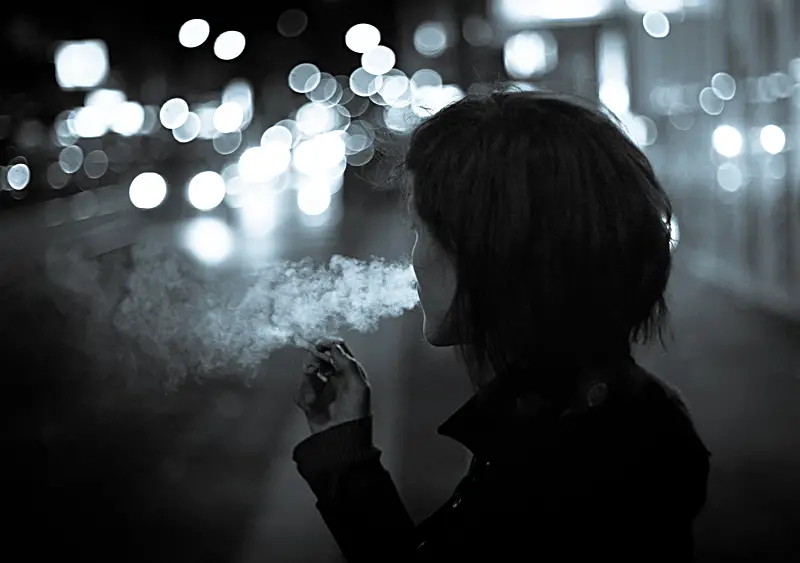
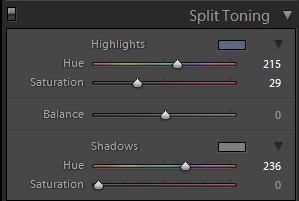
Another reason I love split toning is the subtle tones you can add to a black and white image. My favourite is adding either a very subtle blue into the highlights to almost give a duo tone feel to the image. For this image I processed as normal and then dropped the saturation completely to make the image black and white then opened the split toning and added a slight blue to the highlights. It’s a neat little trick and something I’ve got into a habit of adding when going for a black and white feel to my images but adding something a little different on top.

IMG_7972-2
Girl smoking in natural colours
IMG_7972
Girl smoking with split toning and decreased saturation applied


smokingsplit
Split toning settings for the above photograph of a girl smoking


Split Toning Lightroom Presets

Or if you’re feeling slightly lazy and would rather all of this to happen at the click of the button then my Lightroom presets might suit you best.  The presets (not to be confused with an Australian band…) are heavily split toning based and at this stage offer a duotone/cold effect and a coffee/warm effect for your images. Below gives you an idea of what the two presets offer.

Feel free to click either image to download the preset.

duo
coffee

I hope this tutorial on split toning has been useful for you. If it has I’d appreciate you share the love by using one of the share buttons to the side menu on the right.

Feel free to drop an email if you have any questions. Always happy to help 🙂

– Alex

Posted on 6 Comments

Melbourne – 2012

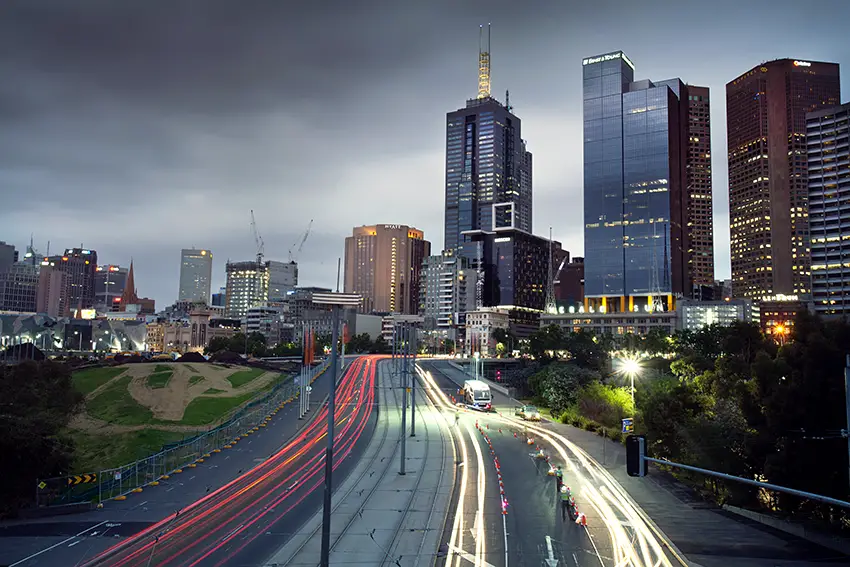
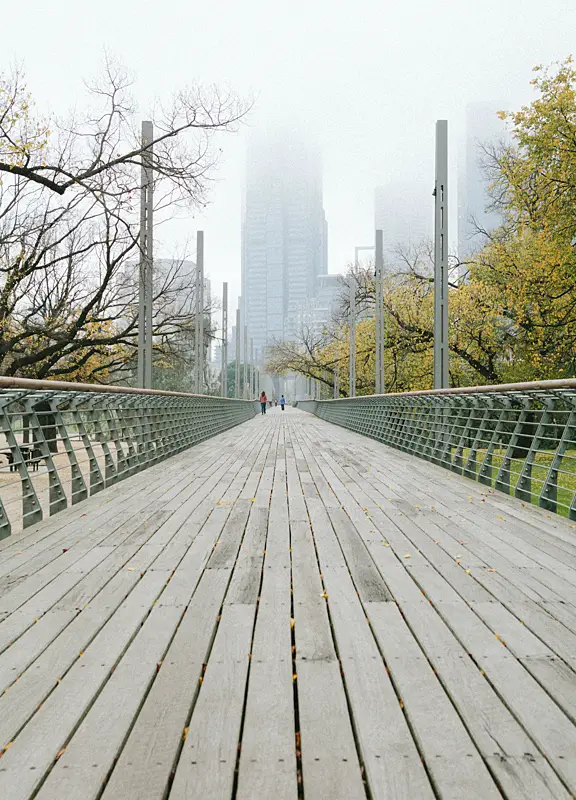
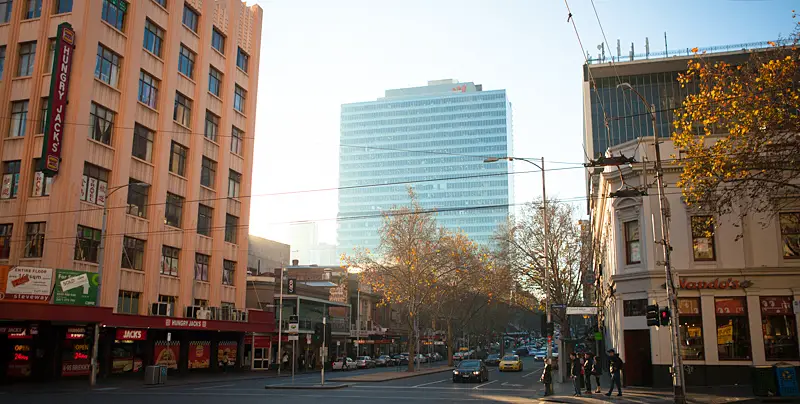
Looking through Lightroom I noticed a few photos taken over 2012 in the Melbourne CBD that I never got around to posting. Some I’m fond of and others I’m still a little undecided. Looking over the series though it makes me half tempted to purchase a small point and shoot to permanently carry around in my bag like a Canon S100. So very tempting.

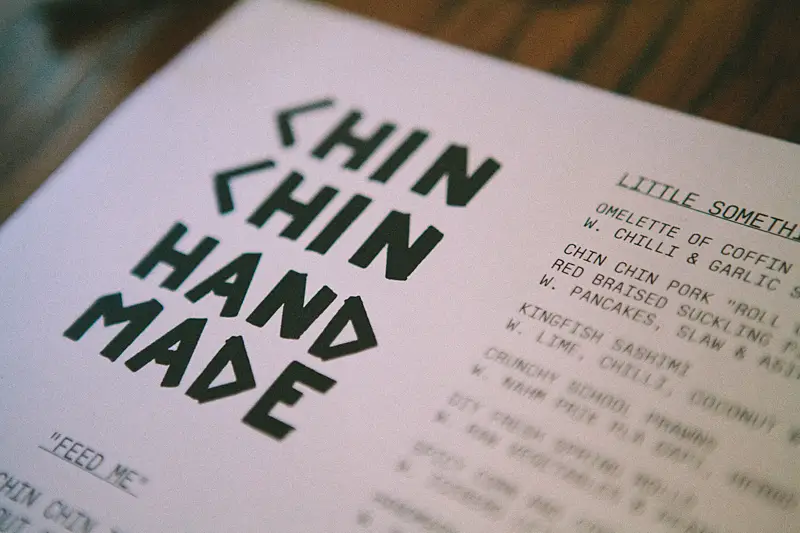
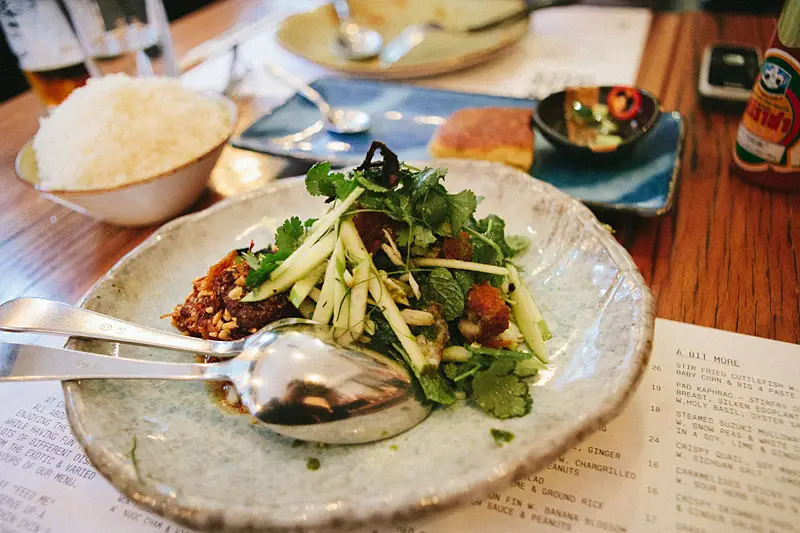
Also I don’t normally post photos of my food here (embarrassingly a bit of that ends up on Instagram) but I couldn’t resist a photo or two from the delightful Chin Chin. If you’re ever in Melbourne be sure to pop in for a visit. WIth such a large menu I’ve gone back a few times and haven’t been disappointed. Oh so good.

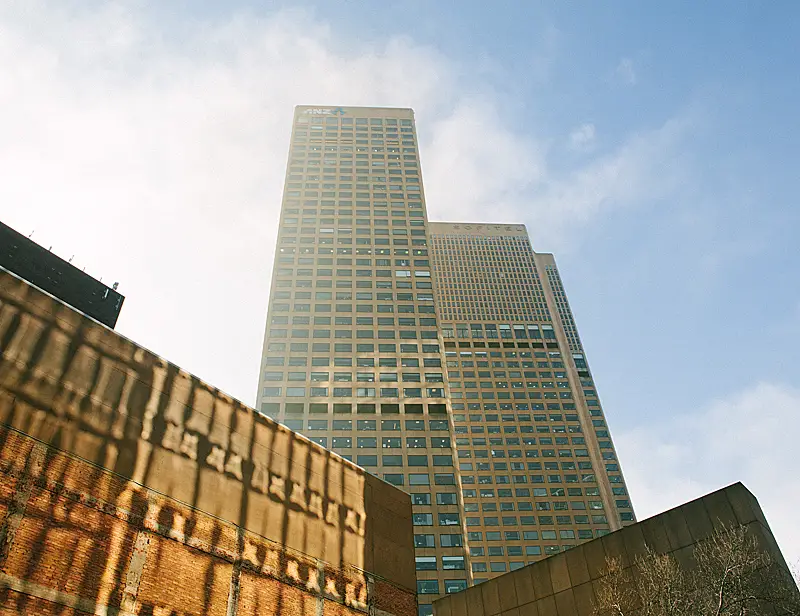
Curious to hear what people think especially of the first image with some processing that is slightly different to how I process my images.