Posted on 8 Comments

How to Photograph Waterfalls – Tutorial

Photography Tips: Waterfall Photography

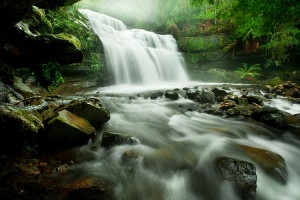
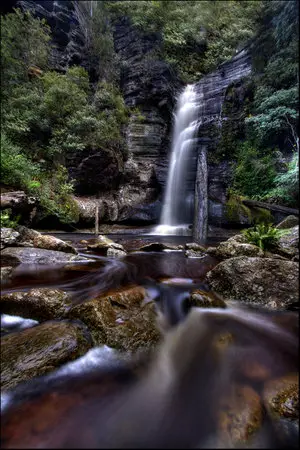
Waterfall photography is one of my favourite styles of photography as it combines my love of nature and long exposures.  I’m a sucker for standing waist deep in a freezing stream capturing a photo. It’s strangely relaxing especially when you have a scene all to yourself. But enough jibber, these photography tips should help you with:

  • What camera settings to use for waterfall photography
  • Explain and show how shutter speed can affect your photo through visual examples of different long exposures
  • What equipment to use
  • My personal step by step process of setting up a photograph and the things I consider in terms of composing the photograph and how I decide on what camera settings to use
  • Working out ideal weather conditions for waterfall photography

Continue reading How to Photograph Waterfalls – Tutorial

Posted on 18 Comments

Guide to Daytime Long Exposures

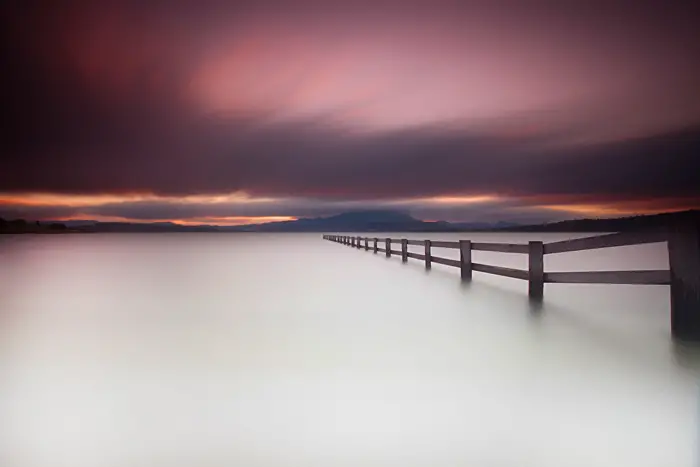
A small buying guide and photography tips to assist you in making the right purchases to photograph daytime long exposures. Using strong neutral density filters will allow you to shoot 1-5 minute exposures during the day depending on the conditions. If you’re bored with photography, neutral density filters are a great way to rejuvenate your hobby and get passionate again.

Camera with graduated neutral density filters
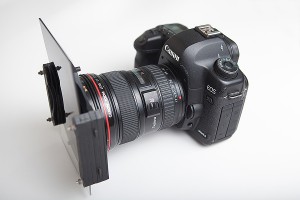
My day time long exposure setup consisting of a Canon 5D Mark II, Canon 17-40, B+W 110 and a Cokin Z-Pro Neutral Graduated FIlters

It can be rewarding but also sometimes challenging as you’re forced to look at a scene from the perspective of how a long exposure will transform it. This guide should help guide you on what equipment you will need if you want to shoot daylight long exposure photography and a few photography tips on how to calculate the long exposure shutter speed.

Continue reading Guide to Daytime Long Exposures

Posted on

Neutral Density Reference Chart

neutral density reference chart
neutral density exposure chart
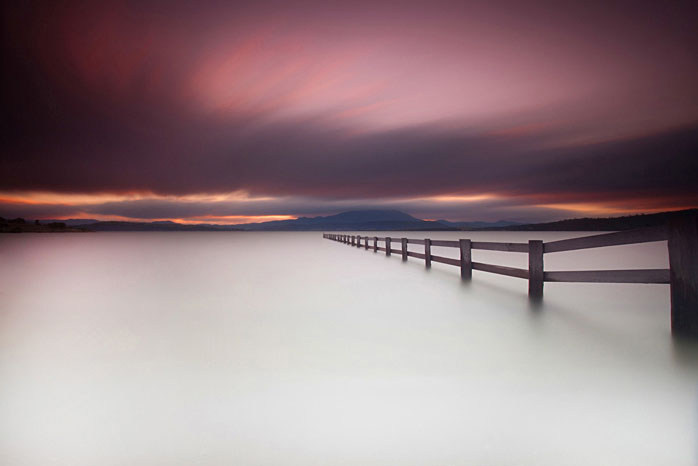
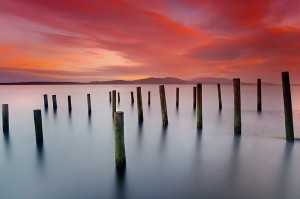
One of my favourite long exposure photographs taken at Mortimer Bay, Tasmania

neutral density reference chart

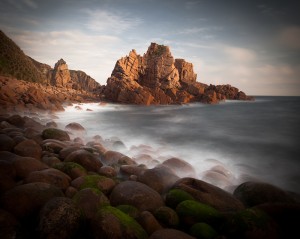
A common question I receive from people is about how long they should set the shutter speed when using strong neutral density filters such as the 10 stop B+W 110 filter or NiSi Long Exposure Kit.  It’s a hard question to answer and I often point them to a chart (see end of post).

Rather than point you to a pdf file all the time I thought it would be more useful to point the information into a WordPress table to act as a quick reference for long exposure photography.

My Step by Step Process for Long Exposure Photography

I must be honest and tell you I’ve never used the chart and prefer to photograph a scene based on general feel for the scene. Over time you’ll learn how different conditions will need certain settings. For example the early stages of a sunrise (when it’s still dark) or the late stages of a sunset (when light is quickly fading) will require a significant exposure with the 10 stop attached. I’ll generally shoot around the 10 minute mark at F9 with a 100ISO. But if shooting during the sunset when there is more light available I’ll shoot more around F13 with a 2-5 minute exposure at 50ISO.  If on the other hand you’re shooting day time long exposure photographs around noon, I’ll crank the F stop to around 20-22, lower the ISO to 50 and shoot a test shot around the 1 minute mark and adjust accordingly. But to rehash these are my rules of thumb when shooting with the B+W 110 10 stop neutral density filter:

  • Early stage of a sunrise or late part of a sunset (when there is limited light available) – 10 minutes, F9~ with a 100-200 ISO (never any higher  due to a higher ISO increasing noise)
  • During sunset or sunrise when there is plenty of light available – 2-5 minutes, F13~ with a 50ISO
  • Day time light conditions (this can vary based on the scene being overcast or sunny) – 1~ minute, F20~ with a 50ISO

It’s not the most calculated way of doing things by any means but it’s a method that has worked well for me.  My best advice would be to play around in these scenes (early stages of a sunset, late stage of a sunset and day time) noting the settings for each scene and use these as a guide for when shooting scenes. It will mean less stuffing around when you arrive at a scene which is important when shooting a sunset and great light is disappearing quickly.

More Long Exposure Guides on this Blog

If you’re starting out in long exposure photography you might want to have a read over my free guide that looks at taking super long exposures (even during the daytime) that includes a guide on long exposures with before and after photographs and some equipment I recommend.  Also my waterfall photography guide also explores long exposures with the effect which long exposures can have when photographing waterfalls.

If you still have any questions after reading these articles please feel free to email me and I’ll be happy to help.

Free Neutral Density Exposure Chart

long exposure calculatorIf you want a copy of this neutral density exposure chart to carry in your camera bag,  attached is a PDF form that helps calculate long exposures with different neutral density filters. This will make a nice addition to any camera bag especially if you’re playing around with new filters.

Click (PDF 187kb)

Bare Meter Reading =1/80001/40001/20001/10001/5001/2501/1251/601/301/151/81/41/21s2s4s8s15s30s
ND2 (1)1/40001/20001/10001/5001/2501/1251/601/301/151/81/41/21s2s4s8s15s30s1m
CPL (1 2/3)*1/25001/12501/6401/3201/1601/801/401/201/101/52.51.31.6s3s6s13s25s50s1.66m
ND4 (2)1/20001/10001/5001/2501/1251/601/301/151/81/41/21s2s4s8s15s30s1m2m
ND8 (3)1/10001/5001/2501/1251/601/301/151/81/41/21s2s4s8s15s30s1m2m4m
2X ND4 or ND2 + ND3 (4)1/5001/2501/1251/601/301/151/81/41/21s2s4s8s15s30s1m2m4m8m
(5)1/2501/1251/601/301/151/81/41/21s2s4s8s15s30s1m2m4m8m16m
2X ND8 or ND64 (6)1/1251/601/301/151/81/41/21s2s4s8s15s30s1m2m4m8m16m32m
ND100 (6 2/3)1/801/401/201/101/52.51.31.6s3s6s13s25s50s1m 40s3m 20s6m 40s13m 20s26m 40s53m 20s
(7)1/601/301/151/81/41/21s2s4s8s15s30s1m2m4m8m16m32m64m
ND4 + ND64 (8)1/301/81/81/41/21s2s4s8s15s30s1m2m4m8m16m32m64m128m
ND400 (8 2/3)1/401/201/101/2.51/1.31.6s3s6s13s25s50s1m 40s3m 20s6m 40s13m 20s26m 40s53m 20s1 hr 47m3h 33m
(9)1/151/81/41/21s2s4s8s15s30s1m2m4m8m16m32m1h 4m2h 8m4h 16m
(10)1/81/41/21s2s4s8s15s30s1m2m4m8m16m32m1h 4m2h 8m4h 16m8h 32m
(11)1/41/21s2s4s8s15s30s1m2m4m8m16m32m1h 4m2h 8m4h 16m8h 32m17h 4m
2X ND64 (12)1/21s2s4s8s15s30s1m2m4m8m16m32m1h 4m2h 8m4h 16m8h 32m17h 4m1d 10h 8m
ND10000 (13)1s2s4s8s15s30s1m2m4m8m16m32m1h 4m2h 8m4h 16m8h 32m17h 4m1d 10h 8m2d 20h 16m
(14)2s4s8s15s30s1m2m4m8m16m32m1h 4m2h 8m4h 16m8h 32m17h 4m1d 10h 8m2d 20h 16m5d 16h 32m
(15)4s8s15s30s1m2m4m8m16m32m1h 4m2h 8m4h 16m8h 32m17h 4m1d 10h 8m2d 20h 16m5d 16h 32m11d 9h 4m
(16)8s15s30s1m2m4m8m16m32m1h 4m2h 8m4h 16m8h 32m17h 4m1d 10h 8m2d 20h 16m5d 16h 32m11d 9h 4m22d 18h 8m
(17)15s30s1m2m4m8m16m32m1h 4m2h 8m4h 16m8h 32m17h 4m1d 10h 8m2d 20h 16m5d 16h 32m11d 9h 4m22d 18h 8m45d12h16m
(18)30s1m2m4m8m16m32m1h 4m2h 8m4h 16m8h 32m17h 4m1d 10h 8m2d 20h 16m5d 16h 32m11d 9h 4m22d 18h 8m45d12h16m91d 32m
(19)1m2m4m8m16m32m1h 4m2h 8m4h 16m8h 32m17h 4m1d 10h 8m2d 20h 16m5d 16h 32m11d 9h 4m22d 18h 8m45d12h16m91d 32m182d 1h 4m
ND1000000 (20)2m4m8m16m32m1h 4m2h 8m4h 16m8h 32m17h 4m1d 10h 8m2d 20h 16m5d 16h 32m11d 9h 4m22d 18h 8m45d12h16m91d 32m182d 1h 4m1 year

Posted on 6 Comments

Tips For Long Exposure Waterfall Photography

Hold up a second –  I’ve recently written a guide that explains waterfall photography in more greater detail. It explores the equipment needed for waterfall photography, visual examples comparing how shutter speed can affect the photograph, best weather for waterfall photography and other tips. You can view this other waterfall photography guide here.

I continually come across photographs of waterfalls and they seem to lack something. I wonder if the owner just doesn’t understand what their camera is capable of or they just don’t care. But anyway I wanted to note what natural resources I rely on (such as weather) but also the technical aspects such as shutter speeds. I just find it amazing that people come across waterfalls with such potential and if they just took their time for a extra minute then I think the shot would be of much higher standard. Anyhow here are a few beginners photography tips which might help.

When shooting landscape photography, not only does the location play a important factor but the weather and time of the scene must also be taken into account. For waterfall photography, I find the weather to be a very important factor, this comes as it can ensure that the exposure is good which contributes to the final shot.

My favourite weather for shooting waterfalls is a overcast sky with patchy showers. The reason behind this comes as a result of the highlights which a clear sunny day may create when shooting. As you will be aware, most waterfalls have many surrounding trees which with a sunny sky can contribute to highlight around the scene. This in turn means that when attempting to take your shot, the end result will have patchy bright areas around the scene which aren’t exactly appealing. Also, when the weather is sunny and there is more light available this means that it’s difficult to use slower exposures to create movement in the water. So if you have the option and can be selective with when you are planning to shoot a popular waterfall, hold back for a overcast day. Here are a couple of examples of what I’m getting at and you can decide yourself which looks better..
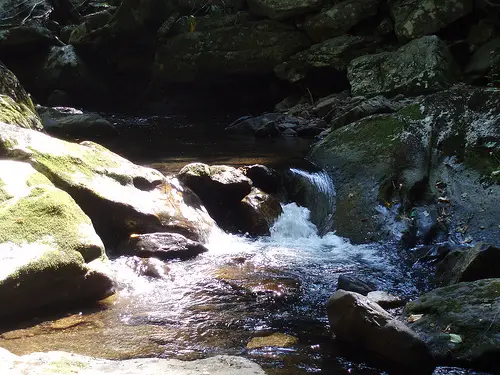
 

Highlight

Thanks Flickr


2

Another important part of shooting a waterfall is the exposure time. When shooting waterscapes at the beach I’m careful not to sometimes shoot exposures that are above 3-5 seconds. This is because an exposure of 20 seconds creates a completely different image which a 3″ second exposure may create. For waterfalls this isn’t as much the case and the only thing which puts me off a long exposure is that trees may move during the exposure and create a blur. This is usually fine if they aren’t even at the viewers attention but are something just to take into account because although the long exposure is good for the water to create an effect, you must carefully manage your other areas of the scene. I increasingly come across people who take pictures of waterfalls and just use a high shutter speed. This is fine and that’s your decision but I find adjusting the shutter so it’s relatively slow (say 0.3″ seconds) can make quite the difference. Obviously this requires a tripod but is well worth the extra weight you may have to carry in.
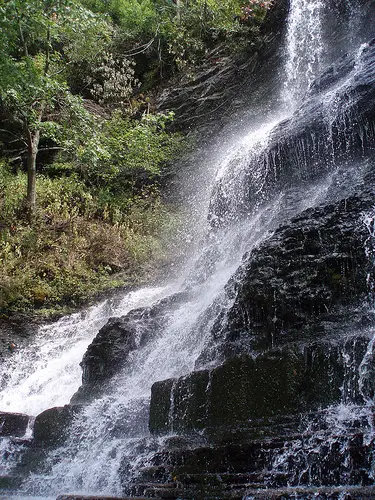
quickexp

Thanks again flickr

snug falls

So just in a nutshell for anyone starting out doing long exposures, set the camera into a shutter priority mode and set the speed to around 0.3″+ seconds and slowly play with it until you end up with a image your happy with. Initially you might be faced with an over exposed (bright image) which may mean you will have to fasten the shutter up a bit. If you just can’t get the shutter slow enough to create a blur in the water then I recommend neutral density filters.

In terms of composite of waterfalls, that’s something which you can’t really teach someone as we all have our own way of taking a photograph. Personally I like to frame the shot so there is something in the foreground such as rocks and then have the waterfall in the background. This is good as it not only creates a bit more interest to the viewer but also forms a different perspective to the average post card image.
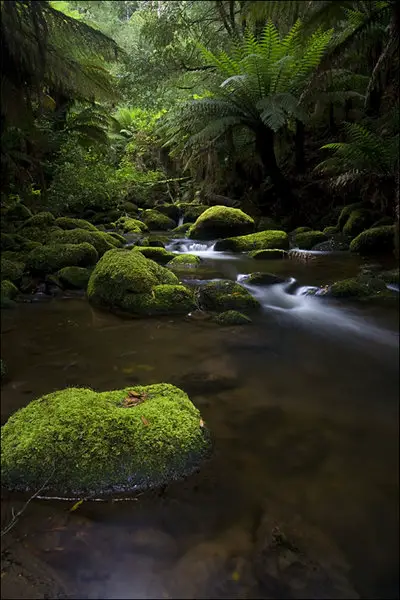
 

stcolumb

Hope that helps with your future endeavours. I’m by no means a expert at photography but these things are so simple, abide by them and you will be rewarded.