Posted on 11 Comments

The Magic Cloth Technique – DIY Graduated Neutral Density Filter

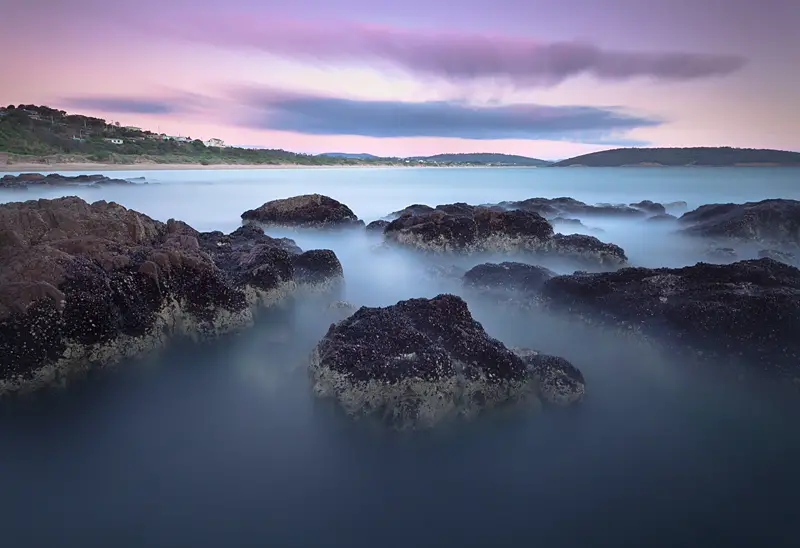
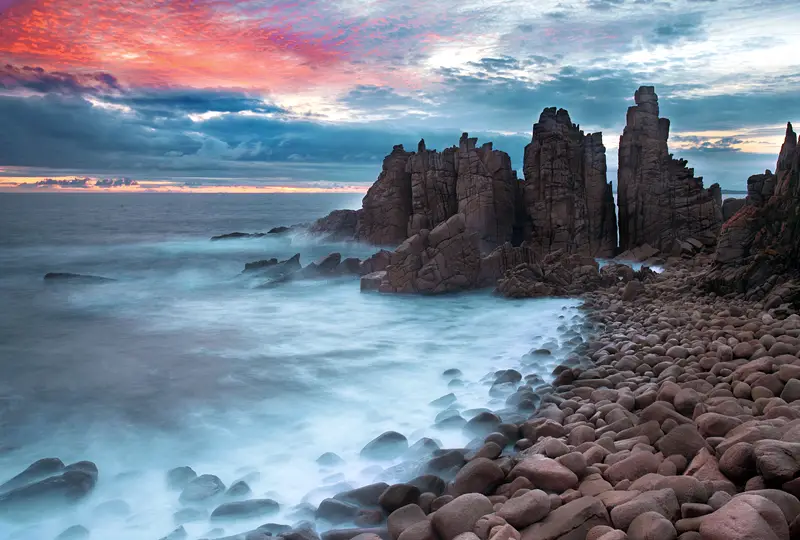
I came across the magic cloth technique a few years ago when researching graduated neutral density filters but never actually got around to trying it. Recently a friend linked me to the stunning work that Tony Brackley-Prower had achieved by using this technique and was itching to try. The technique is a DIY neutral density filter that costs you nothing to try.

What are Neutral Density Filters?

Most photographers (myself included) use neutral density filters when shooting seascapes. These filters normally come in a rectangle size with black/dark at the top and clear at the bottom. Photographers use these filters when there is different levels of brightness in a scene. This is common when photographing seascapes on sunset where the sky can appear slightly brighter than the surrounding foreground. If photographed without filters this can result in the sky being over exposed as the camera attempts to compensate the darker foreground. We use neutral density filters to avoid this problem by placing the darker part of the filter at the top of the frame to capture a more even and natural exposure. Most neutral density filters are expensive with a Cokin set and a Lee kit . I was curious to how the magic cloth technique would compare to these more expensive neutral density filters.

Fast forward to December this year when I was visiting family and friends in my home town of Hobart, I gave the technique a try at Park Beach with some long exposures.

Magic Cloth Technique

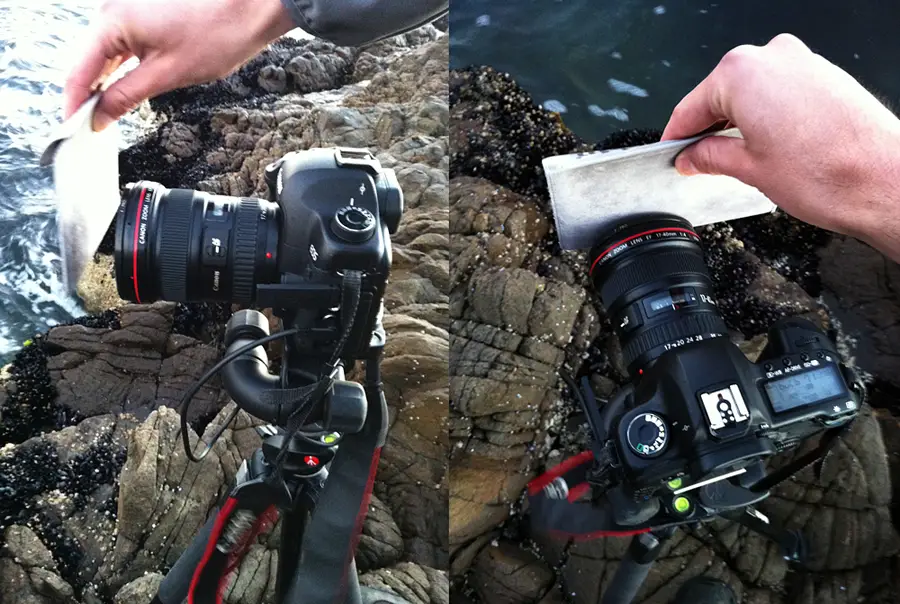
The technique is appealing as it’s so simple and costs nothing. No surprises that the technique is based on using a cloth or even as Tony suggests, you can also use a sock, wallet, or cap. Really the possibilities are endless but the most important thing is finding an object which you can easily hold over the front over the camera to cover a certain part of the image. Once you’ve found a suitable object to use for the magic cloth technique, you’re now ready. The technique is best used for long exposures as this gives you greater control and flexibility over the image.

It is suggested to meter the image in your camera around 2 stops over exposed when using the technique to get the best possible exposure. Begin by starting the exposure and covering the lens with the object. Over time, gradually move the object up (towards the sky or the top of the frame). The slower you raise the cloth results in a darker grad. In simple terms this means your sky will receive less exposure and be considerably darker. If instead you raise the magic cloth faster, this will result in a less darker grad and brighter sky.

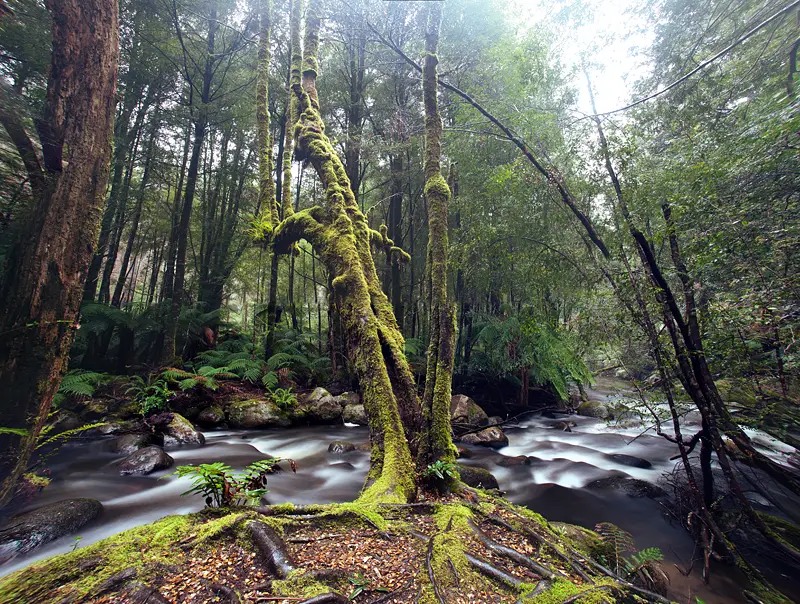
And really that’s all there is to the magic cloth technique. Experiment with the technique and you will slowly get a feel for how it works and how it might be beneficial for certain scenes. Now that I’ve tried the technique with seascapes I’d love to try with photographing waterfalls up close to avoid sea spray going all over my lens and to capture greater detail of the surrounding foliage areas.

You might also be interested in my waterfall photography guide. A thorough guide that covers waterfall photography, the ideal weather, equipment you’ll need, visual examples of how shutter speed works and other bits.

If you’re new to long exposures, my guide on daytime long exposures might also be of interest.

Hopefully this was helpful! 🙂
 

Posted on 7 Comments

Park Beach – Seascape Long Exposure (Includes Before/After)

Park Beach, Tasmania

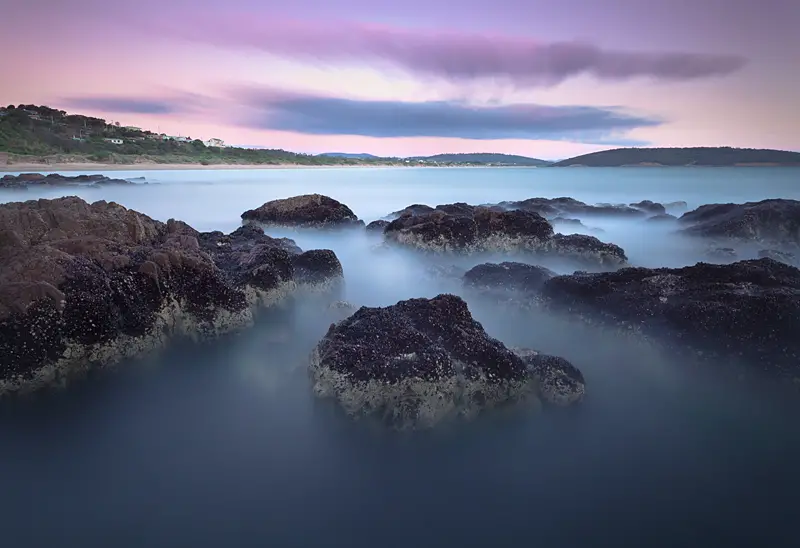
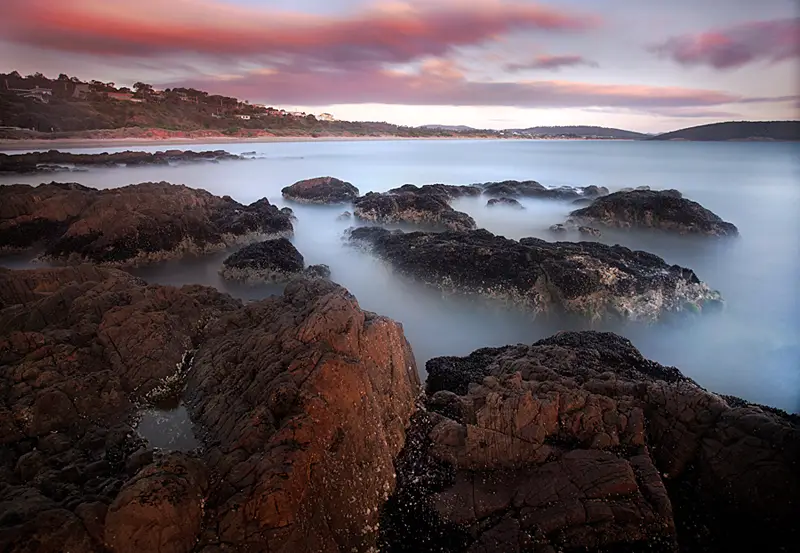
A photograph from my recent trip home to Tasmania for Christmas. This long exposure photograph was captured at Park Beach, Tasmania just after sunset. This is one of my favourite coastlines to photograph in the Hobart area even if it is quite limited on sunset. Unfortunately you’re limited to shooting in this direction if you wish to capture any colour in the sky, ignoring all the interesting rock formation that faces the opposite direction.

This is a 10 minute long exposure that was captured with a Canon 5D Mark II, Canon 17-40, B+W 110 and tripod.

Before and After

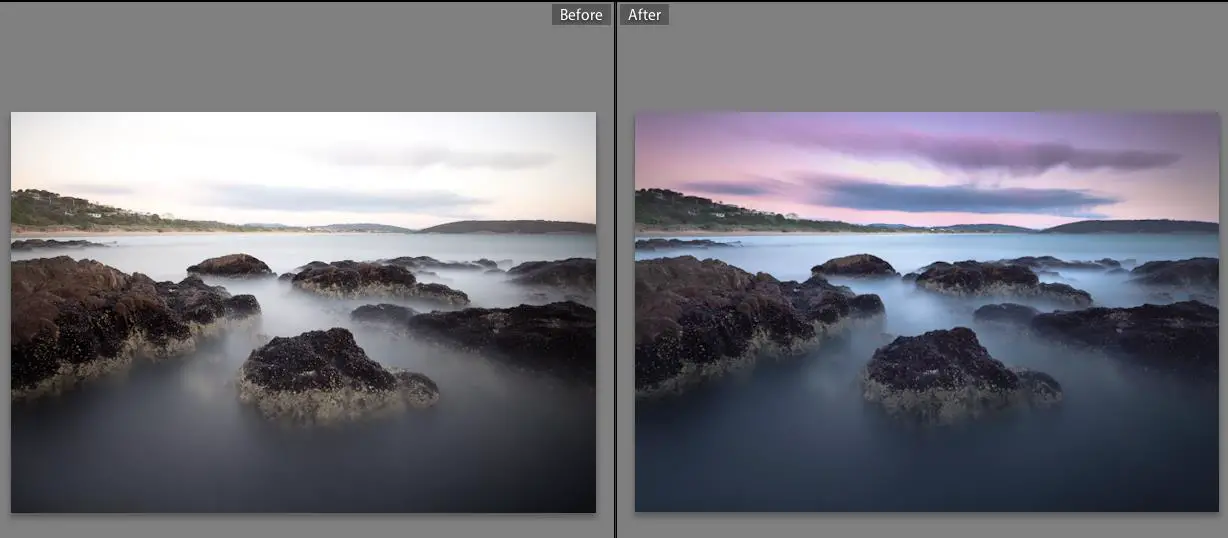
And for something different, this is the before and after images from Lightroom. The image is around a stop over exposed which was both good and bad. The reason for it being good is that it brought out a lot of detail in the dark area of the rocks which can easily be lost in a regular exposure due to the area having strong shadows. But on the other hand, I also lost a lot of sky straight out of camera. Fortunately the Canon 5D Mark II retains a lot of detail and I was able to save the sky.

The edit was actually quick and probably only took around 2 minutes. In Lightroom I dropped the exposure considerably which brought back the sky but darkened the rocks. Rather than keep the rocks under exposed, I used the adjustment brush with a +1.00 exposure to bring the rocks back out.  After that I adjusted the temperature of the image (cooling it) and selectively adjusting the saturation points of parts of the image until happy. Finally sharpening the image in Photoshop with the unsharpen mask.

Update 10/06/2012 – I’ve since created a tutorial video on how I went about editing this photograph. Granted the final image doesn’t come out exactly the same as the image used in this post but it should give you a good idea of how the I went from the before shot above to the final image. The key things to note is the graduated filter and adjustment brush make all the difference and allow you to make the majority of your edits without needing to open up Photoshop. Be careful though. It’s easy to over do the editing when using these tools and I think the final image is starting to reach that.

Direct link to this Adobe Lightroom Tutorial Clip

Posted on 25 Comments

2011 Retrospective

I can’t believe the year is almost over. It has been a busy but fun year.  Here are a collection of photographs I’ve taken over the year. Hope you enjoy.

Hobart

Earlier in the year (note – 3am on New Years Day) I thought it would be a great idea to apply for a job in Melbourne and move away from Hobart for a bit. I applied for a job later that day without actually thinking I’d get an interview but soon found out they wanted to hire me and I had 10 days to move over.  Find somewhere to live, move all my belongings over, no biggy? It was a rush and a mad fortnight of trying to spend time with everyone before I went. These images are all captured during this time.

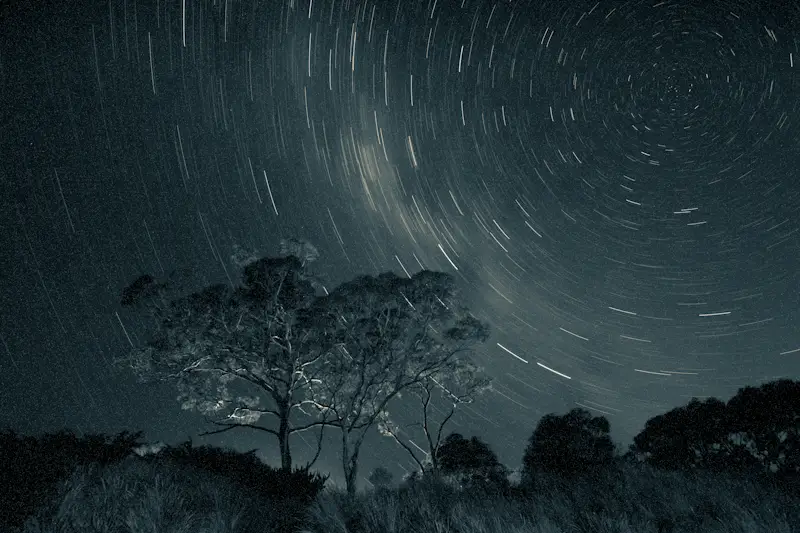
Star trails – New years day

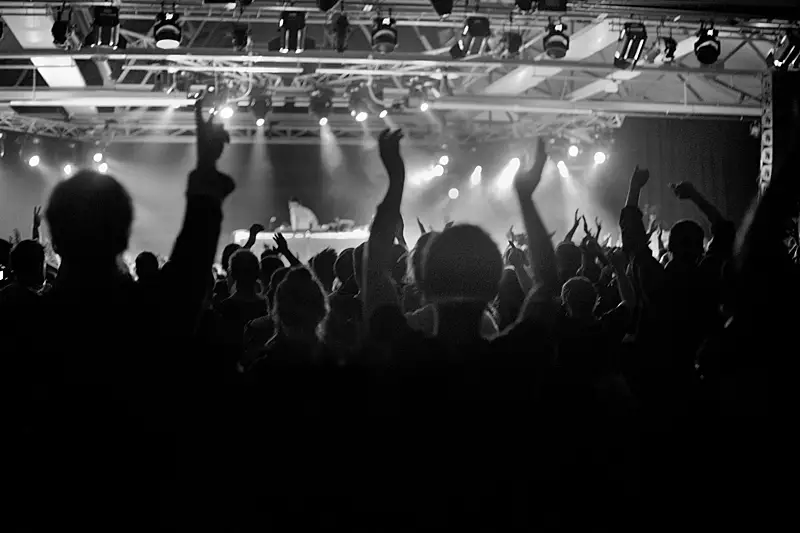
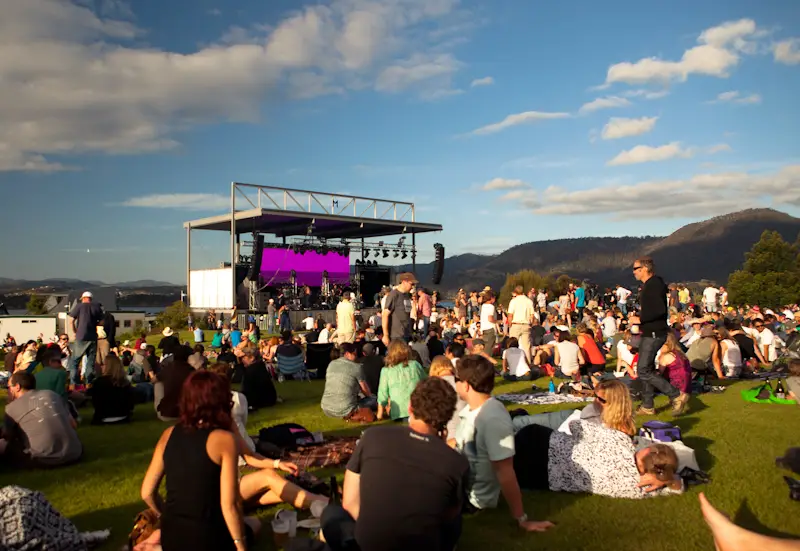
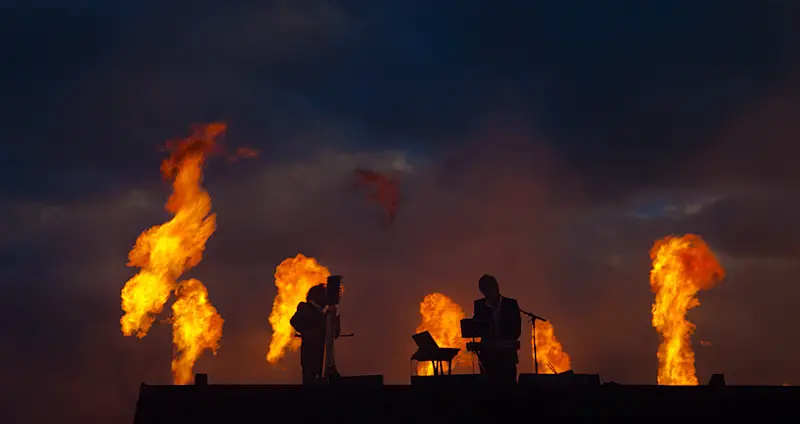
It was the first time I’d been to Mona Foma since it started a few years ago. Friends and I made an effort to get along to as much as possible which was a blast. I’m disappointed I’ll be missing it next year especially with word Girl Talk is playing.


All man on my pink chair…

I started a little project called The Travelling Camera. I’ve been lazy with it this year but it’s a project where an Olympus OM-2n film camera sent with a list of things to photograph to friends. So far three people have done the project and just waiting on a fourth. If you’re interested in participating in it next year, be sure to contact me.

Before I left I was rather keen to tag along on a trip up to the Great Lakes with Sam Shelley. It’s an amazing place and somewhere I hope to explore more when I one day move back to Tasmania.

During the 10 days, I had to quickly find somewhere to live in Melbourne. I flew over to Melbourne for the day to look at four places, all of which offering me leases. It worked out well and I was able to pick the unit I wanted most.

But it was soon time to pack up and move away.

Leaving Devonport on the Spirit of Tasmania

Melbourne

Arriving into Melbourne at 6am and being greeted by 30 degree heat.

The first few months of moving over I was rather lazy and went into tourist mode.

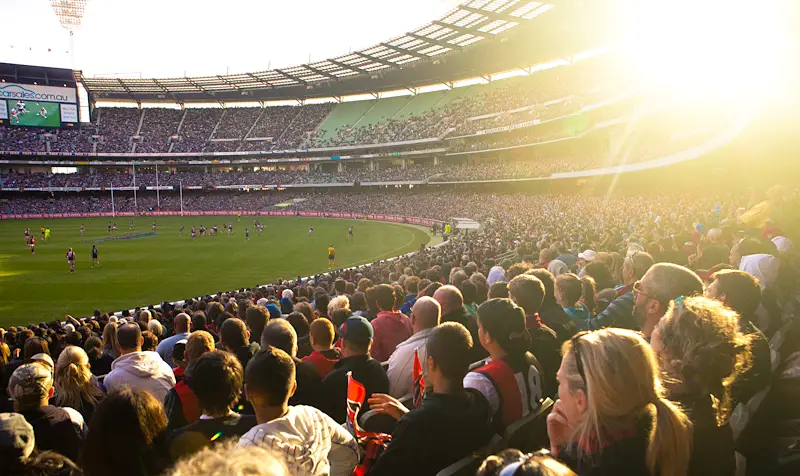
AFL – Watching Carlton draw against Essendon. I ended up going to 7 games throughout the year which is odd as I don’t actually have a team.

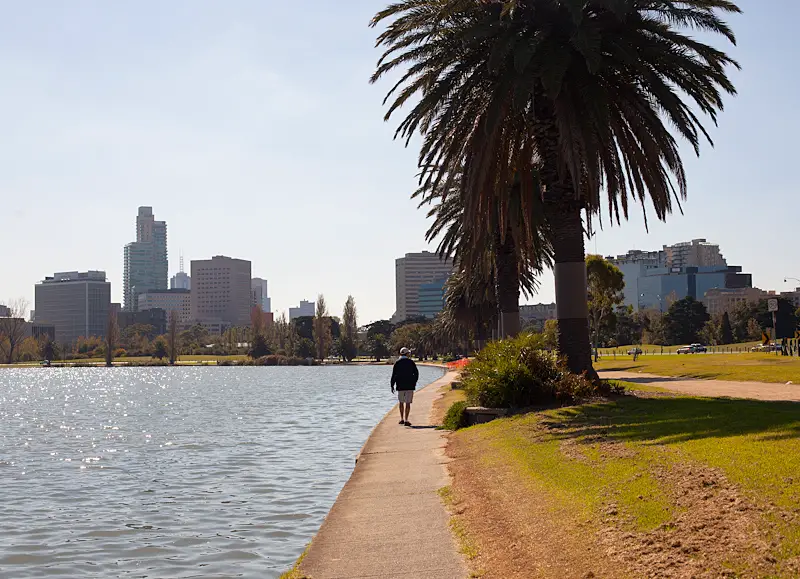
Albert Park – Where I sometimes like to go running.

Drinking possibly a little too much coffees.

Discovering a new found love in ph?.


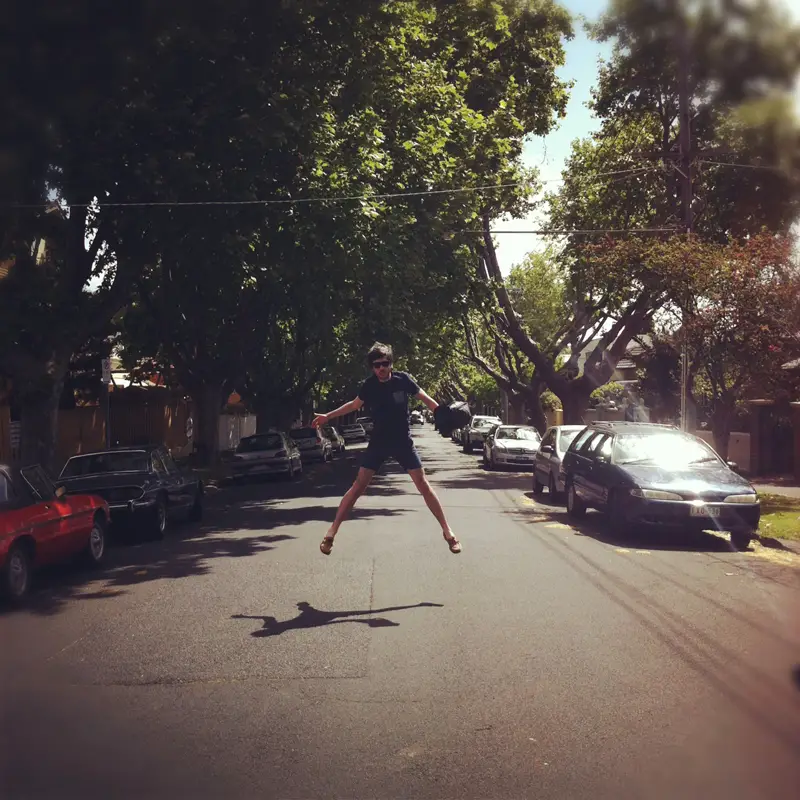
Working those star jumps…


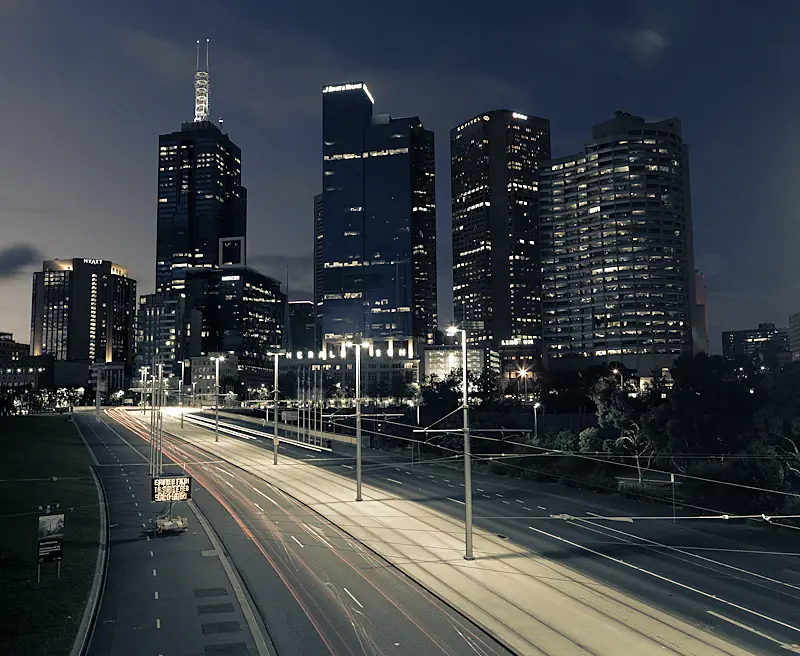
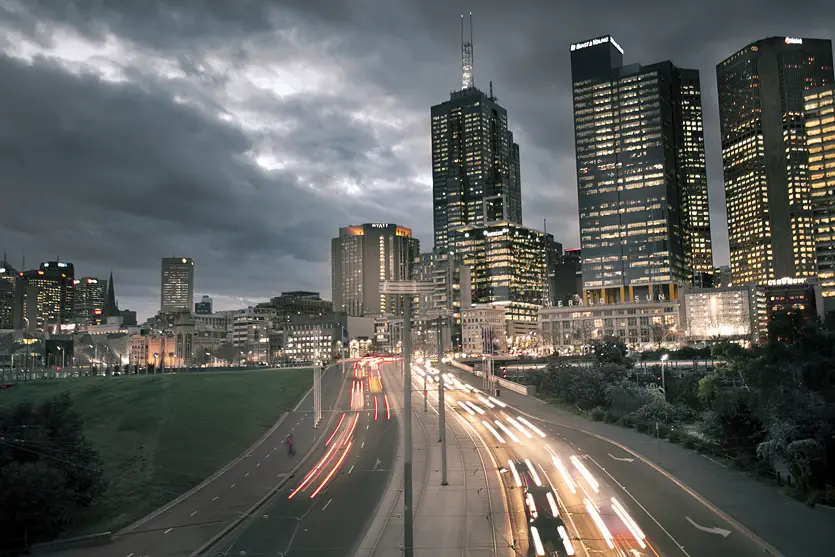
Long exposure of traffic entering Exhibition Street (near work).

Throughout the year I had a play with some timelapse. I’m lazy and never got around to finishing the clip but here is a selection of clips captured throughout the Melbourne CBD.

Oh… And of course a yoyo clip (much to the amusement of the guys I work with who randomly came across my Youtube channel).

Shrine of Remembrance

Living reasonably close to the city, I sometimes like to run or walk home. Taken during winter as I was leaving work.

Another photo as I made my way home from work.

Back to Hobart Briefly…

I went back to Hobart for my birthday to catch up with friends and family. Having not been taking many photographs since moving to Melbourne, I was pretty keen to have some early mornings and shoot some sunrises.

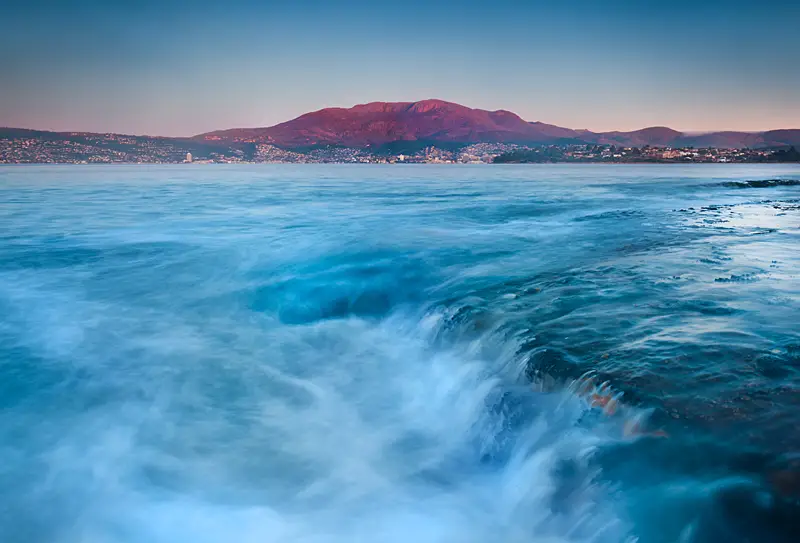
Mt Wellington from the Hobart Eastern Shore.

Overcast sunrise at South Arm, Tasmania

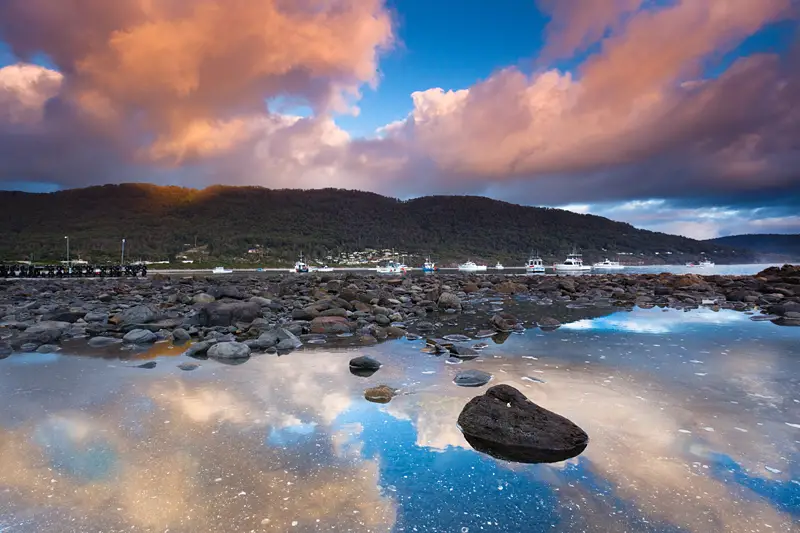
Playing around with reflections at Eaglehawk Neck on sunrise

Back to Melbourne

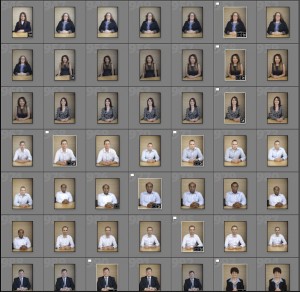
When I got back to Melbourne I was asked to photograph our IT staff for the staff intranet and phone book. It was different but fun.

A friend – I like this one.

It took me a while to start leaving the city and taking photographs. I was lucky to meet some guys who shared the same interest as me so we made a few trips throughout the year.  This series is from Marysville.

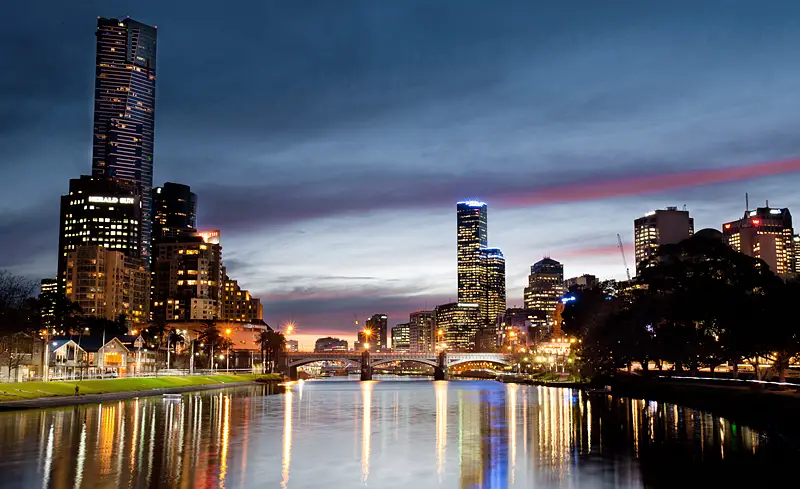
Playing around at Docklands on sunset

Cape Woolamai – I took a trip down to Cape Woolamai, Phillip Island with some friends who I also went to Marysville with. It was probably my favourite place I’ve taken photos all year.

Clouds passing above during a 13 minute exposure at Elwood Beach.

And finally, another trip back to Marysville on a cold and wet morning. Probably my second favourite set from this year and a nice set to close with.


I hope you enjoyed these photographs and thank you for all the support from people who have commented and emailed throughout the year.

– Alex

Click here to view my 2010 Retrospective.


Posted on 8 Comments

How to Photograph Waterfalls – Tutorial

Photography Tips: Waterfall Photography

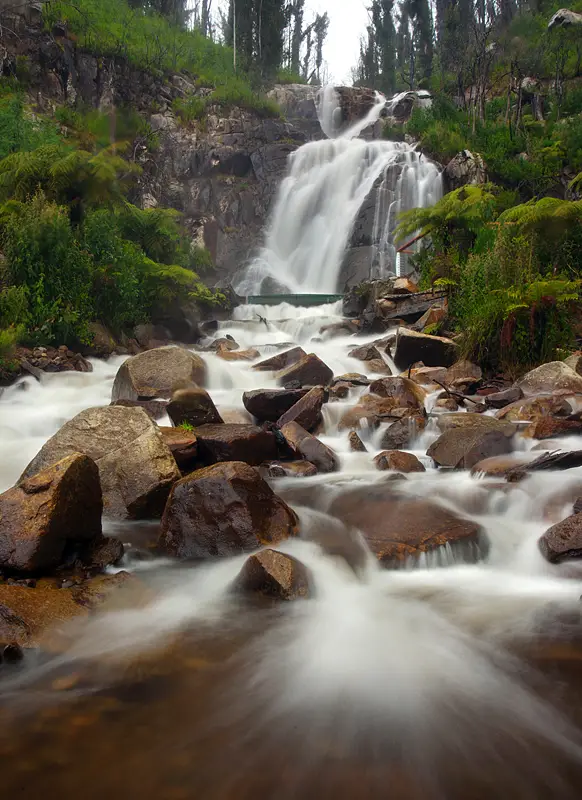
Waterfall photography is one of my favourite styles of photography as it combines my love of nature and long exposures.  I’m a sucker for standing waist deep in a freezing stream capturing a photo. It’s strangely relaxing especially when you have a scene all to yourself. But enough jibber, these photography tips should help you with:

  • What camera settings to use for waterfall photography
  • Explain and show how shutter speed can affect your photo through visual examples of different long exposures
  • What equipment to use
  • My personal step by step process of setting up a photograph and the things I consider in terms of composing the photograph and how I decide on what camera settings to use
  • Working out ideal weather conditions for waterfall photography

Continue reading How to Photograph Waterfalls – Tutorial

Posted on 6 Comments

Daily Carry 2 – 49 Images

[imagebrowser id=3]

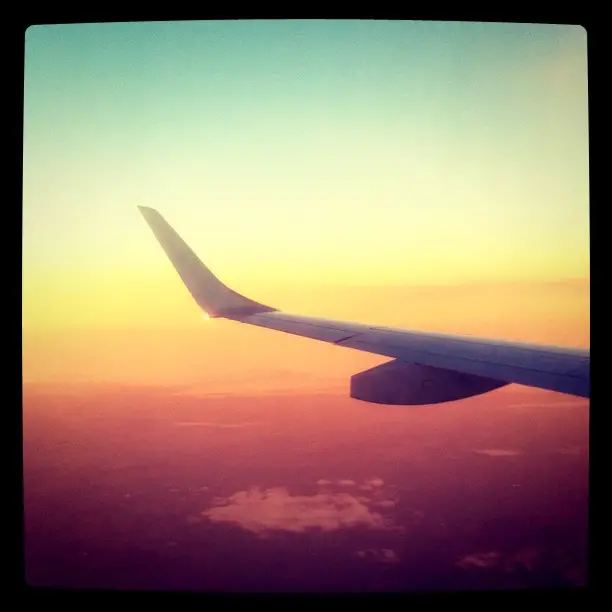
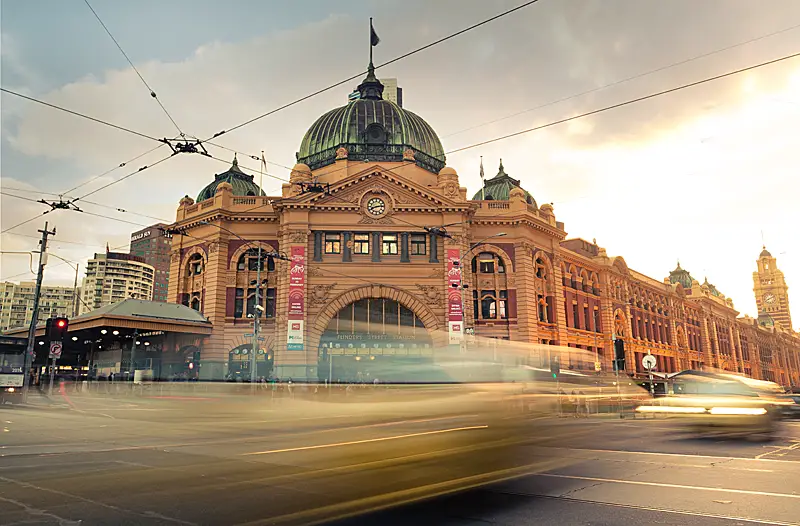
A selection of photographs from December-June captured around Tasmania and Melbourne. An interesting variety with photographs of Binnalong Bay, The MCG, Bushy Park and bad self portraits.

What is my daily carry you may ask? For a while now I’ve enjoyed taking random happy snap esque photos with the intention of never sharing them with anyone. Rather then hide them away I’ve decided to post them as part of an ongoing series. You can view the first installment via  an earlier post.

Bonus points if you notice which shots are film and iPhone 😉