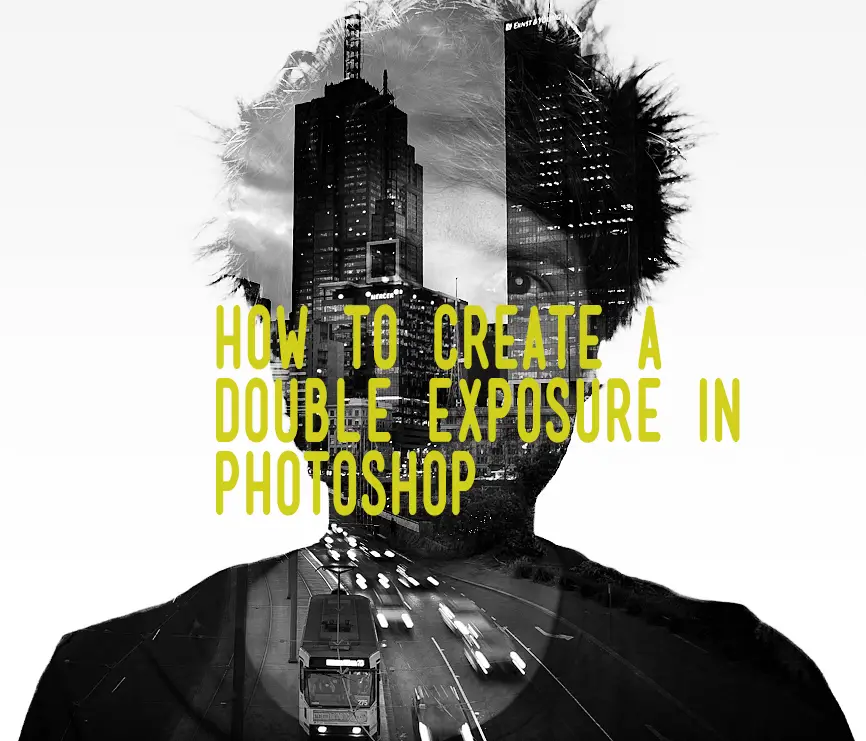
Creating a Double Exposure in Adobe Photoshop
A few years ago now I put together a video tutorial on YouTube on how to create a double exposure in Photoshop. At the time a few photographers were taking beautiful double exposures, achieving a similar effect to that seen in film and were doing it in camera on digital bodies. Most of these people were using the Canon 5D Mark III or other bodies which come with the ability to create double exposures in camera.

As I own the Canon 5D Mark II and the multiple exposure feature isn’t included, I was slightly disappointed and wanted to try achieve a similar effect in Photoshop. In the end I came up with a method of achieving the result. I must admit, it is messy and probably not the best way to achieve the end result. As some comments in the video indicate, there are better ways of doing it oh and apparently Phlearn is 10x better for tutorials. Harsh but true. Aaron Nace is amazing and I do recommend you look up his Photoshop and photography tutorials. They’re mind blowing and he’s really leading the field when it comes to tutorials in this area. YouTube comments are pretty amusing for the most part though. It really brings the best and worst out in people.
I’ve been meaning to put up a post on my blog about the tutorial and also link to the content I used for the tutorial in case anyone wants to have a play themselves with my ugly mug and a picture of Melbourne, Australia. It only took me 2 years… Sorry! Never too late right?
Resources for the Tutorial
For this tutorial I will be using two images which I’ve uploaded for you so you can follow the tutorial video with the exact images.
Download the city backdrop image used for the background (1.99 MB)
Download the self portrait image used for the foreground image (1.91 MB)
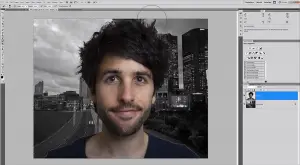
I’m going to let the video (and my poor audio) do the talking for a moment as I demonstrate how I blend the two images together. I’d suggest watching the tutorial first then attempt it yourself. For this tutorial, I was using Photoshop CS5 however you should have no issues doing it in previous or current versions.
As you can see in the video it’s actually really easy hey? The only frustrating part I find is feathering around the image to remove the background. As a commenter on the video said, it really is like playing minesweeper and can be a game of luck but you can make life easier for yourself by decreasing the tolerance and checking the contiguous box as others later mentioned. I do have some good news though, it is a frustrating tool the first time you play with it and does become more natural and easier to use over time.
Hope this tutorial was of use and if you have any questions be sure to get in touch as I’m always happy to help 🙂
– Alex
While your here you might also be interested in…
- What are neutral density filters and why you should use them
- Using steel wool for some great effects in your long exposure photography
- How to use the split toning feature in Adobe Lightroom
- Guide on how to photograph waterfalls
- How to take long exposures during the day and what equipment you will need
- Stuck on ideas for your long exposure photography? This guide has you covered
- Create yourself a 10 stop neutral density filter for under $10