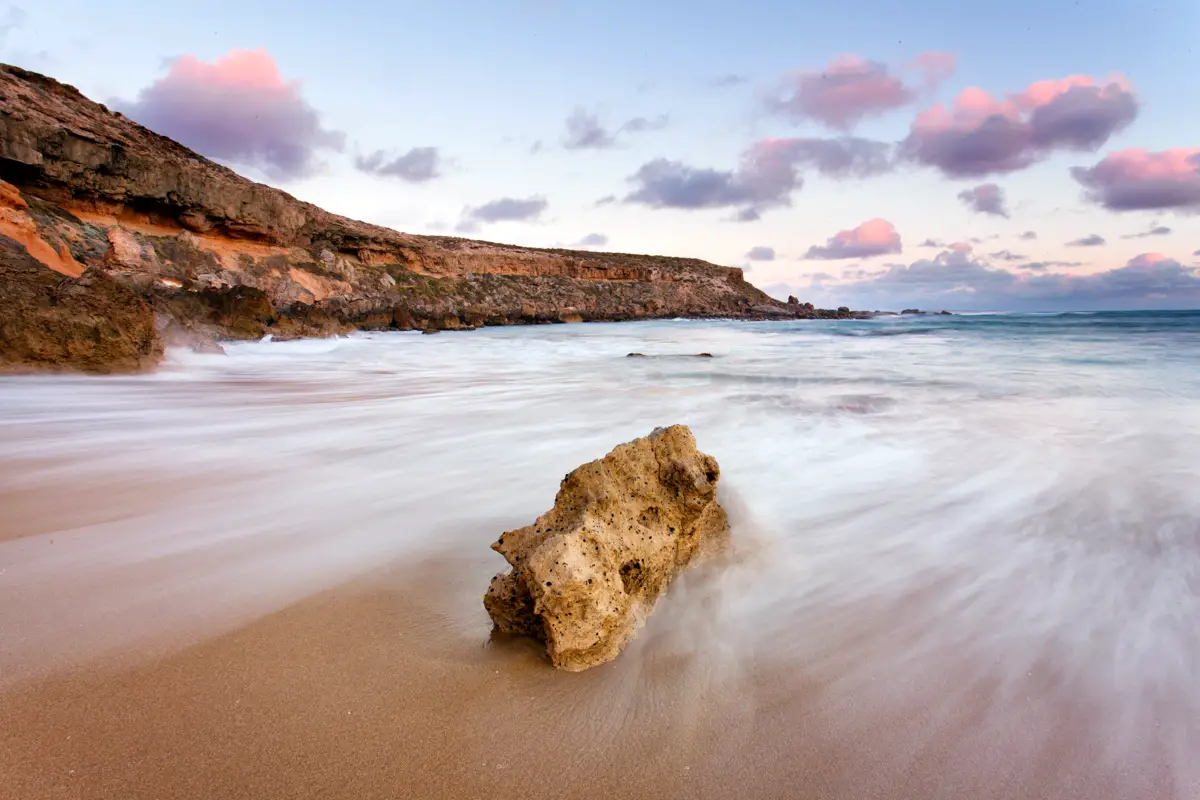
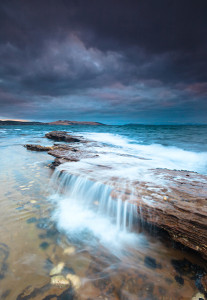
One thing I love about landscape photography is the challenge that comes with trying to capture a particular moment in quickly changing conditions. An example that I’m sure some people reading this post can relate to is when photographing the sea, you see a rock ledge and think to yourself, some water falling over that rock ledge would create a nice waterfall effect over the rocks (similar to the image to the right). But as we’re all too familiar, that wave creating that nice effect seems to never come and if it does, it’s all too late and the nice sunset colour has disappeared. This is where shutter stacking different exposure times comes in as a useful trick to have in your workflow when you’re out shooting in variable conditions and know you’re about to miss the timing on what you’ve envisaged in your head.
For the purpose of this article I’ll be looking at how you can stack multiple frames in changing light conditions but the effect can also be used to reduce noise in long exposure images by capturing multiple long exposures (i.e. 10 x 30 second exposures rather than a 5 minute exposure) to reduce noise in your image.
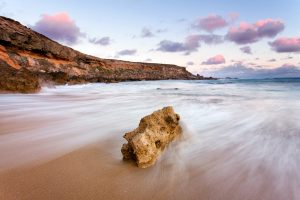
Generally when using this technique it really slows down my shooting process as I’m setting my camera up for one photo rather than running around like a mad man trying to get as many angles of the sunset as possible. So there’s a few things I’ll do as I’m taking my one photo which I’ll look to break down. If we consider the image to the right with the water rushing over the rock ledge as an example, let’s look at my process for this shot:
- Focus on composition – Find an interesting composition. In this case, I’ve noticed the water flowing over the rocks could come up nice with a long exposure. Oh what? The swell has dropped out and I’m about to miss the nice colour in the sky. That’s ok, I’ll capture multiple images and combine in Photoshop later using shutter stacking.
- Double check everything – Take some test photos to make sure everything is lined up. At this point I’ll double check what the swell is doing in case my gear is exposed (I’m hardcore but not swimming in the ocean and losing my gear hardcore)
- Capture your base image – With my camera firmly in position and I’m feeling confident that I’m not going to get swept out to sea, I take a photo of the scene. This image is to capture the sunset in all its glory which will form my base image.
- Capture the moment you’ve been waiting for – Now I wait for that wave to come through to create the waterfall effect over the rocks and complete the shot. It goes without saying but keep your camera as steady as you can to avoid any misalignment when you got to mask the image later in Photoshop. Generally for this style of shot I’ll aim for a long exposure of around o.5″ of a second all the way to 2 seconds.
- Stack the images – Open the two images in Photoshop and use the layer mask tool to introduce the wave motion to my base sunset image (as roughly shown in the video below)
Let’s take a look at how the images are combined in Photoshop with this quick video I put together. The technique relies heavily on layer masking the second exposure. If layer masking isn’t something you’re familiar with then give a previous post on layer masking exposures a read or watch one of the many YouTube videos available which will quickly bring you up to speed.
For this video I tried to keep things short (as you can probably tell by my quick and dirty layer masking) but occasionally if there’s not much movement in the water I’ll shutter stack 3-4 images to exaggerate the movement of the water. The purists reading this are no doubt rolling their eyes but if the tools are available then why not make the most of them.
Thanks for reading and watching. If you have any questions about this technique feel free to contact me directly as I’d be happy to help!
Alex

