Posted on 2 Comments

A Quick Weekend in Tasmania

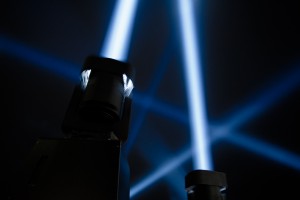
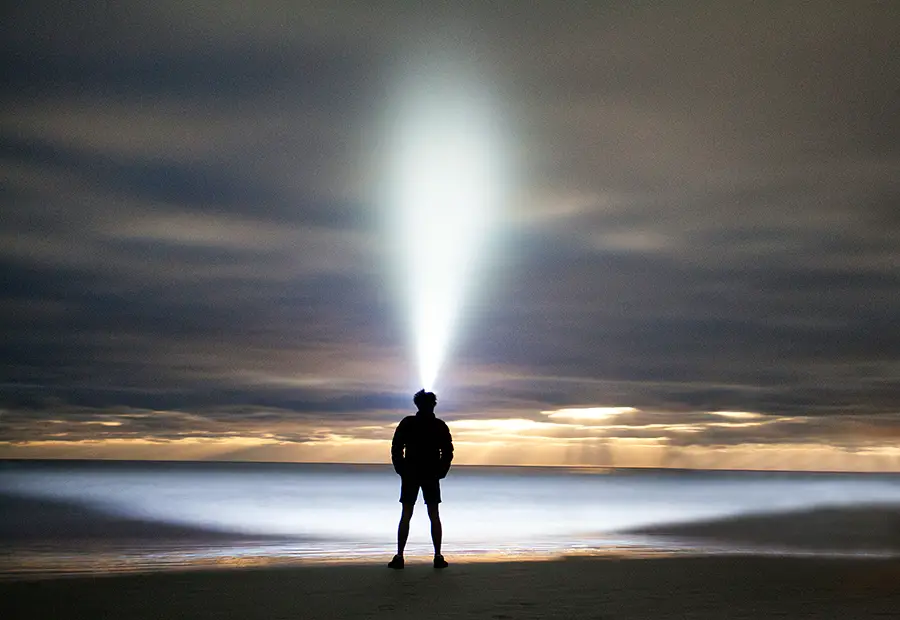
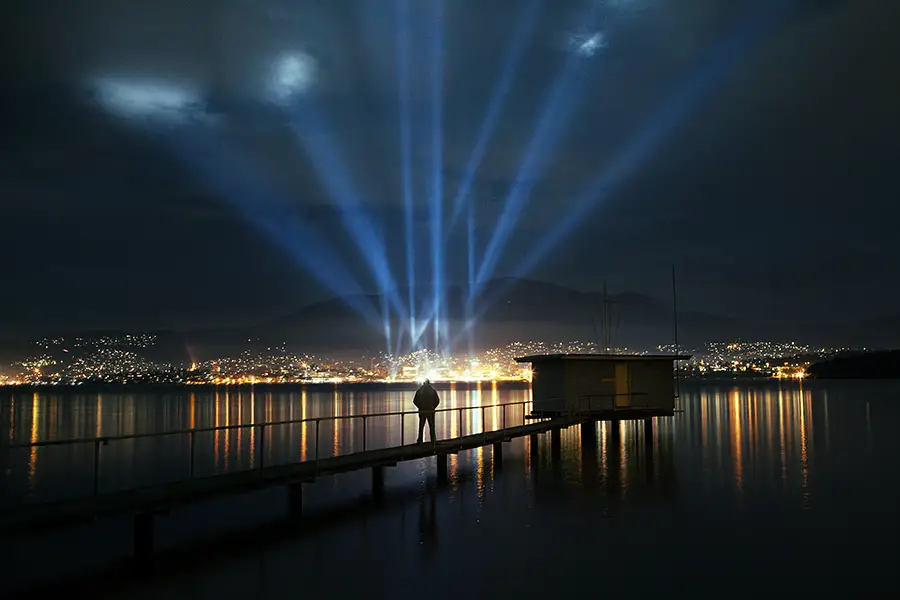
Admiring the lights at Dark Mofo 2014

IMG_3877As you’ve probably come to notice through reading past posts on my blog, I shoot a lot with Jon Sander, mostly because he brings refreshments and carries my gear whenever we go take photos. Haha I kid. He’s a good guy that lives close to me so when we’re both feeling spontaneous and in the mood to take photos it works well and we’re able to organise something very last minute. He’s been nagging me for a while now to go to New Zealand with him for a week. Instead I proposed that we still go overseas but to my home state, Tasmania. Originally the idea of the trip was to walk into Reynold’s Falls which is situated not far from Cradle Mountain. I’ve been wanting to walk it for probably 5 years now but have never got around to it. We decided to book flights in Feb to do the walk around June. It was a great idea at the time until we started doing some research and received some very valuable information from Casey Smith and Laurie Davison (thanks to both for the information provided, extremely grateful and will definitely come in handy when we do eventually walk it in summer). It was later when we sat down and started to really plan the walk that it occurred to us, we were aiming to walk 7-8 hours into the waterfall around the shortest day of the year. Factoring in a 3~ hour drive to the start of the walk, it was going to be a long day without much time for photos and that’s not even taking into account what the weather would potentially be doing. In the end we decided due to the shortage of light around that time of the year and the potential that the waterfalls could be flooded we decided to can the trip and arrange a last minute trip that would be focused on a quick trip around parts of Tasmania.

Dark Mofo 2014

Admiring the lights at Dark Mofo 2014
Close up of one of the many Dark Mofo 2014 light installations

Last year I was disappointed to of missed Dark Mofo’s first light show installation.  This photo by Gavin Wakerall displays last year’s installation in its stunning form. There were so many amazing photos taken of the installation and I was kicking myself for not making a last minute trip home. When I heard that Dark Mofo had a new light installation planned for this year where instead of a fixed light installation, the lights would be spaced around Hobart and operated by the general public, our cancelled Reynold’s Falls trip wasn’t turning out to be as bad as we originally thought.

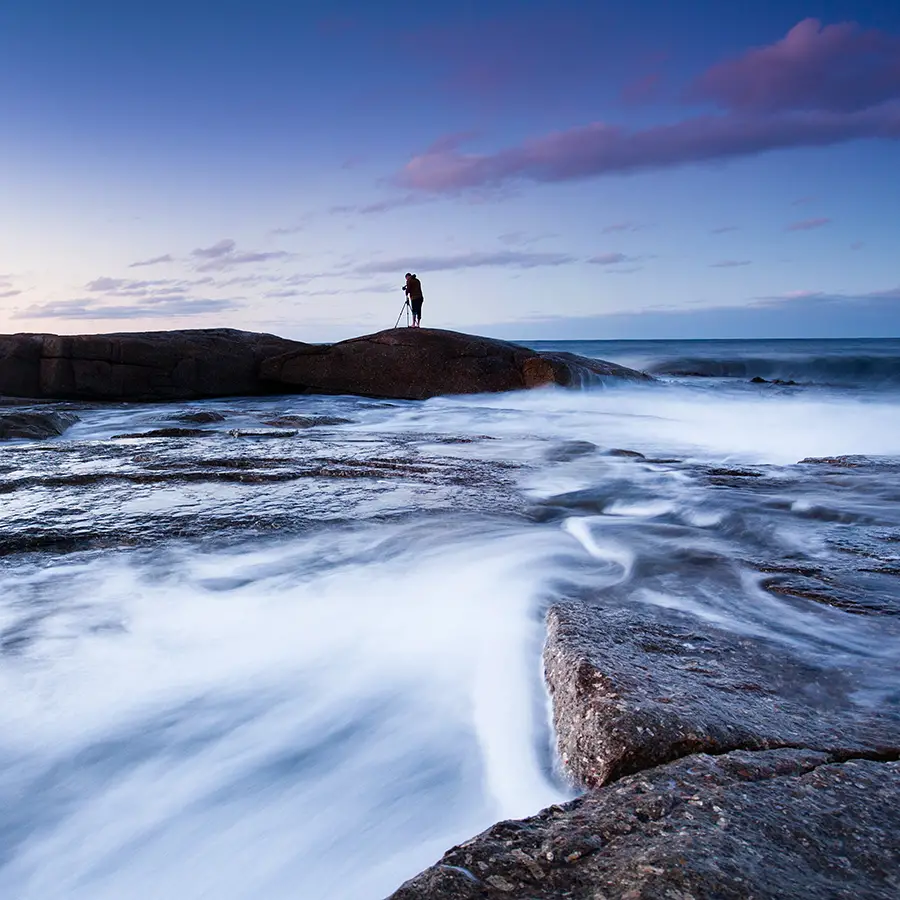
Coming from Hobart airport and not quite sure how bright the lights would be, we visited Bellerive a favourite location of mine and a great spot for a direct view of the city. Fortunately for us the lights were well and truly visible from the Hobart eastern shore and we killed an hour or so taking some photos before making a quick trip into the city for a closer look. I actually found it incredibly difficult to photograph. Imagine school kids wired on sugar operating the lights, fluctuating around the sky randomly and quickly. In the end I opted to stand on the jetty and take a self portrait admiring the lights as they did their thing. All in all, it was a nice way to kick start the weekend and get things going.

[box size=”large” style=”rounded”]Curious how the photograph was captured and post processed? Don’t miss the Dark Mofo 2014 Before and After post[/box]

Clifton Beach

Not keen to waste any time we decided to take the chance and get up early for a sunrise shoot at Clifton Beach. It’s a favourite spot of mine as it’s reasonably close to Hobart (35~ mins drive) and has plenty of opportunities for photos. Unfortunately for us though, the sunrise was clouded over and we didn’t see any light or colour but nevertheless, we pulled out our camera’s and had a bit of fun.  Admittedly it was pretty awful shooting conditions but nice to break things up before heading towards the mountains later in the day.
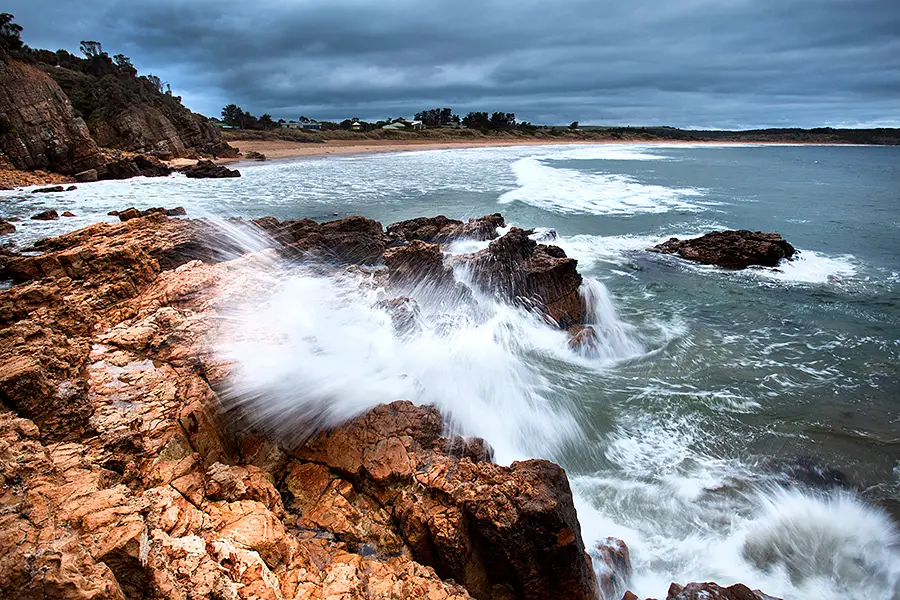
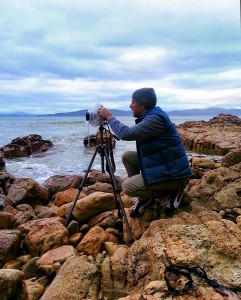
An overcast sunrise at Clifton Beach
Jon shooting the best sunrise of his life...
Jon shooting the best sunrise of his life…

Although for a moment there, the dull (read – terrible) sunrise almost ruined the trip all together with the first shot splashing all over my camera. Freaking out I quickly smothered my camera with my jumper, turned it off and put it aside until we got home. Having photographed Clifton many a times, it was nice just to potter around the rocks and explore for possible future compositions when the tides and swell are different. After a slightly nerve wracking trip home, worried about my camera, we got home and I eventually turned it on to find that it was working fine. Phew. Thanking the camera gods for that. I haven’t had the best luck over the years and managed to drown my previous 5D Mark II at Turpin Falls a couple of years ago. More about that day and tips on what to do if your camera does go for a swim or gets a few splashes can be read in that article. Although a rumoured Canon 5D Mark 4 or experimenting with a new Sony mirrorless like Ricardo De Cunha has recently done would have been slightly tempting if it was to have died 😉 With the worry of a dead camera resolved, we were all ready to go for a colder trip to the Hartz Mountains National Park in the hunt for cold foggy Mountains.
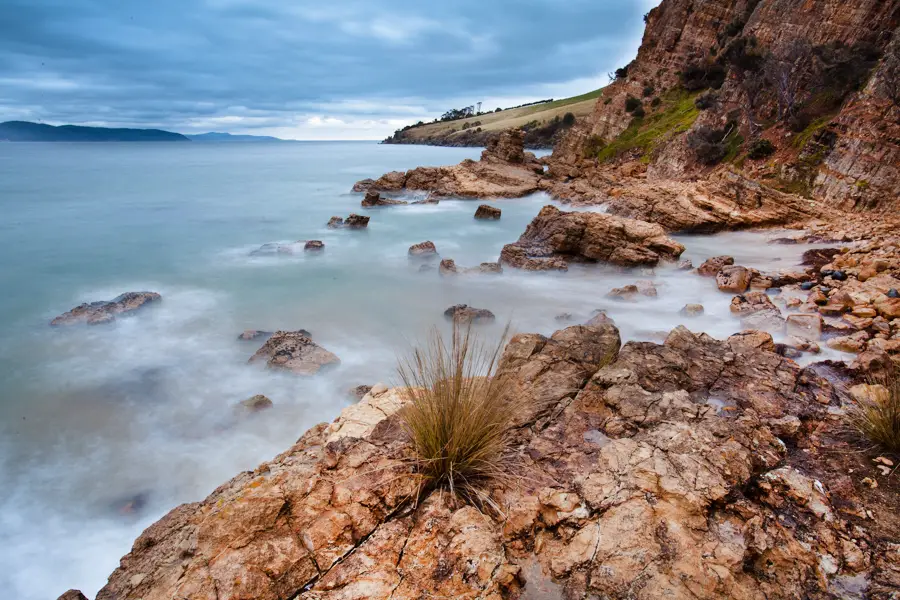
Waves rolling through Clifton Beach

Hartz Mountains National Park

Selfies - I've got them down pat
Selfies – I’ve got them down pat

After finishing up at Clifton Beach and driving home in the rain, we weren’t feeling overly confident about our next trip off to the Hartz Mountains National Park so slightly took our time as we ate breakfast pondering the rest of the day. Tasmania being Tasmania where the weather is all over the show, the weather slightly cleared and we decided to take a chance and continue with our trip with a quick stop at Huonville for a bite to eat. I’d been wanting to walk into the Hartz Mountains National Park for a while now as each time I’d walk in with friends it had been shrouded in a sea of fog so we hoped this time it may be slightly clear allowing us to get some photos of the Hartz Mountains.
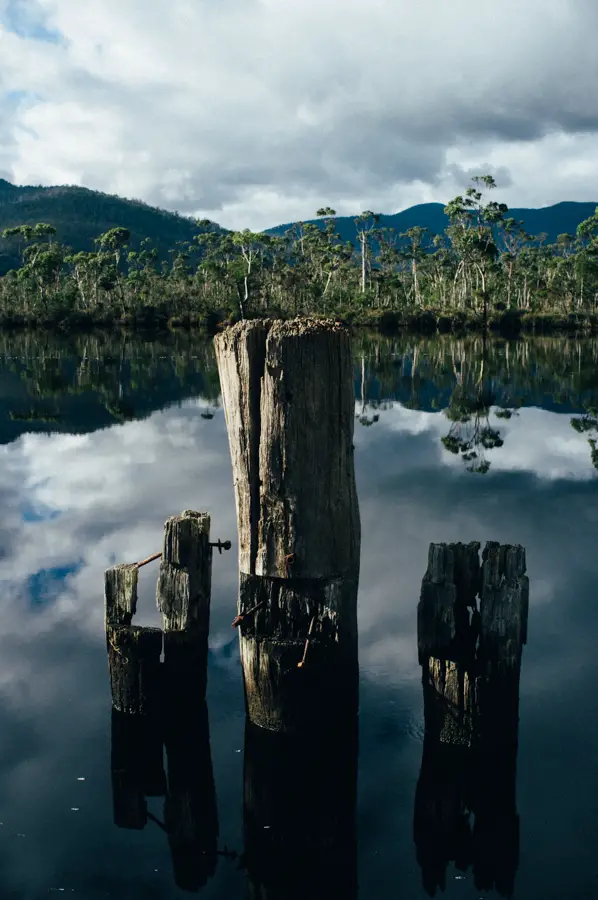
Road side reflections near Huonville with the Fujifilm X100

Once we arrived at the Hartz Mountains National Park the fog was quickly rolling through the area.  Wanting to get a photo of the Hartz Mountains not completely shrouded in fog, we got a wriggle on and quickly powered our way to the Ladies Tarn, the first of the tarn’s along this beautiful day walk.
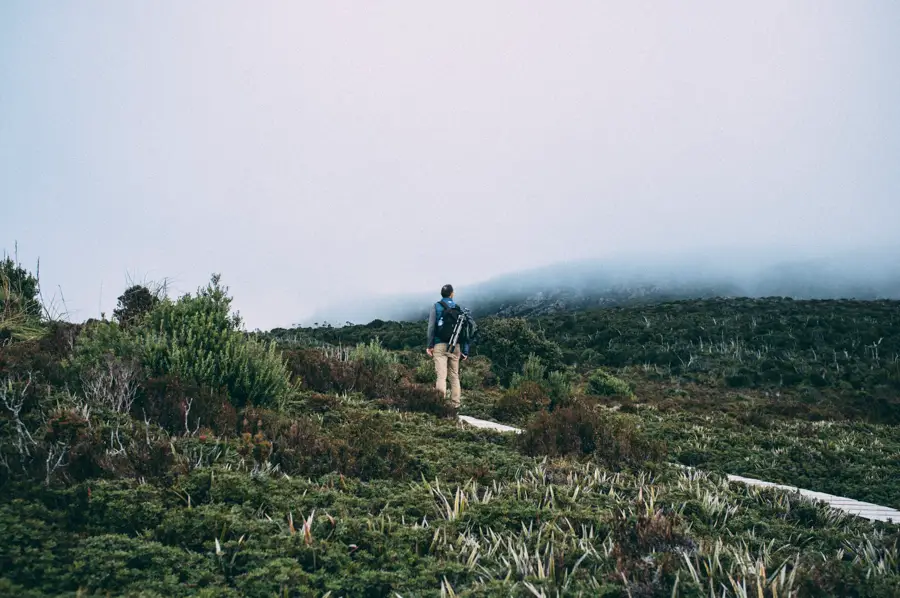
Hartz Mountains National Park - A great day walk
Hartz Mountains National Park – A great day walk
Jon at Ladies Tarn, Hartz Mountains National Park

We arrived at Ladies Tarn in perfect timing with the fog just sitting about right and the water not ripply. It wasn’t long and the breeze had picked up bringing in plenty of more fog and the water quite ripply. It was nice spending half an hour here just pottering around taking snaps in the  such a quiet and beautiful place (admittedly that does sound corny but it was beautiful up there). The images below are both captured with my Canon 5D Mark II, Canon 17-40 and B+W 110 10 stop neural density filter. With the fog and breeze starting to pick up we decided to keep walking in the hope it would pass and we could make it to the top of the Hartz Mountains and get a view beneath the cloud/fog.
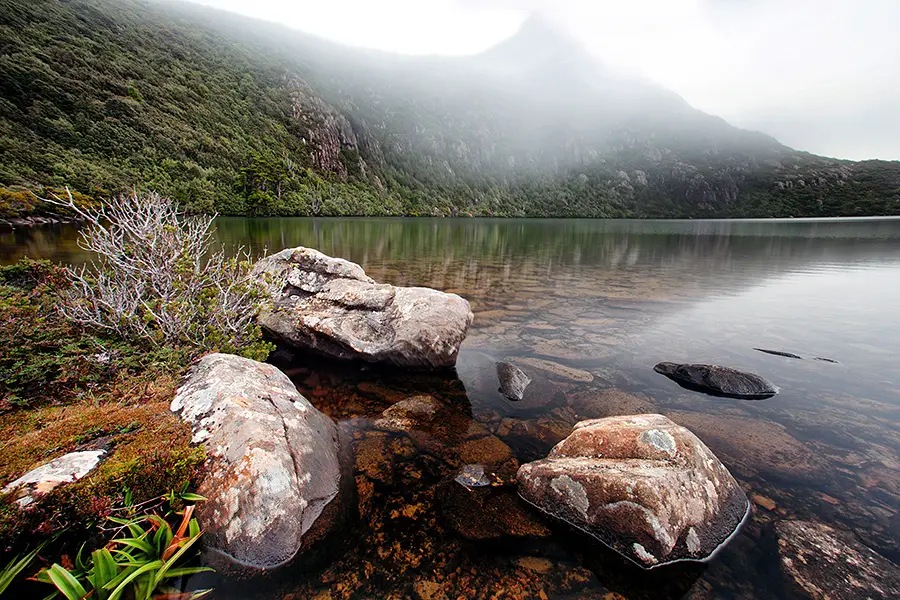
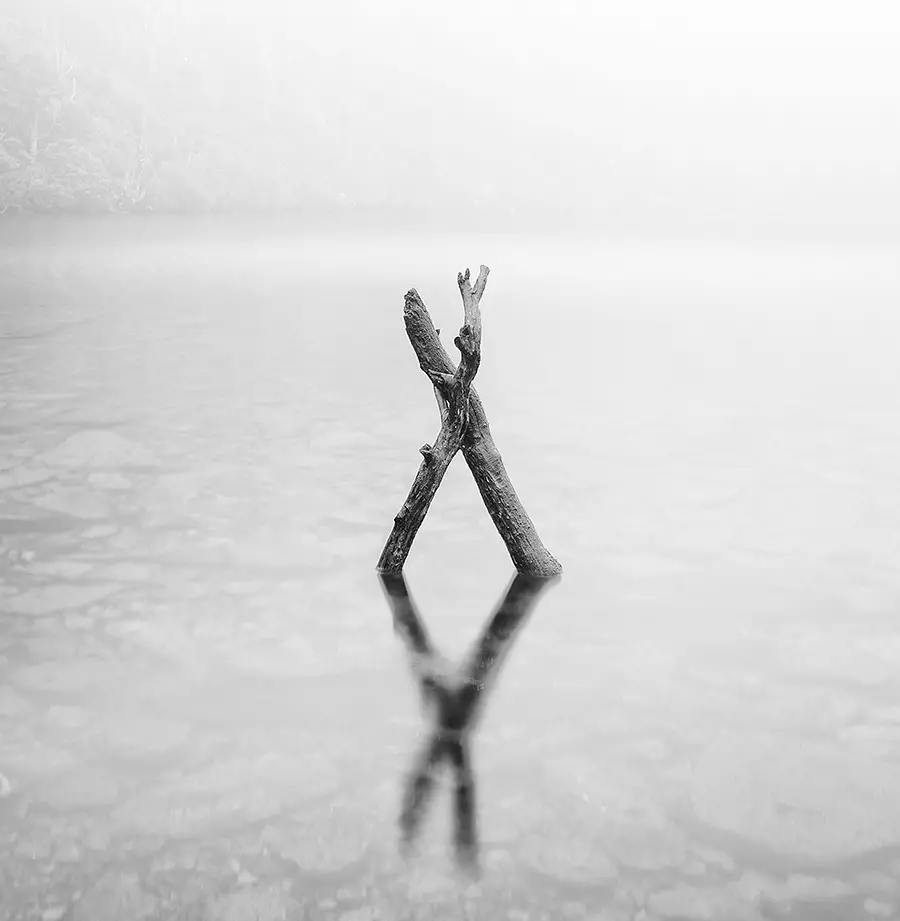
Ladies Tarn, Hartz National Park
Playing around with minimalist long exposures at the Hartz Mountains National Park

After spending some time at the Ladies Tarn we decided to walk a bit further in the hope of getting a nice view from the top of the Hartz Mountains but unfortunately the weather had other ideas and the fog was very much setting in for the rest of the day so we set off home.

Arve Falls

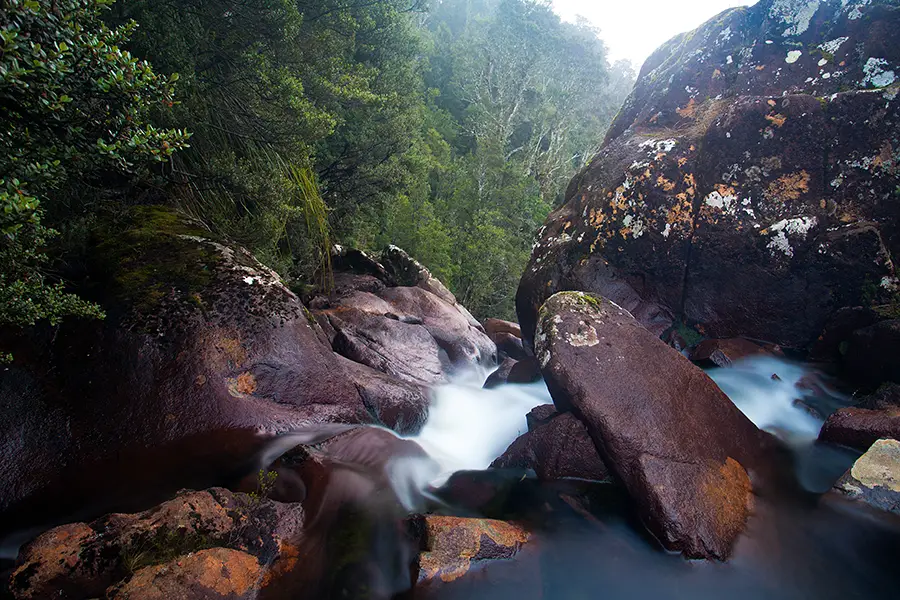
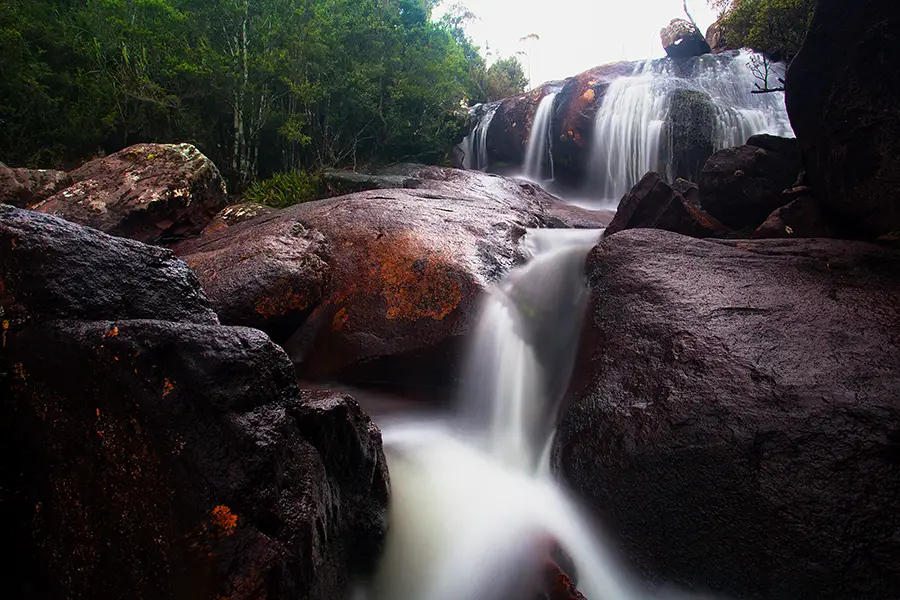
As we were leaving, we were around 45 minutes away from sunset and quite close to a waterfall we spotted signposted as we drove into the national park.  Rather than drive and hope to find a good location in time for the sunset, we decided to take a quick walk in to Arve Falls for some photos as the sun slowly went down. It was a nice way to spend the day, starting by taking photos in the dark as the sun rose and taking photos in light as the sun went down and it became dark. Here are some of my favourites from Arve Falls.
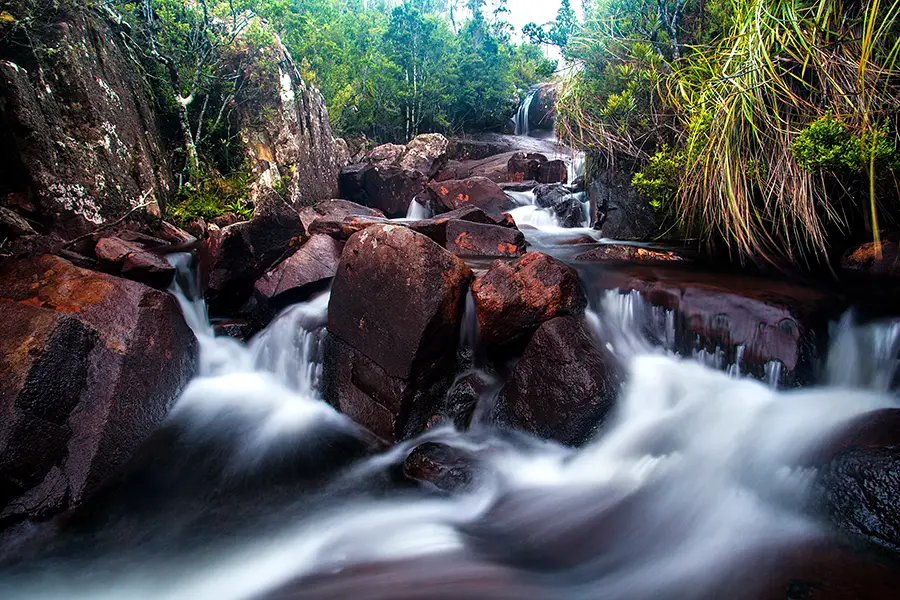
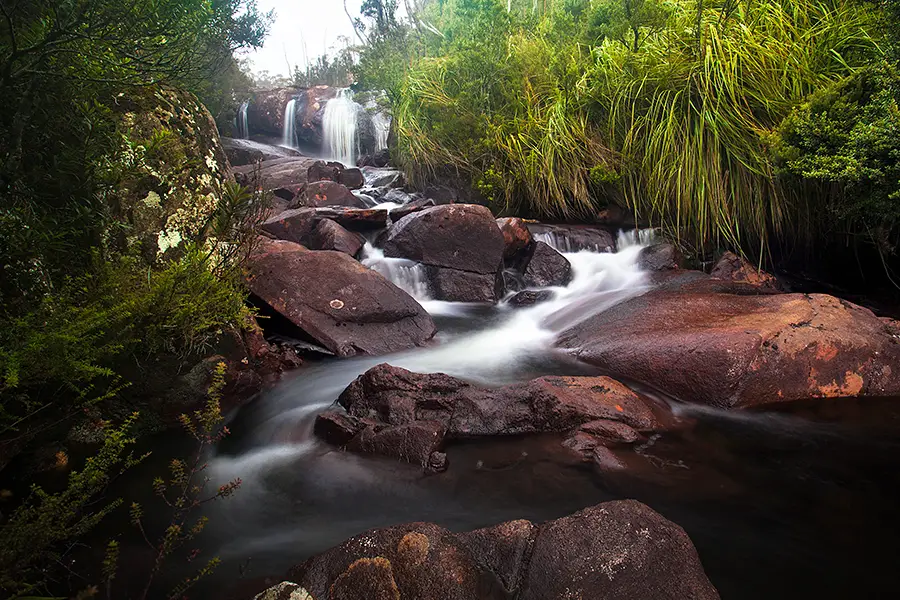
Arve Waterfall
Arve Waterfall
Arve Falls
Arve Falls
Standing on top of Arve Falls looking down the huge drop
Arve Falls, Hartz Mountains National Park

Bicheno

After checking the forecast and it expected to be patchy rain for the following morning, we decided to give the sunrise a miss and slowly make our way up the Tasmanian east coast to Bicheno. After making many a trips to St Helen’s to explore the Bay of Fires I’ve never really stopped and properly spent some time in Bicheno other than to enjoy a quick chicken and camembert pie (amazing I might add).
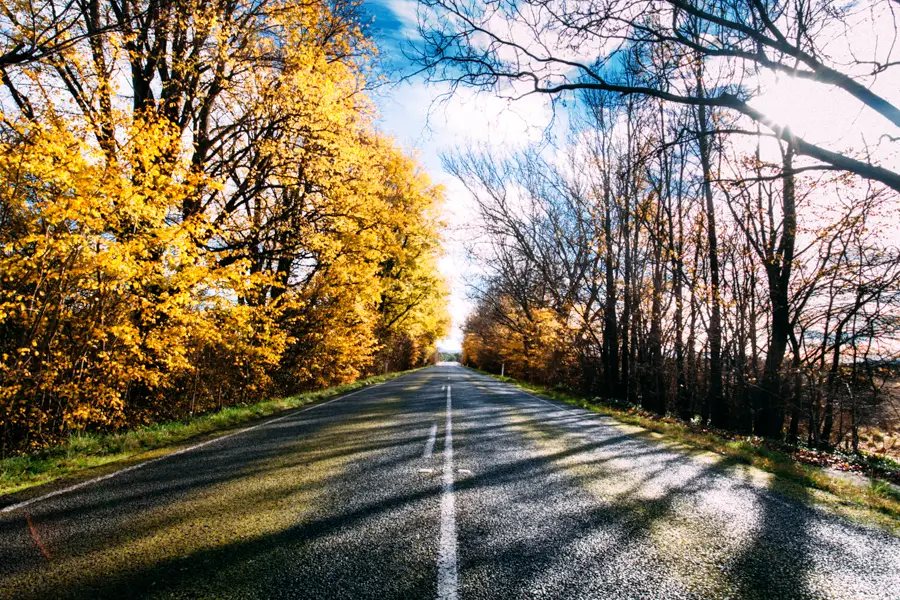
En-route to Bicheno with a quick stop at one of my favourite parts of the drive

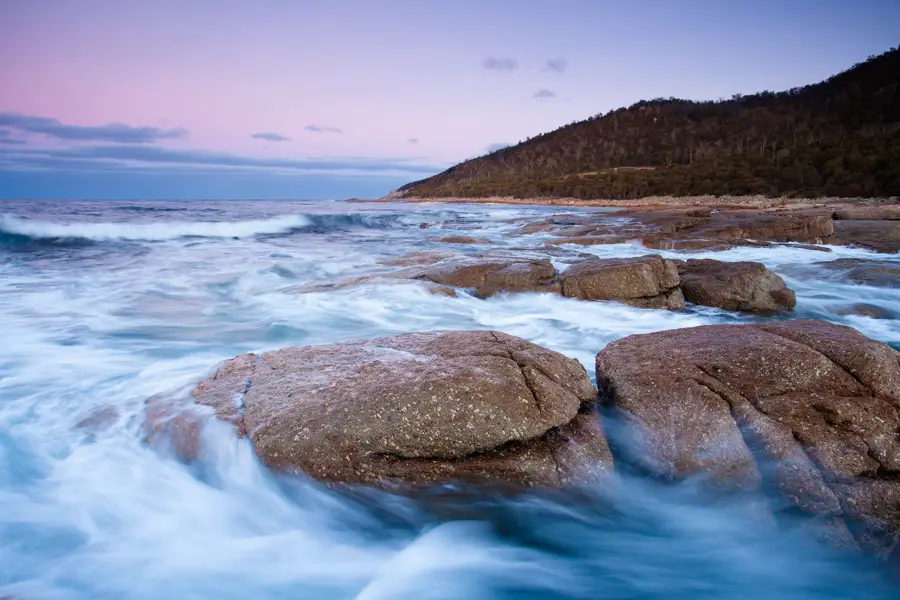
I’d been meaning to spend some time in Bicheno for a while so we decided to call it home for a night with the intention of taking photos along Harvey Farm Road and Redbill Beach with the hope of getting a clear sky to capture the milky way. Unfortunately for us, the plan for milky way photos wasn’t meant to be with the sky clouding over and then later dispersing to bring out the full moon. But we made the most of it and had some fun shooting until late into the early morning and then getting up early to shoot the sunrise.

Sunset and a full moon
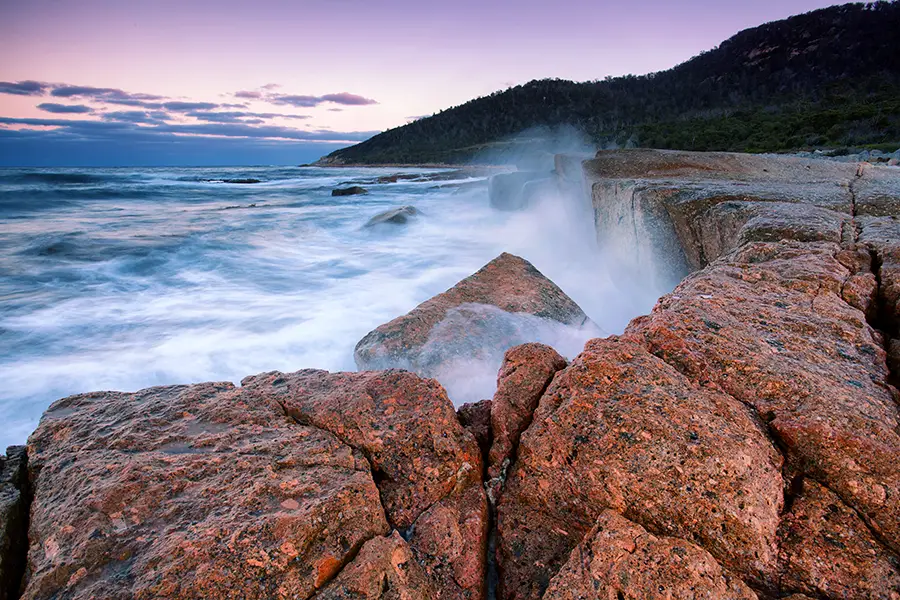
Waves crashing on sunset at Bicheno, Tasmania
Jon taking a photo as the light quickly disappeared. May have resulted in very wet feet after this photo...
Jon taking a photo as the light quickly disappeared. May have resulted in very wet feet after this photo…
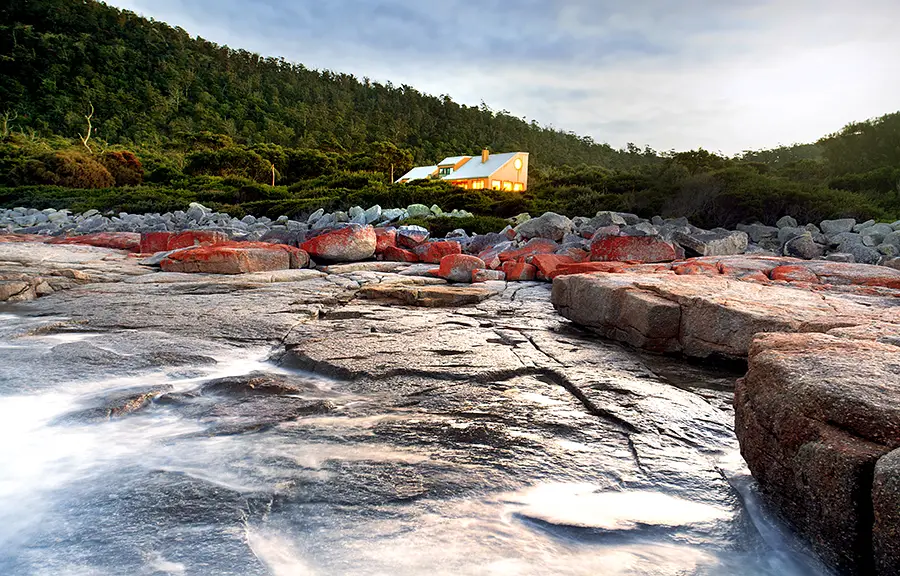
Sunset at Harvey Farm Road, Bicheno
My dream house - Such a beautiful location.
My dream house – Such a beautiful location.
Staring at the sky wondering where my milky way is?

Amazing the difference a few hours can make. We decided to head back to our accomodation and watch the World Cup for a couple of hours. Having pretty much resigned ourselves that the cloud had set in for the night, I stuck my head out the door and joked to Jon would we go out if the cloud magically disappeared? What do you know? They disappeared so we put on our wet shoes and went for another stroll down the beach, shooting photos until around 3am or so and then getting back up a few hours later for sunrise. Good times.
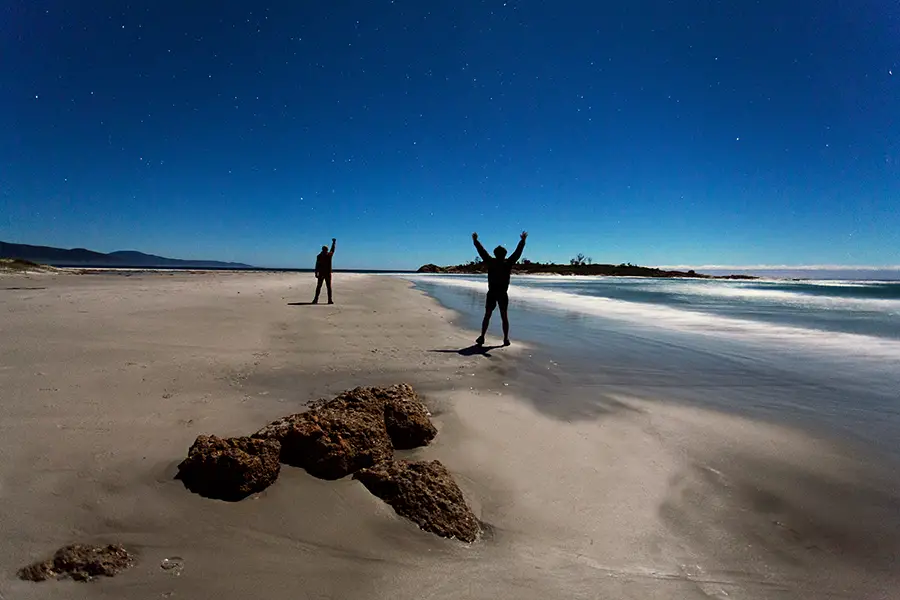
The cloud quickly dispersed so we couldn't resist a team moon lit photo
The cloud quickly dispersed so we couldn’t resist a team moon lit photo

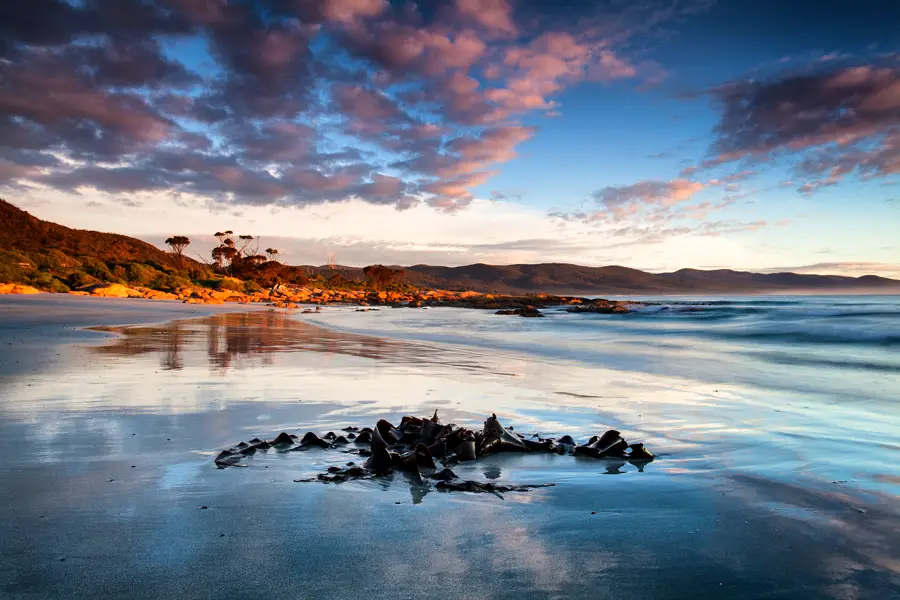
Up early for the sunrise at Redbill Beach, Bicheno
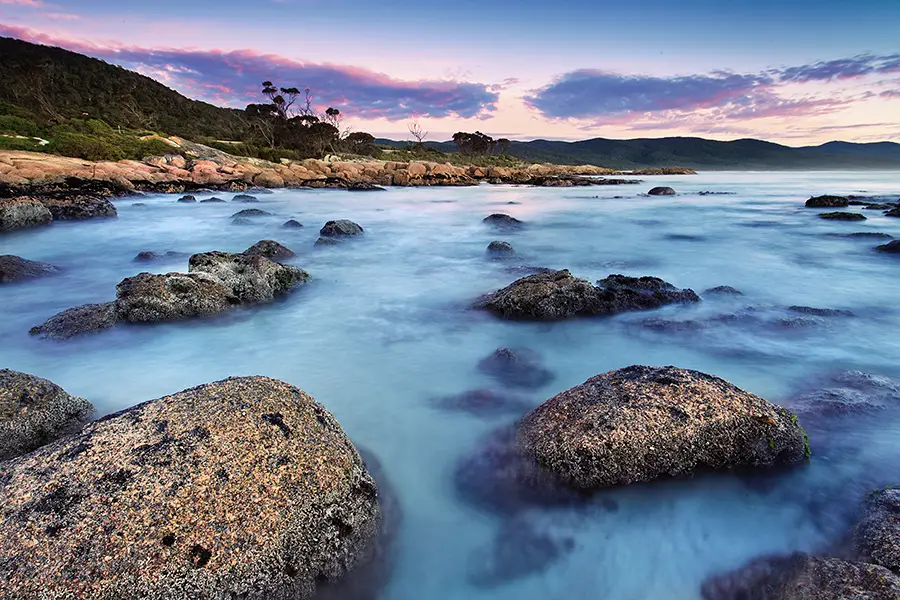
Up and early for sunrise at Redbill Beach, Bicheno
Light hitting the dunes at Red Bill Beach, Bicheno
Getting my feet wet. I'm not sure if my shoes remained dry all trip...
Getting my feet wet. I’m not sure if my shoes remained dry all trip…

Thanks

We had a great time and I’d highly recommend a trip to Tassie that gives you a bit of everything. It was nice to be enjoying a hike through beautiful foggy landscape one day and then be knee deep in water the next. I’m also excited to announce that Jon has finally launched a website/portfolio under the name of Drift and Wander. Check it out. He will be using it to release photo series from Patagonia adventures and upcoming trips. Drift and Wander Just in case you’re curious – Definitely going to give Reynold’s Falls a go in summer when there’s more light. Can’t wait. Thanks for reading! – Alex PS – If you enjoyed this post and want to receive an email of future posts, be sure to subscribe to my newsletter or jump on an follow me on Facebook.
 Related Articles

  • Guide to daytime long exposures – A guide i put together a while now that looks together at what equipment you will need for capturing long exposures during the day like I have in this post.
  • After a fun weekend project? Use welding glass as a neutral density filter –  Not ready to drop $100+ on a 10 stop neutral density filter? Use a piece of welding glass to imitate the effect. I show you how I’ve used welding glass in the past and walk you through how to remove the colour cast that the glass creates.
  • Little stuck on idea’s for your long exposures? A while ago I did a brain dump on all things long exposures with some of my favourite concepts for long exposure photographs. The possibilities with long exposures are endless and plenty of fun.
  • With winter not too far away, why not get out and photograph some waterfalls. This guide on how to photograph waterfalls will get you started.
Posted on 2 Comments

Morning trip to Cape Woolamai, Phillip Island

Cape Woolamai
Using welding glass to create a daytime long exposure at Cape Woolamai

Look I won’t lie, I’m a light snob and when Ricardo Da Cunha told me at 7am that we weren’t heading down to the Yarra Valley to capture some nice fog lit forrests but instead down to Phillip Island I did raise my eye brows slightly. One of the things I’ve learnt over time is that for certain scenes, there’s not much point pulling your camera out unless it’s at certain times of the day. For waterfalls I generally find they’re best when the weather is overcast and miserable while for seascapes I prefer to shoot around sunset/sunrise to capture the golden hour light and colours that unfold. So with this in mind I smiled and thought I could at least resurrect the situation with some day time long exposure shots but that didn’t quite turn out to be. More on that later.

On our way down the idea was to catch up with Andrew Sharpe who has only just recently purchased a Phase One setup. I’d not seen one in the flesh and while not tempted myself, it’s a beautiful camera and I’m envious. Personally speaking, I’m a too rough with my camera’s and also like to get a little too close to the action like the time I lost my camera to a waterfall… So the idea of walking around with a camera worth upwards of $20,000+ alone would scare me. Hell, sitting on the train with a bag of camera gear can be nerve wracking enough. But either way, it was a beautiful camera and the results it puts out are stunning.

The walk into the Pinnacles is stunning and a must visit if you're ever down Phillip Island way
The walk into the Pinnacles is stunning and a must visit if you’re ever down Phillip Island way
Ah... The lovely muddy descent down to the Pinnacles. Always a pleasure.
Ah… The lovely muddy descent down to the Pinnacles. Always a pleasure.

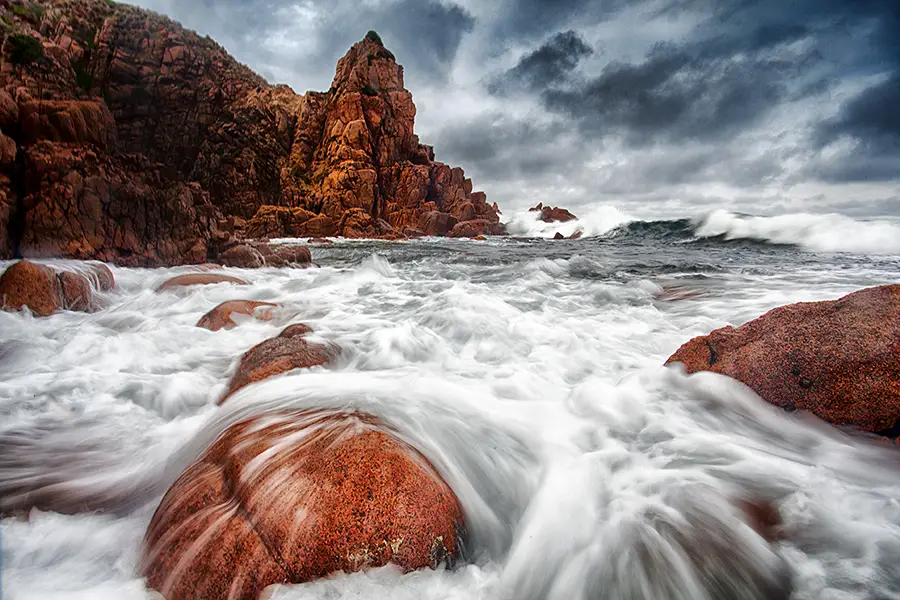
I’ve been down to the Pinnacles at Cape Woolamai only the once and it’s one of my favourite places for seascape photography in the state. There’s something about walking down the beach for a km or two and finally making your way to a set of stairs then walking further before you begin to descend down into the Pinnacles. A private little bay where the waves are endless and wild. It’s one of those places that never disappoints and would be hard to take a bad photograph. A must visit for any travelling photographer who is interested in seascape photography.

We made our way down to Cape Woolamai and the sky was overcast with not much going on. I quickly learnt that I had left my B+W 110 10 stop filter at home. The filter that I thought would allow me to at least capture a couple of frames using day time long exposure effects and resurrect the trip.  Bit of a dampener but I quickly remembered that I had a Hoya R72 (infrared filter also great for long exposures) and some welding glass in my camera bag. I’ve blogged about using welding glass in the past with this post about using welding glass as a DIY neutral density filter which explains what welding glass to purchase and how to remove the colour cast from your shots.

With lighting conditions quite diffused from the overhead cloud this allowed me to capture the movement of water through some short long exposures using my Cokin Z-Pro filters like the shot below which involved the use of a .9 Cokin graduated neutral density filter. Some more information on the different types of filters out there and how to use them can be read on a recently posted blog post in case you are interested in further information.

Cape Woolamai
Cape Woolamai

We didn’t hang around too long and ended up making our way back to Melbourne by lunch time. Would I shoot seascapes again during the day? Probably not but it’s a good slap in the face for me to be less of a light snob and get out there in conditions that are less ideal and make the most of what you are given. As opposed to only shooting locations when the conditions align.

Although that being said I find this seems to be one of the biggest mistakes I see for beginner photographers – not shooting according to the conditions and expecting to go out in the middle of the day and walk out with nice photos. If you are starting out I’d recommend learning what conditions work best for certain conditions and shooting around this time. So if you’re keen on shooting a favourite beach, find out if it is sunset or sunrise facing and get down there at that time as opposed to the middle of the day where you will be battling strong light or dull skies. Just don’t become a light snob like me 😉

Thanks for reading,

– Alex

Posted on 11 Comments

What Are Neutral Density Filters and How to Use Them

Camera with graduated neutral density filters
One of my favourite photos made by possible by using various neutral density filters

Neutral density filters are a favourite tool of my photography tool set and admittedly most of my shots have been taken using at least one. I must be honest, neutral density filters were the turning point for my photography. I actually found it quite frustrating as I wasn’t getting the images how I wanted them in camera until I started playing around with graduated neutral density filters. Once I got hooked on these I started taking other aspects of my photography more seriously, learning about composition and how exposure affects your image. This lead me on a path of exploring the use of neutral density filters from graduated types, strong neutral density filters and even playing around with welding glass.

For this reason I wanted to put together a simple guide on how to use ND filters, explaining the different types out there and why they are a great to have in your camera bag while also looking at when they are needed/are good and how they are generally used by photographers. But neutral density filters do have their shortcomings which I’ll also explore in this article. You never know perhaps you might get hooked on them too? 😉

What are Neutral Density Filters

Before we get started though let’s look at what a neutral density filter is and what purpose it actually serves. A neutral density filter reduces the amount of light coming in to your camera. This is great for photographers who want a longer exposure time or a larger aperture which may not be possible due to lighting conditions at the scene. The light entering the camera is reduced by the darkness of the filter used. When we look at different neutral density filters we look at how many stops of light they block out. By this it means how many f-stops the filter blocks.  In English the higher amount of F-stops the neutral density filter blocks out, the darker the filter will be and the longer the exposure time required to get the correct exposure time. Simple enough right?

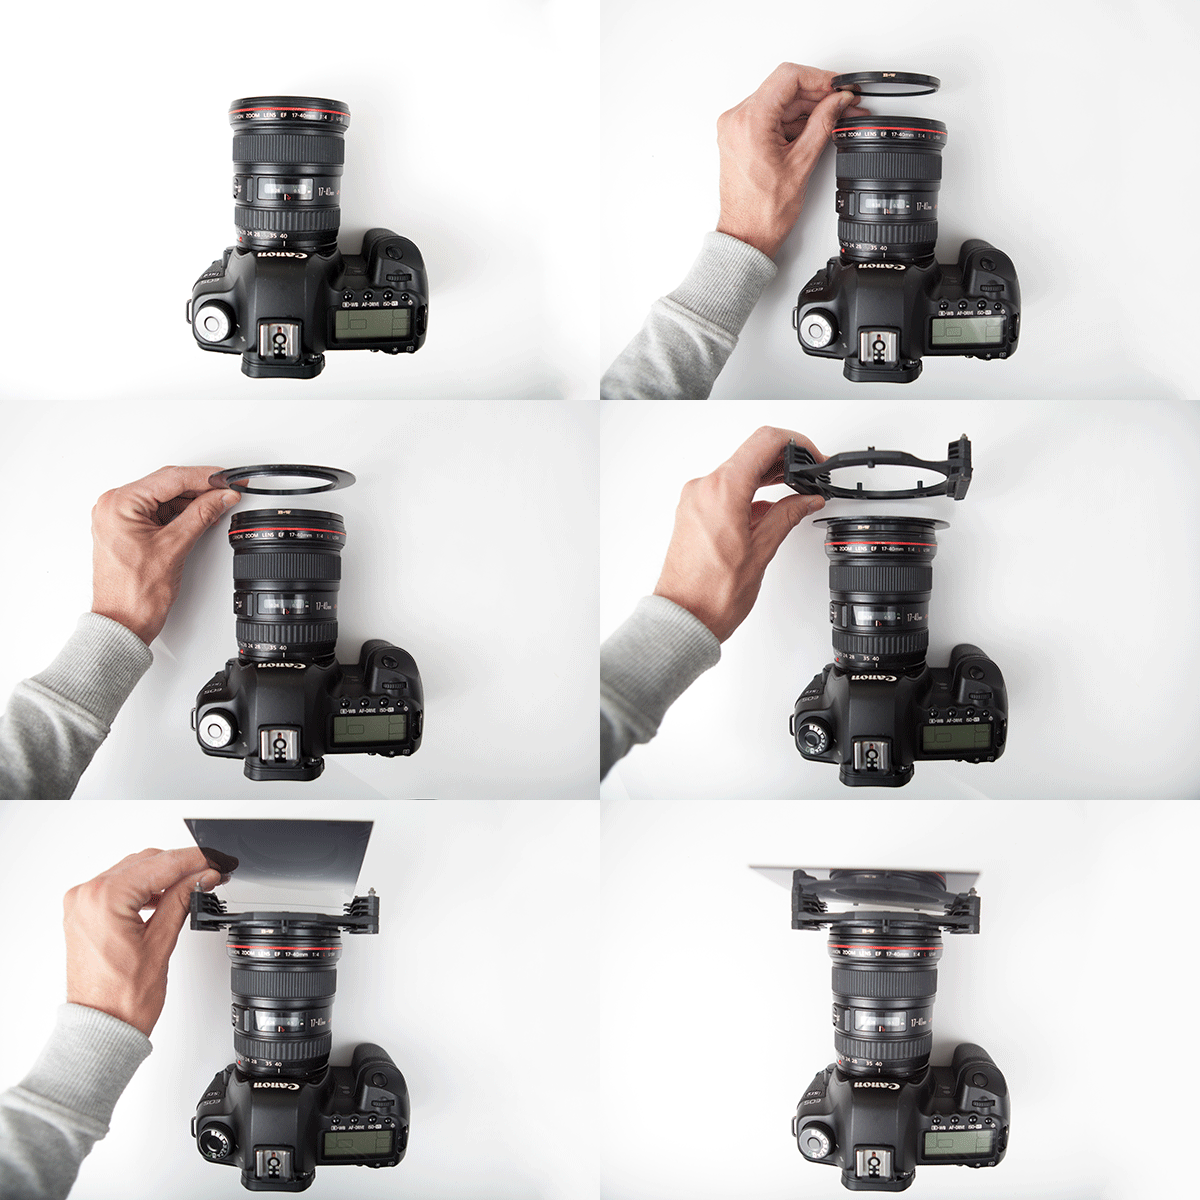
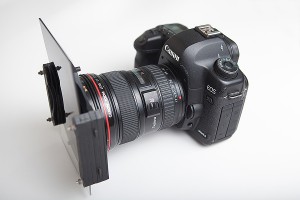
Neutral density filters come in all shapes and sizes from screw on types (more common) to rectangle glass which is mounted to the camera lens through an adapter. Below shows my setup which I normally shoot with which  consists of a .9 Cokin Z-Pro graduated neutral density filter, filter holder, lens adapter to fold the filter holder and a B+W 110 10 stop neutral density filter. Good fun screwing it all on when shooting in freezing conditions 😉

How to Use ND Filters
My typical neutral density filter setup Canon 5D Mark II, Canon 17-40, B+W 110 and Cokin Z-Pro .9 graduated ND filter with adapter and holder attached)

Solid Neutral Density Filters

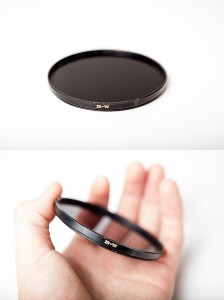
B+W 110 neutral density filter
An example of a solid neutral density filter (Filter in picture – B+W 110 ND)

Sold neutral density filters are your more common neutral density filter on the market. These come in various strength levels ranging from blocking out 2 stops of light up incrementally up to filters that block 10 stops of light.  The 2 stop filter is quite useful for shooting waterfalls when you’re not quite getting the exposure time you need or when shooting portraits in harsh sunlight and you wish to capture at a higher aperture which may not be possible due to the harsh light. While the 10 stop neutral density filter is a lot more specialised and will allow you to capture exposure times beyond a minute which can drastically transform a scene.  If this is something that interests you, give my article about capturing daytime long exposures a read which goes into more detail about the use of strong neutral density filters.

If you’re looking to get started with a solid neutral density filter I would personally recommend a 4 stop neutral density filter like this Hoya filter as this is a good middle ground without being too weak or too strong.

One word of advice though, avoid screw on graduated neutral density filters and screw on filters that allow you to change the strength of the neutral density filter. A few friends have purchased these and have had awful results from them and said how inconsistent they are.  Perhaps others have had good experiences with them but from most people I’ve spoken to, they regret the purchase and ended up purchasing either a proper solid neutral density filter or a graduated neutral density filter kit.

Graduated Neutral Density Filters

Graduated neutral density filters are where it all started for me when I started experimenting with ND filters. The purpose of a graduated neutral density filter is to gradually darken part of the image depending on the position of the filter.  This results in a gradual shift in darkness from solid to clear and allows you to position the filter based on where you want the graduation to occur. A common use for the filter is when capturing landscape photography where shooting a scene that is not evenly lit as the sky will be bright from the sunrise/sunset and the land quite dark. By using the graduated neutral density filter this will allow you to under expose the sky (avoiding highlights and slightly darkening the sky to create some mood) which results in a more even exposure.

Graduated neutral filters come in various graduations or step types. The type I refer to in this article are your typical soft edge graduated neutral density filter where the top half of the filter is a solid dark and gradually loses its darkness to become clear. The setup I use is the Cokin Z-Pro kit which is ok however has issues of a purple colour cast when multiple filters are stacked. For this reason I prefer to recommend the Lee setup which doesn’t have the same colour cast issues which the Cokin setup can be prone to (however easily corrected in post processing). Another style is a hard edge neutral density filter where half the filter is solidly dark and the rest is clear. Another but less popular style is the reverse graduated neutral density filter. This is popular for sunset photographs where the sun is sitting around the horizon. I’ve not used these personally as they’re quite expensive and feel their usage is limited and doesn’t justify the cost (see this Hitech reverse graduated neutral density filter which doesn’t come cheap) but I’m sure are no doubt handy to have in the kit if you can afford one.

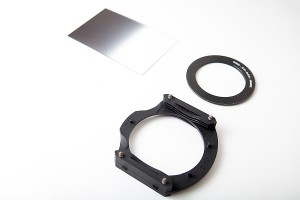
Graduated neutral density filters
An example of graduated neutral density filters (Filters in photo – Cokin Z-Pro graduated neutral density filter, lens adapter and filter holder)

While not limited to various types of graduation, these filters also come in various colours which allow the photographer to add colour to their scene. Generally grey (neutral) filters are what photographers use but others have been known to experiment with the blue, yellow and sepia colour filters. These work just like the normal graduated filters do with the colour being strong at the top and gradually becoming clear at the bottom. I’d recommend against these as they do not provide an accurate colour representation of the screen and if you really must the effect is quite easily achieved in Lightroom using the graduated filter as part of that.

How to use graduated neutral density filters

As technology advances and processing techniques become more defined, some would argue that a graduated neutral density filter isn’t as required as much as it once was and actually create more issues than their worth by degrading image quality and unwanted darkening parts of your scene. I’d argue they still very much have their place in your photography kit but admit they aren’t suitable for every shooting situation.

Generally I will use a graduated neutral density filter to partially darken part of the sky but it can be quite difficult when an object is in part of the sky (i.e. a cliff face that takes part of the sky). For these situations I won’t use my neutral density filter as it will result in the cliff face gradually darkened which looks unnatural and degrades the quality of your final image. Lightroom and other photography editing applications now allow you to overlay a graduated neutral density filter within software and is a great way to experiment with graduated neutral density filters without making the costly outlay of purchasing some.

However I still think that physical graduated neutral density filters do have a place in the photographers kit even with the rise of software programs like Lightroom becoming increasingly capable. This is due to the physical filter darkening the brighter regions of the sky in camera which will result in a longer exposure time. However if you attempt to do the same with a digital graduation filter in post processing this can create noise around the area. One could get around this issue by taking multiple exposures and using layer blending in Photoshop to selectively blend them in. I’ve written about this in a previous blog post which provides more information about layer masking areas from multiple exposures. One might argue that this is the way heading forward for landscape photography as it allows greater control over the final image and avoids any image degradation that may occur from placing a filter in front of the lens. But for the moment I’m happy using my graduated neutral density filters as they work for me.

If you do decide to purchase graduated neutral density filters, I’d strongly recommend the Lee filter setup. I personally shoot with the Cokin Z-Pro graduated neutral density filter kit however they have a slight colour purple colour cast which can result in a hint of purple being added to your image when you use more than one Cokin filter. The Lee filters don’t have this issue and provide a true graduated neutral density filter without any colour cast issues.

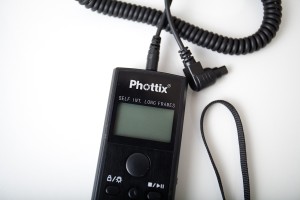
For most shots I will use a intervalometer to manually set the exposure time which is especially useful for shooting long exposures beyond 30 seconds.

When (and when not) to use neutral density filters

Neutral density filters can be used for many different circumstances which can include:

  • Blurring objects of a scene. Some popular things photographers like to blur include capturing the movement of clouds or the smoothing of water. But don’t limit yourself to this. I like to watch a scene and watch for gradual movement that occurs over the space of a few seconds and ponder how it may appear in a long exposure. An example of this is a shot I took at the Huon Valley, Tasmania of a moving jetty to create an interesting effect
  • Balancing a bright sky against a dark land/foreground. By using a graduated neutral density filter on the sky, this will allow you to darken the sky to balance it against the dark land
  • Adding some mood to the sky can instantly lift your photo in camera without the need for any burning in Photoshop when you return home
  • Allowing you to use an aperture that may not be possible due to bright lighting conditions therefore allowing you to capture a shallower depth of field
  • Blurring of people in a busy scene like this brilliant photo captured by Tom Carter in Tokyo of a busy intersection
  • The list is endless and neutral density filters allow for a lot of creative expression. I’ve compiled a list of long exposure photography ideas in an earlier post which might give you some ideas how you can use ND filters around your area

When to not use neutral density filters

Avoid using neutral density filters when:

  • Mountain tops or other objects overlap part of the sky. For this photo taken at Cape Schanck I did not use a graduated neutral density filter as the cliff face took such a major part of the sky. If I was to of used a graduated neutral density filter on the shot I would of lost considerable dynamic range on the cliff and also the shot would of appeared unnatural
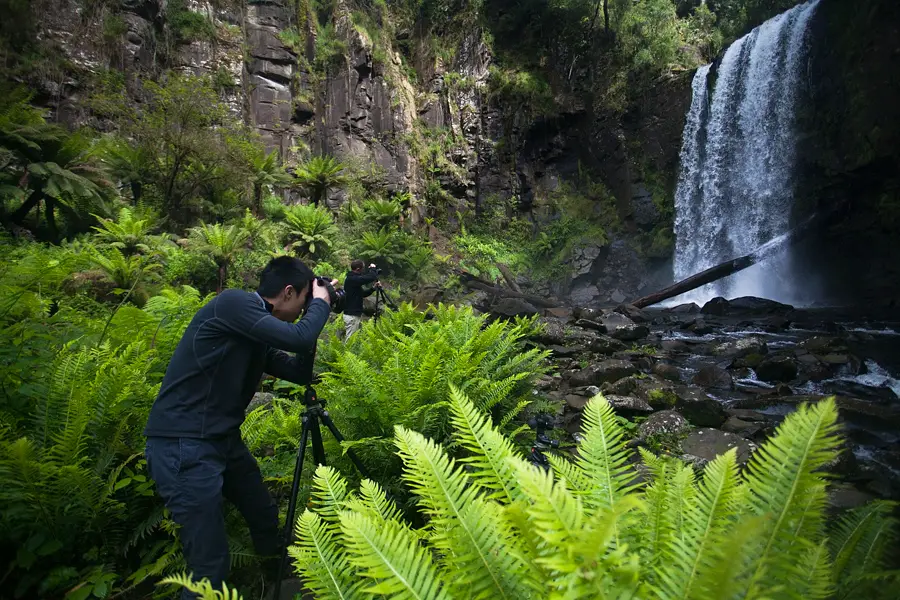
  • Shooting waterfalls where you can get a long enough exposure without the use of filters. Obtaining the smooth water effect when shooting waterfalls only requires a 2-3 second exposure which is quite easily achievable if shooting in overcast conditions. If you introduce a neutral density filter this will drastically increase your exposure time, getting your silky smooth water effect however will blur the surrounding foliage of the waterfall

Looking at how filters can affect your photo

Camera with graduated neutral density filters
My Canon 5D Mark II with a graduated neutral density filter and B+W 110 solid neutral density filter attached

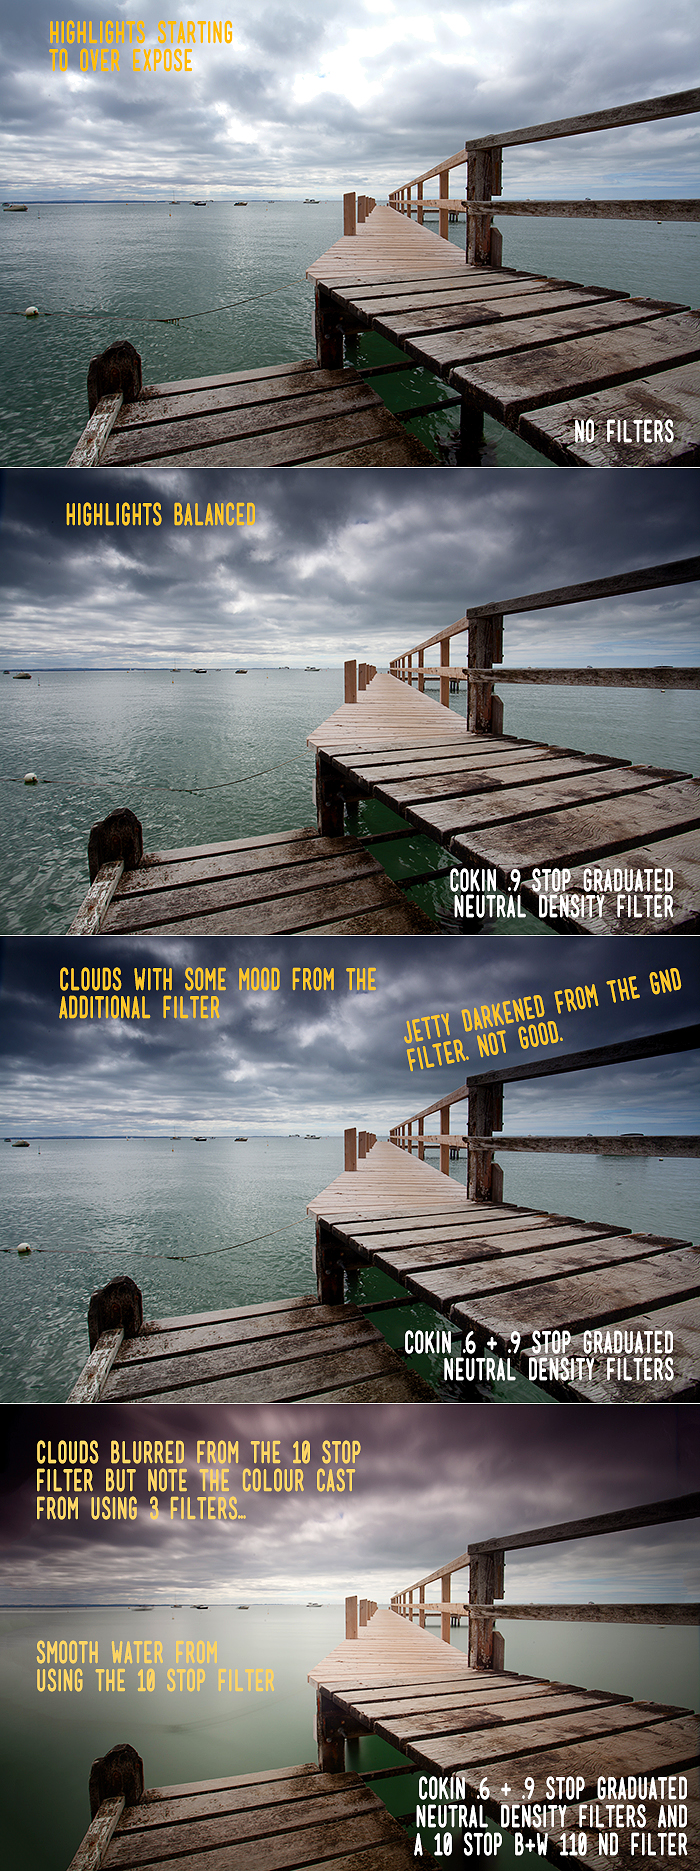
All this talk about solid and graduated neutral density filters is best explained by using some sample photos I took especially for this post to demonstrate how filters come into play. The setup consisted of a Canon 5D Mark II, Canon 17-40, intervalometer, Cokin Z-Pro graduated neutral density filters, 10 stop B+W 110 filter and a tripod (setup shot in case you’re curious).

I’ve not processed the images and for the first 3 images, the exposure time is the same and it is only when the strong 10 stop B+W solid neutral density filter is used that the exposure time changes. This is due to the B+W 10 stop filter being so dark that shooting at the same exposure time as the first 3 images would result in a black image. Instead the camera sensor needs more light to get a proper exposure which is why I had to lengthen how long the shutter remained open (in this case 1 minute).

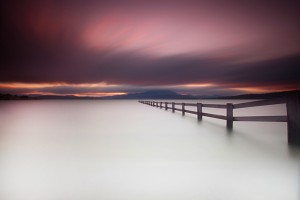
  1. Image 1 – Base image where no neutral density filters have been used. As you can see the exposure is quite even however the highlights (white parts of the sky) are starting to blow out (Exposure – 1/4 sec at F18)
  2. Image 2 – One Cokin Z-Pro .9 graduated neutral density filter has been added. You can notice that it has balanced the exposure of the sky and added some very slight mood to the sky (Exposure – 1/4 sec at F18)
  3. Image 3 – Two Cokin Z-Pro graduated neutral density filters are used (.6 and .9) which adds a lot more mood to the sky however has introduced darkness over the jetty. This is one downside to using graduated neutral density filters where there is an object overlapping part of the sky (in this case the railings for the jetty) (Exposure – 1/4 sec at F18)
  4. Image 4 – Going nuts and using the same Cokin setup (one .6 and .9 graduated neutral density filter) and also the solid B+W 110 10 stop neutral density filter. As the 10 stop neutral density filter is being used, this darkens what the camera can see considerably (imagine looking through welding glass) which as a result requires the camera to use a long exposure to capture a correct exposure. I love using the B+W 10 stop filter as it allows you to capture long exposures during the day which blurs the clouds and water however one down side of using so many filters is the colour cast that is introduced.  This is mostly from using the Cokin Z-Pro filters which have a purple colour cast to them which you can see in the sky. For this reason I’d strongly recommend the Lee filter kit which doesn’t suffer from the same colour cast issues (Exposure – 1 minute at F18)
Comparing how neutral density filters can come into play

Example photos from using neutral density filters

As mentioned at the start of this post, I won’t deny that I’m a sucker for neutral density filters and use them for  a lot of my images. They’re a great tool to have in any landscape photographers tool set and well worth the investment. Below are some images that I’ve taken using a mixture of the Cokin Z-Pro graduated neutral density filters and the B+W 110 10 stop neutral density filter. Now that you’ve read about neutral density filters you should be able to identify where they have been used. In most of the shots a graduated neutral density filter has been used to darken the sky which has brightened the foreground and a stronger solid neutral density filter has been used to blur the movement of the clouds and water.

I hope this guide has been of use to you and has answered any questions you may have had about using neutral density filters. Please feel free to send me an email if you have any further questions as I’m always happy to help or alternatively if you have any feedback on what you would like to read about in future articles I’d also love to hear.

Thanks for reading,

– Alex

Photographs taken with neutral density filters referred to in this article

Related Reading

  • How to photograph waterfalls – This article looks at the basics of waterfall photography by discussing what conditions work best for waterfall photography, how exposure time can affect your photo, what equipment you will need for waterfall photography and more.
  • Neutral density reference chart – Stuck on what exposure time to use when using neutral density filters? This printable chart tells you what exposure time you will need based on the filter you are using
  • How to capture daytime long exposures –  During the day it’s difficult for your camera to take long exposures without the need for filters or very low light conditions. This article explores what equipment you need to get started for shooting long exposures from 30 seconds to 5 minutes during the day.
  • Long exposure photography ideas – Stuck on ideas on how to use your ND filters?  This article looks at the many uses for ND filters with some long exposure photography ideas to get you started.
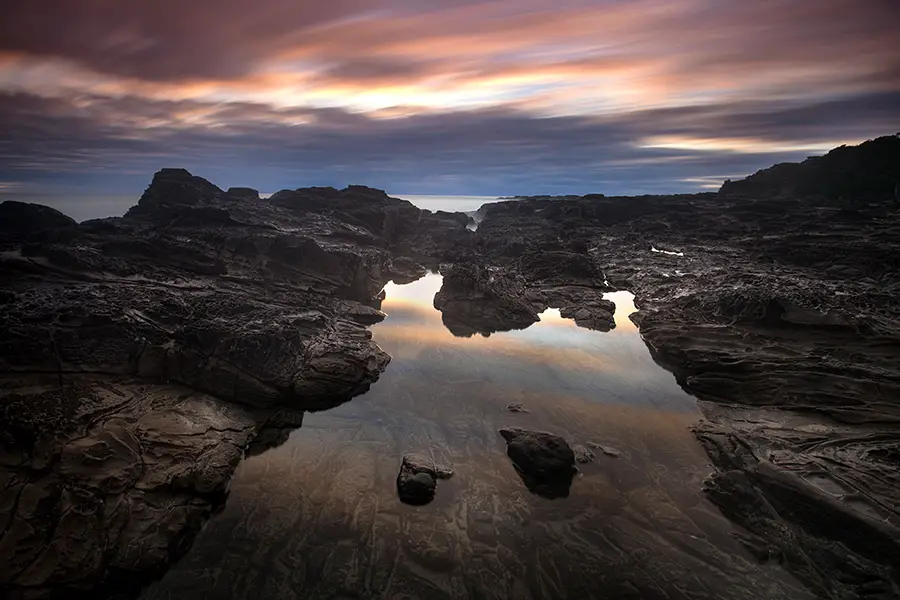
  • Create your own 10 stop ND filter – A fun little weekend project which shows you how to create your own 10 stop neutral density filter for under $10.
  • The magic cloth technique Use a cloth to create your own graduated neutral density filter during a long exposure.
Posted on 8 Comments

Weekend Trip down the Great Ocean Road

the great ocean road

Enroute to Wye River

Exploring the Great Ocean Road

After living in Melbourne for almost 3 years it didn’t feel right that I hadn’t been down to the Great Ocean Road since moving over. Hyped for its stunning coast line and beautiful waterfalls I had been itching to get down there and take some photos. After planning it for a while now, I finally made my way down to the Great Ocean Road and the Great Otways National Park headed towards Wye River with some friends and it did not disappoint.

As much as I love living in inner city Melbourne, I do miss being able to jump in the car and get to great coastline within 30-45 minutes like I would previously when living in Hobart and fire off some photos. So whenever an opportunity arises to get out and photograph some of Victoria’s coastline I’m always eager to go. A while ago now two friends and I decided to plan for a weekend trip down to the area for a lazy weekend and photography.

Jan Juc

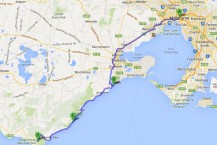
Our photography route down the Great Ocean Road with a detour via Jan Juc and the Great Otways National Park

We decided to leave after work on Friday night and Melbourne being Melbourne quickly got caught in peak hour traffic. Rather than let the night go to waste we took a little detour to get some photos of the sunset as we made our way down. A quick look on Google Maps and we settled on Jan Juc. I’m pretty sure the decision was made on name alone. But luckily for us, the beach didn’t disappoint and was topped off with a stunning sunset.

The first photo was captured with a set up of the Canon 5D Mark II, Canon 17-40, tripod, B+W 110 10 stop filter and a .9 Cokin Z-Pro neutral density filter to darken the sky. One downside to using the Cokin graduated filters (other than the slight colour cast) is that you have to be careful where you position the filter. For this shot I positioned the filter on an angle (think 10pm on a clock) to have the filter coming down from the corner. This avoided the cliffs being gradually darkened which would of occured if placed at the 12 oclock position and going directly from top to bottom. For this reason graduated neutral density filters while great, definitely have their short comings and something you may want to consider if looking to purchase some.

Jan Juc Sunset
Sunset at Jan Juc (5 minute long exposure)
Ronnie Ling
Ronnie shooting at Jan Juc (Taken with my Fujifilm X100)
You have to kill time waiting for the sunset somehow right?

Wye River

As we continued down further we eventually made our way to Wye River a little later than originally planned. Wye River is a quiet little town situated along the Great Ocean Road that’s less touristy and more relaxed. I much prefer it over Apollo Bay which is often swamped with tourists.

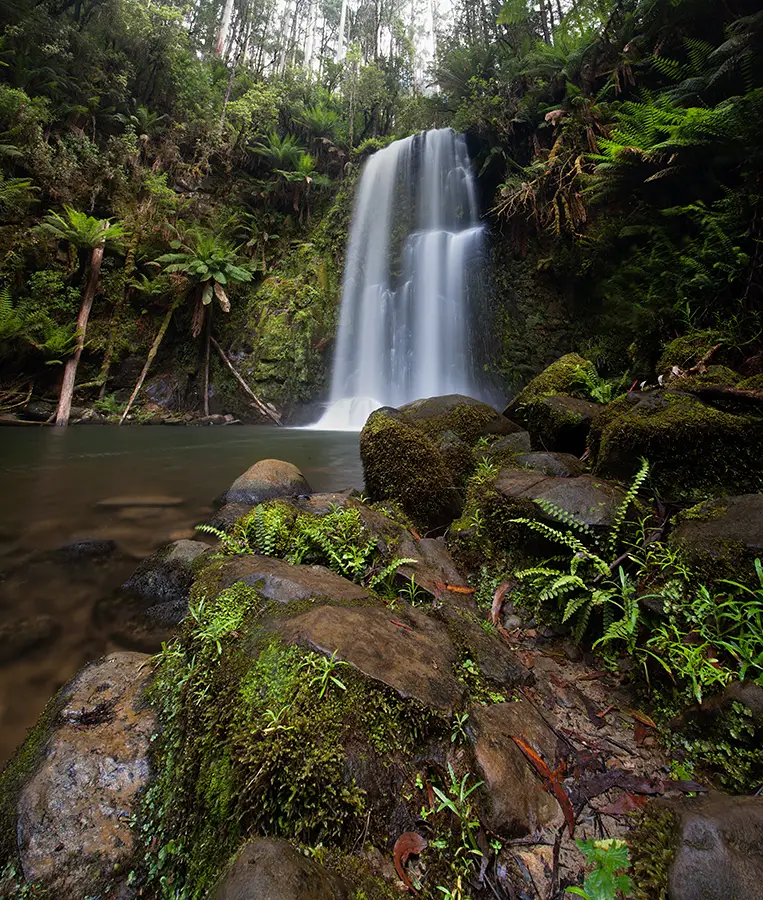
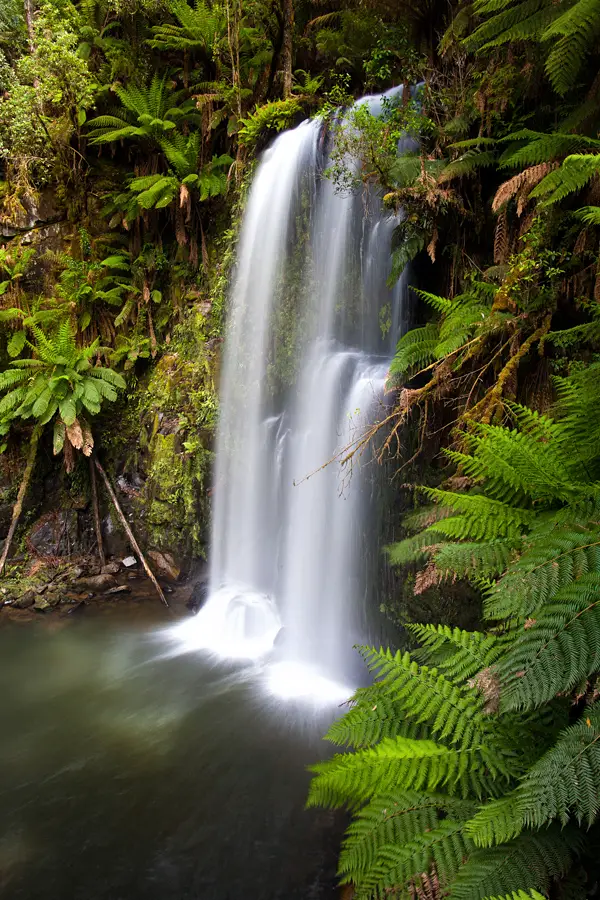
Wye River has a stunning beach, pub, cafe and makes a great spot to situate yourself for exploring the rest of the Great Ocean Road. Our plan for the weekend was to shoot some seascapes around the area and explore inland with a trip to the Great Otway National Park which is home to Beauchamp Falls and Hopetoun Falls. Both waterfalls I had been wanting to get to for sometime now but being around 3 hours from Melbourne are a little too far for a day trip.

Wye River Sunset
Dusk at Wye River
DSCF0171
Jon capturing the sunset at Wye River
Wye River
Sunrise reflections at Wye River (3 minute long exposure)
Cold feet at Hopetoun Falls

The Great Otways National Park

After waking up early to shoot the sunrise at Wye River, we decided to grab a coffee and make our way more inland towards Hopetoun Falls and Beauchamp Falls. I had seen the two locations photographed many times before so I was keen to get down there and photograph them myself.

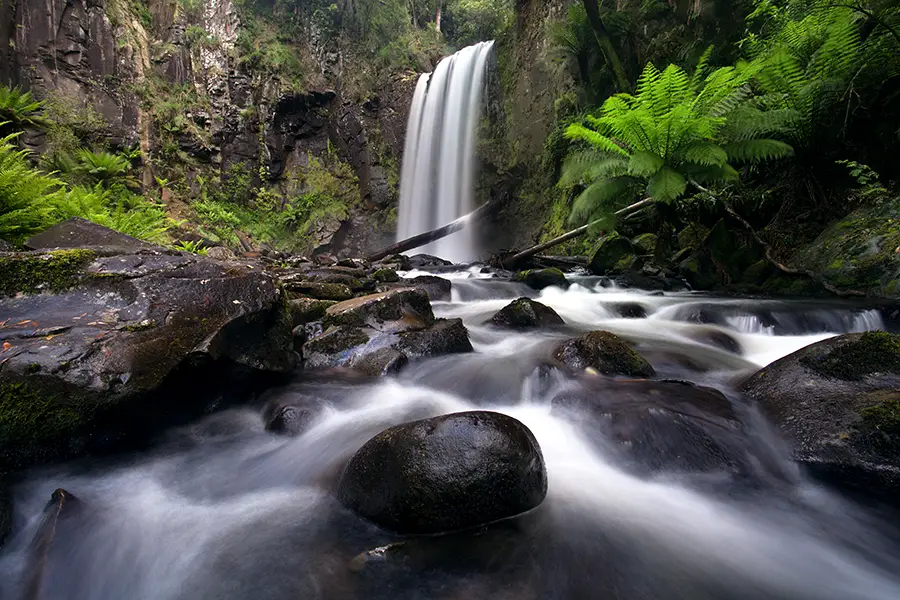
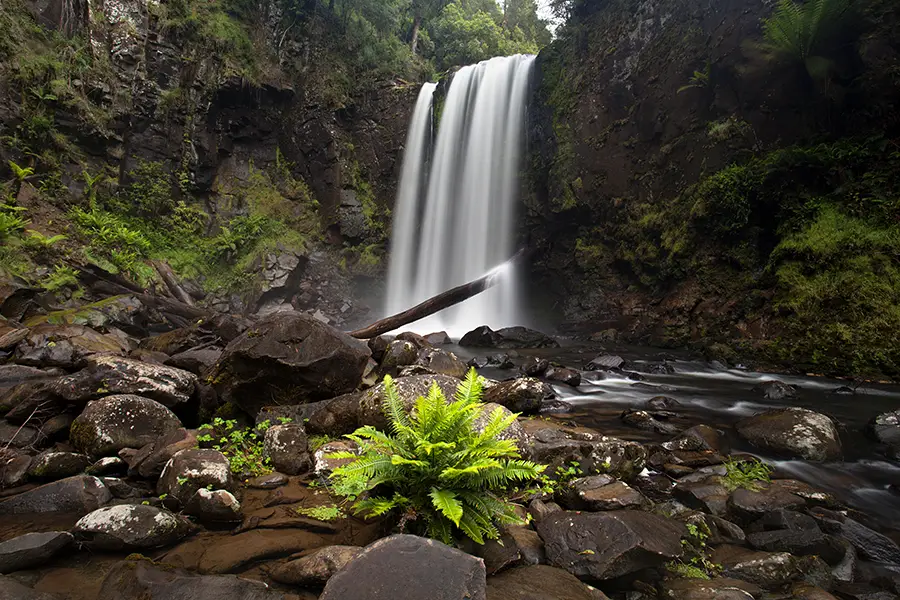
It was a cloudy morning as wet set off from Wye River but unfortunately on arrival to the Great Otway National Park, the sun began to slowly rise through the clouds and create patchy light over the waterfalls. While not ideal, I find if you are shooting with patchy sunlight that shooting slightly under exposed is a great way to avoid over exposure and provide you with a more even exposure. For some photos where there was patchy sun light in the photograph, I used the adjustment brush within Lightroom with the highlights and exposure decreased slightly and painted over the sun lit areas. It works well to create a more evenly lit scene. Once again, not ideal and I’d much prefer to be shooting in overlight conditions where the light is even but you have to make the most of what you’re given on the day right?

A while ago now I put together an article on waterfall photography. If you haven’t shot waterfalls before and looking to get started you may want to give it a read to get started.  It’s nothing fancy but just goes through the basics on how I photograph waterfalls with some examples of shutter speed and some basic tips.
Hopetoun Falls - Alex Wise
Hopetoun Falls (2.5 sec long exposure)
IMG_9100
Jon and Ronnie photographing Hopetoun Falls


Conditions were patchy at Hopetoun Falls with some harsh sunlight at times. It wasn't ideal but lucky for us the sun made way at times allowing for some photos
Conditions were patchy at Hopetoun Falls with some harsh sunlight at times. It wasn’t ideal but lucky for us the sun made way at times allowing for some photos
Hopetoun Falls (2 sec long exposure)
Beauchamp Falls
Beauchamp Falls (3.2 sec long exposure)
Fauna of Hopetoun Falls


Beauchamp Falls from the look out

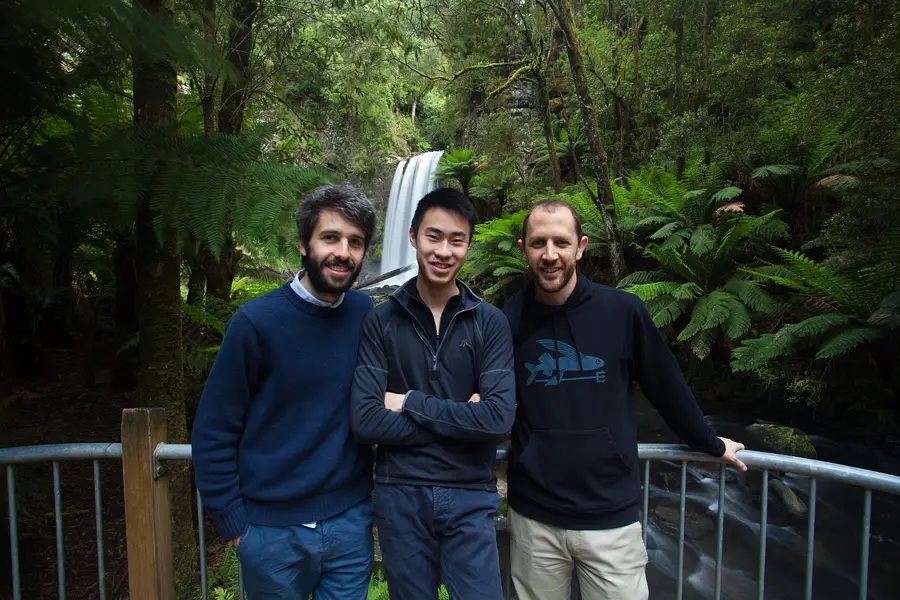
Three ugly mugs

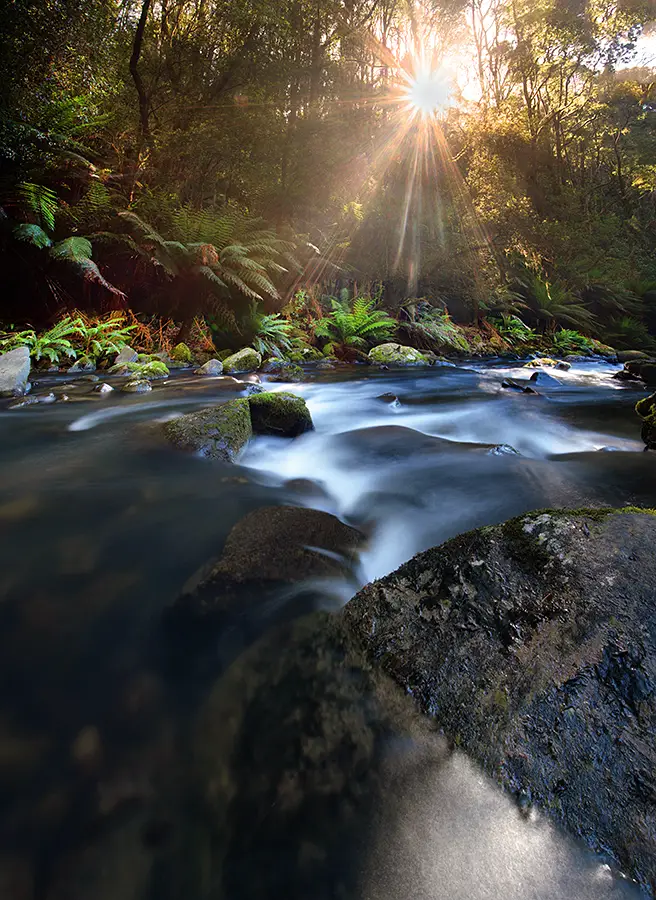
Doing my best to avoid the sun with this stream photo of Hopetoun Falls

Star Trails at Wye River

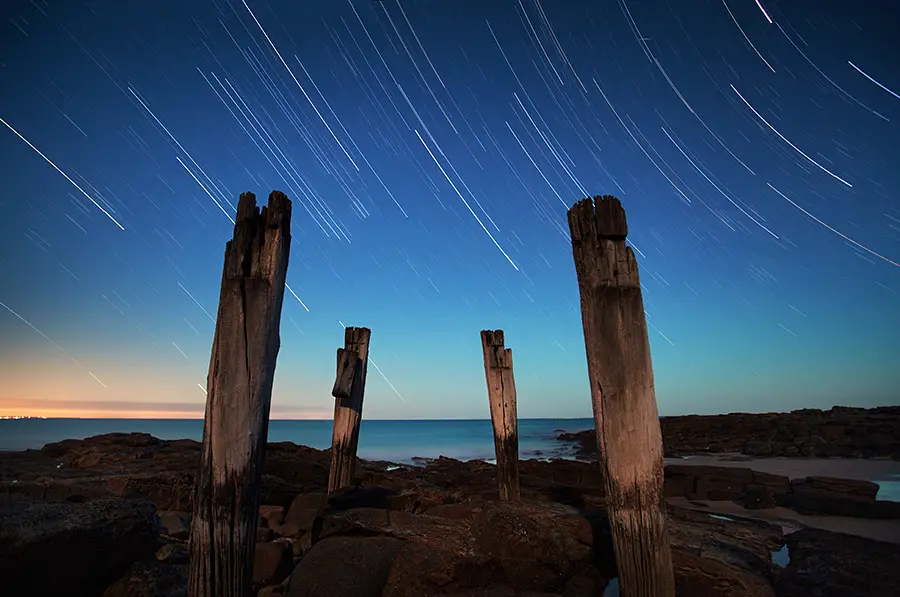
As part of getting down to Wye River we were also keen to shoot some star trails (a plan that was always pending what the weather had in store for us). Lucky for us, the weather and conditions were perfect for star trail photography. Generally star trails are best photographed around the new moon of every month. While not exactly the day of the new moon, our time at Wye River was a few days after the new moon (this sounds like a Twilight novel or something…) and the sky was clear which created great conditions for star trail photography.

I must admit, star trail photography is something I struggle with. I’m not sure whether it’s the impatience of waiting around for the exposure to complete (in this case 90 minutes) or just the bashing around in the pitch black dark but this time I didn’t want to let past experiences deter me so I set up on blue hour near ruins of an old jetty at Wye River. The plan was to take 10 minute exposures at F5 at ISO 100. Through taking 9 exposures at 10 minutes I then opened them as layers in Photoshop and set the layer modes to ‘Lighten’ which combines all the images and only keeps the lightest part of the images.

In hindsight I wish I shot for another 90 minutes to capture more of the star trails but with episodes of The Newsroom running low on my Nexus 7 (great show by the way!) and sitting alone in the dark I decided to call it a night with this being the final result. The beach is situated below the Great Ocean Road which created ambient light over the rocks and pylons which worked quite well.

Wye River Star Trails
Star trails at Wye River (90 minute long exposure)

Thanks

Apologies for the Great Ocean Road and Great Otways National Park image overload!

If you’re ever down this way I’d recommend you make the trip down. Most flock down this way to see the 12 Apostles but I’d take your time driving down as there’s a lot more to see along the Great Ocean Road beyond the 12 Apostles. I do hope to photograph the 12 Apostles one day but for the moment other parts of the Great Ocean Road have me tempted to further explore.  Time to get another weekend organised I think…!

Hope you had a good weekend and thanks for reading.

– Alex

Posted on

Steel Wool Beneath the Stars – Post Processing Tutorial

Transparency in photography is something I’m big on. Some photographers like to keep their techniques and tricks to themselves while others are a little more open and happy to discuss.  I fall into the later group and am big on sharing with others. For me, sharing technique makes a good way of starting the conversation about how I personally do something which then allows for others to chime in with their opinion on how they approach it or do it slightly differently. Plus I can’t help but feel that being secretive wins you no friends in a digital world where it’s important to make connections with others.

Recently I was out shooting at Phillip Island with some fellow photographers (Ricardo Da CunhaTony Middleton and Michael Bates) playing around with some steel wool. It was only a few weeks back that I first experimented with steel wool photography when I put together this small guide on how to get started with steel wool photography. Eager to experiment I got in touch with Ric with the idea for a shoot and with Tony living in the area, both himself and Michael decided to join us.

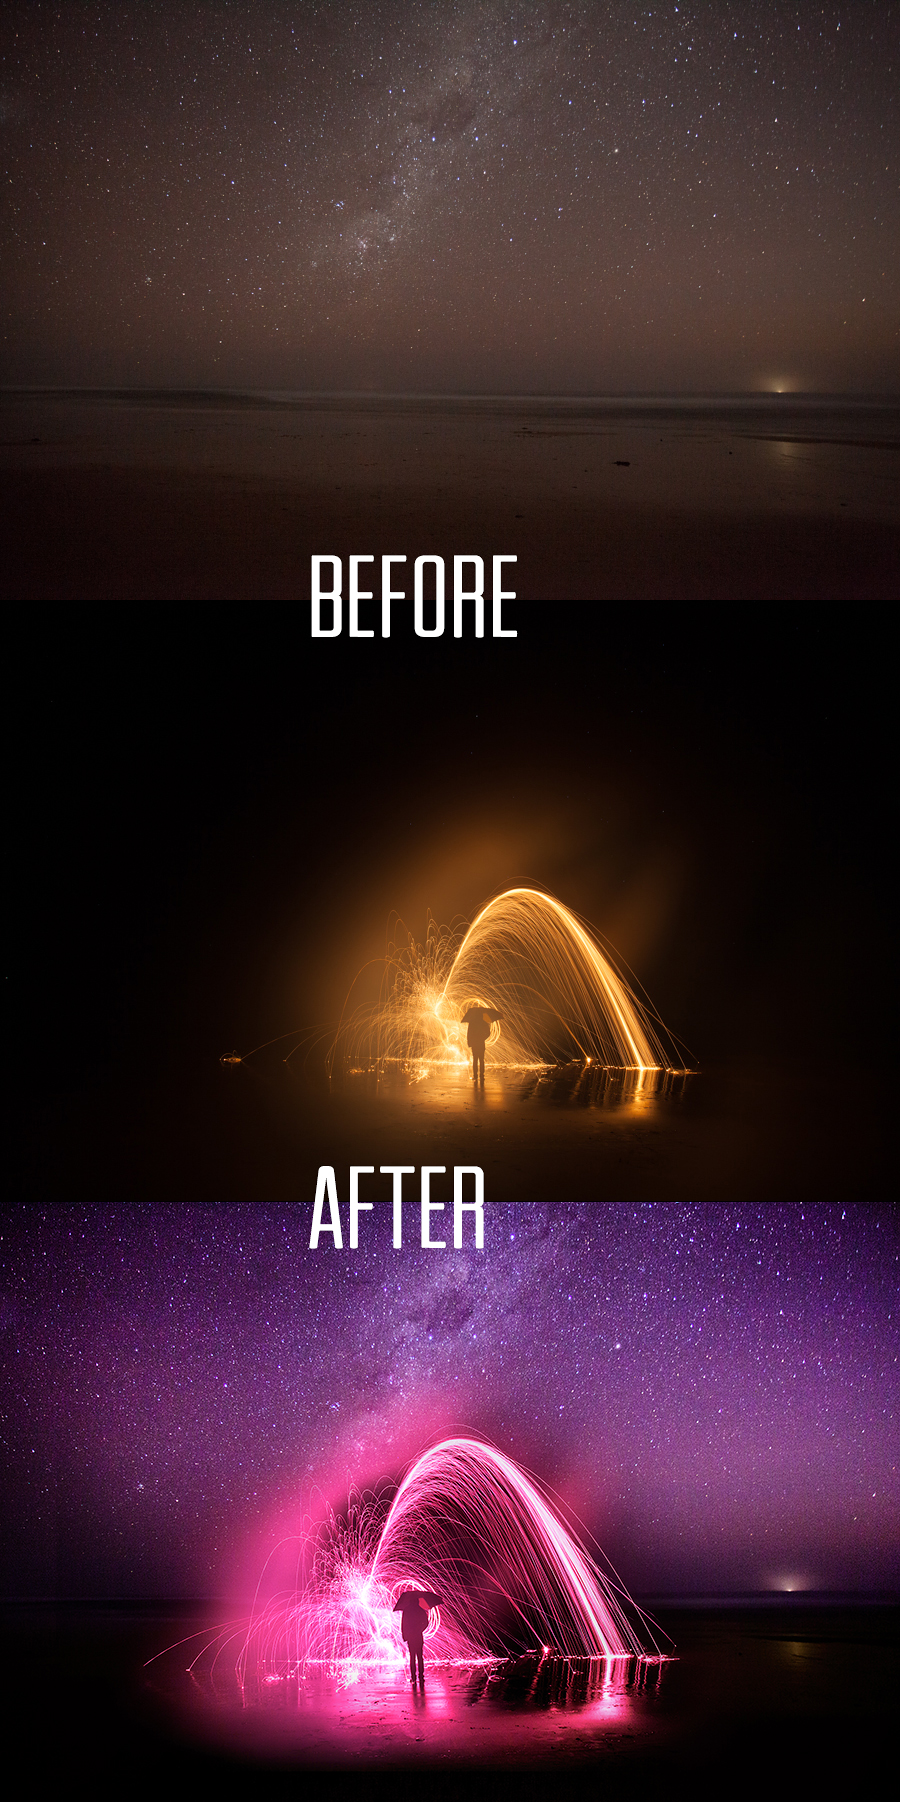
On the particular night it was a beautiful clear evening providing a great view of the stars. I was hoping to combine the two with the stars filling the top half of the frame and a steel wool long exposure at the bottom. Unfortunately after much effort it just wasn’t happening. One would over or under expose the other. It was a nightmare. Instead I opted to bracket two frames. Something I don’t normally do as my Photoshop skills could be best described as awful. So I took a frame of the stars and then another of the steel wool. Ric stood underneath an umbrella while Michael waved steel wool from above. It worked out great even if it did burn a few holes in his jumper… Oops.

So to get started let’s look at the two before images which are captured straight out of camera and then the final image which shows both images combined. It may not be to everyone’s tastes but at the time of shooting was how I envisaged the final image to look.

IMG_8339 - Copy

Editing Process

I’ve re-created the processing used for the image in a video below. Feel free to watch as it shows the edits I made in Lightroom and then the edits made to combine the two images in Photoshop. But for those unable to watch the video I’ll do my best to explain the steps taken to get the final image below.

Lightroom

Where possible I try to make 99% of my edits within Lightroom leaving only minor edits that I’m unable to make in Lightroom for Photoshop. The editing process within Lightroom included the following edits:

  • Both images had the tint heavily increased towards the pink end of the spectrum
  • Purple split toning was applied to the highlights of the steel wool image
  • Tighter crop of the steel wool was used due to there being too much wasted space which wasn’t needed for the blend
  • Hue adjustments made to the colours of the stars to bring out some feint blue
  • Curves adjustments made to both images (increase in lights & highlights with a decrease in shadows)
  • Hue saturation adjustments to the steel wool to tinker with the colour of the pink slightly
  • Adjustment brush used to under expose the land area of the star photo. This was mostly due to this part of the image being quite grainy and I thought by making it darker would allow for it to blend easier
  • Another adjustment brush was used for the steel wool photo to slightly bring down the highlights on the steel wool
  • Both images were exported

Photoshop

Both images were loaded into Photoshop with the steel wool exposure being overlaid to the star photograph. At this stage I positioned the photo in an ideal place and began to use the free transform tool to play around with the size and positioning of the photo. I aimed to have the person situated a little below the horizon.

Once the image was placed at a good level I created a layer mask on the steel wool image to subtly combine the image with the star image.  After this there wasn’t much adjustments needed other than dodge/burning around certain areas, pro contrast from Nik Soft applied and USM sharpening used to sharpen the final image.

For more information and to watch the process live see the video below for more information –

I hope this little Photoshop and Lightroom tutorial was of use for you. Apologies that the video is a little rushed but feel free to drop a line if you have any feedback or have any questions about the techniques used in the clip.

Thanks,

– Alex