[/twentytwenty]
Dragon’s Head is located at Number Sixteen beach, Rye, Victoria and has been on my to do list for a while now. A few months ago, I finally got around to shooting it with an early start for a sunrise shoot. Having not been to the location before, walking out the rock ledge, dodging the little rock pools and trying to find a good angle of the ‘Dragon’s Head’ without taking an accidental swim made for a rather different but enjoyable way to start my Saturday morning.
Finding an Angle
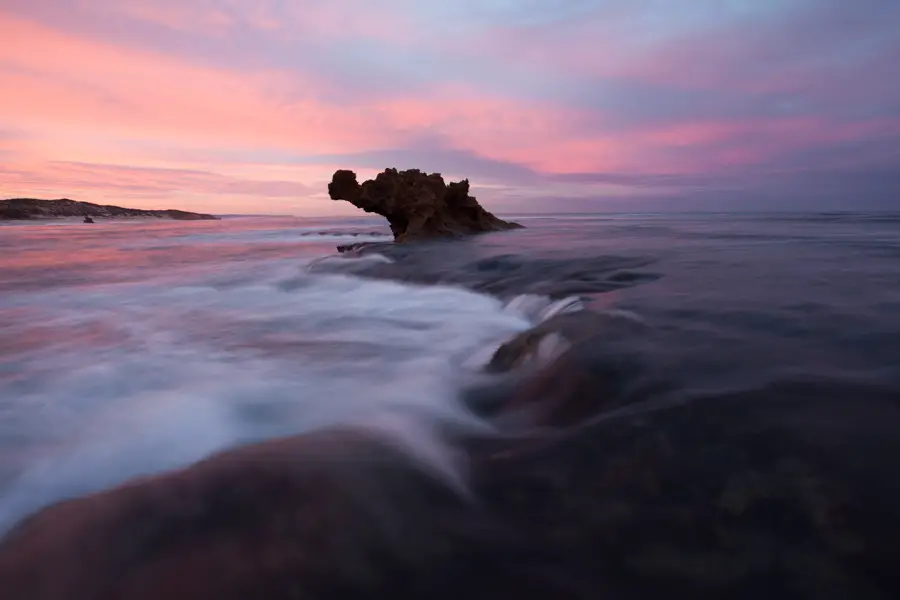
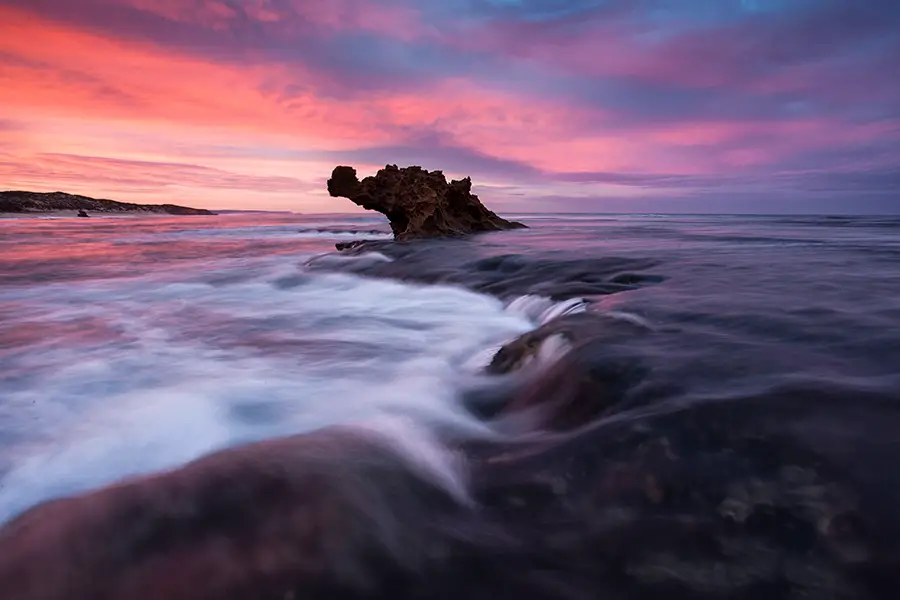
Composing my image I clearly wanted to make the ‘Dragon’s Head’ the key part of my image. But with this in mind, I needed some other things in the photo to balance the photo out and give it my own personal touch. That’s not to say someone before me hasn’t taken the exact same photo but I needed something more than just a photo of the object. For this reason I opted to use the water cascading over the small rock ledge as a foreground element and leading line to the Dragon’s Head. Getting this angle required me to get low and a few attempts until the right surge of water came across (and a few yanks of the camera to safety.. Crisis averted luckily ;)).
In person, Dragon’s Head is actually quite small, so much so, it took me a bit of stumbling around in the dark with the head torch to actually notice it. For this reason, I really had to leverage traditional composition techniques by using a leading line, in this case, the water cascading over the rock ledge to lead the viewer to the rock. I think it worked well but I’d be keen to hear otherwise.
Shooting the Image
The photo was shot with a Canon 5D Mark II, Canon 17-40 and Cokin Z-Pro graduated filter with a 2.5 second exposure at F/16. Using the graduated neutral density filter was useful for holding back the sun rising to the left of the frame which would have otherwise created a partial highlight in the left of the frame. Through using a graduated neutral density filter for this part of the shot, this allowed me to not get any highlights in my sky while maintaining a good exposure of the bottom of the frame. I find this provides you with more of a neutral/flat look to your straight out of camera image but gives you a lot more space to work with when it comes to post processing the image.
Post Processing the Image
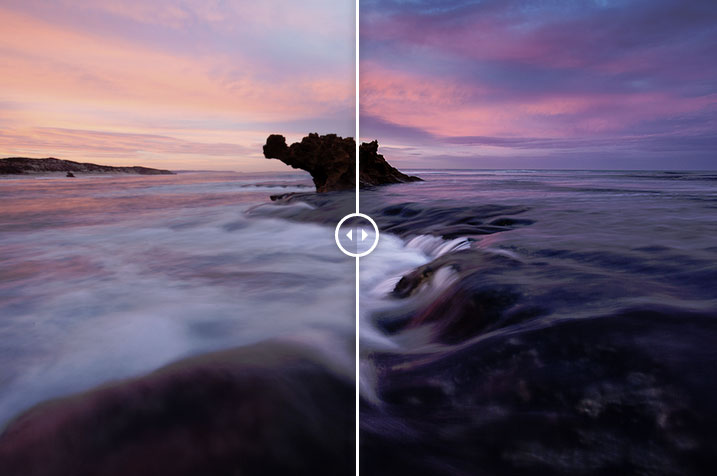
Working with a photo of a sunrise which doesn’t have any sharp highlights or shadows saves a lot of time when it comes to post processing. For this reason, post processing for this image of Dragon’s Head was processed in Lightroom and included:
- Straightening the image
- Applying a graduated neutral density filter in Lightroom to darken the sky and further bring out the sunrise colours
- Using the adujstment brush to paint over the Dragon’s Head and the bottom of the frame to make both appear brighter
- Simple curves adjustment over the whole image adjusting the shadows, midtones and highlights to give it a bit more of a punchy contrast
Without going overboard on an image that could have almost passed straight out of camera, that was the extent of the processing and that was that.
Thanks for reading and if you ever get a chance, be sure to visit Dragon’s Head down at Rye on the Mornington Peninsular on sunrise. A stunning place.
– Alex

