Posted on 11 Comments

The Magic Cloth Technique – DIY Graduated Neutral Density Filter

I came across the magic cloth technique a few years ago when researching graduated neutral density filters but never actually got around to trying it. Recently a friend linked me to the stunning work that Tony Brackley-Prower had achieved by using this technique and was itching to try. The technique is a DIY neutral density filter that costs you nothing to try.

What are Neutral Density Filters?

Most photographers (myself included) use neutral density filters when shooting seascapes. These filters normally come in a rectangle size with black/dark at the top and clear at the bottom. Photographers use these filters when there is different levels of brightness in a scene. This is common when photographing seascapes on sunset where the sky can appear slightly brighter than the surrounding foreground. If photographed without filters this can result in the sky being over exposed as the camera attempts to compensate the darker foreground. We use neutral density filters to avoid this problem by placing the darker part of the filter at the top of the frame to capture a more even and natural exposure. Most neutral density filters are expensive with a Cokin set and a Lee kit . I was curious to how the magic cloth technique would compare to these more expensive neutral density filters.

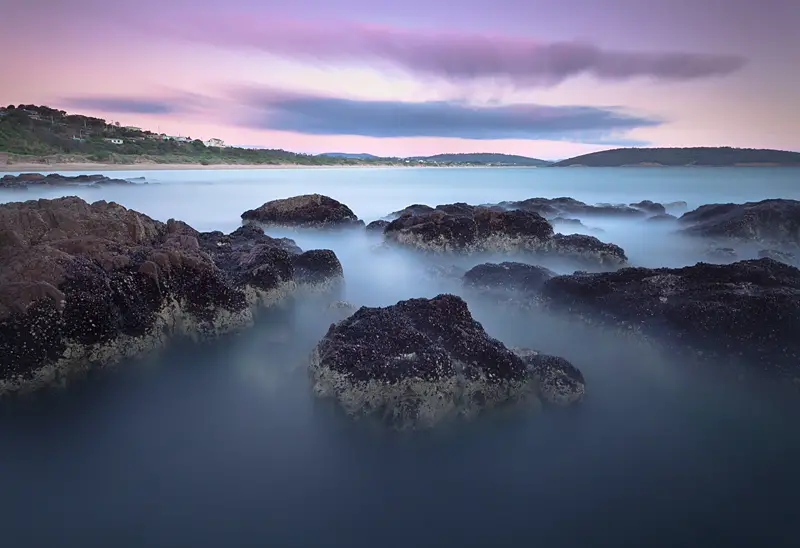
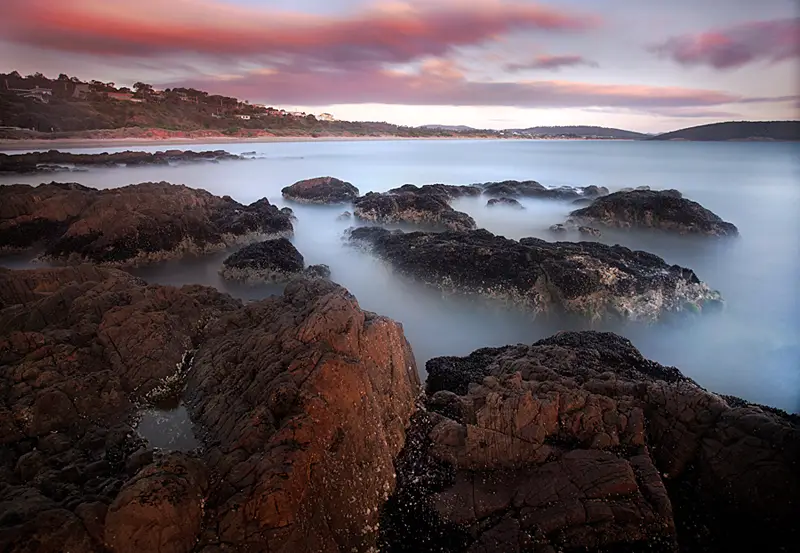
Fast forward to December this year when I was visiting family and friends in my home town of Hobart, I gave the technique a try at Park Beach with some long exposures.

Magic Cloth Technique

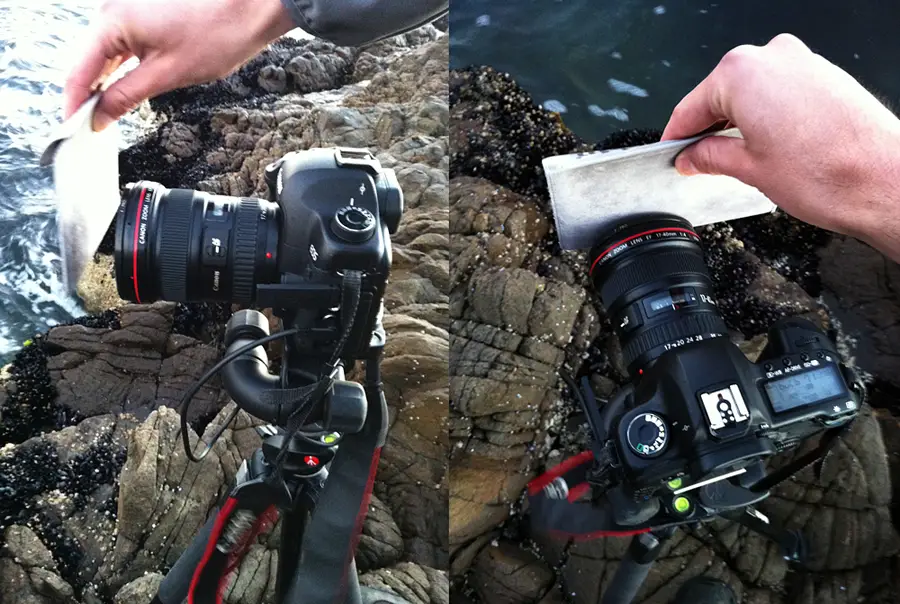
The technique is appealing as it’s so simple and costs nothing. No surprises that the technique is based on using a cloth or even as Tony suggests, you can also use a sock, wallet, or cap. Really the possibilities are endless but the most important thing is finding an object which you can easily hold over the front over the camera to cover a certain part of the image. Once you’ve found a suitable object to use for the magic cloth technique, you’re now ready. The technique is best used for long exposures as this gives you greater control and flexibility over the image.

It is suggested to meter the image in your camera around 2 stops over exposed when using the technique to get the best possible exposure. Begin by starting the exposure and covering the lens with the object. Over time, gradually move the object up (towards the sky or the top of the frame). The slower you raise the cloth results in a darker grad. In simple terms this means your sky will receive less exposure and be considerably darker. If instead you raise the magic cloth faster, this will result in a less darker grad and brighter sky.

And really that’s all there is to the magic cloth technique. Experiment with the technique and you will slowly get a feel for how it works and how it might be beneficial for certain scenes. Now that I’ve tried the technique with seascapes I’d love to try with photographing waterfalls up close to avoid sea spray going all over my lens and to capture greater detail of the surrounding foliage areas.

You might also be interested in my waterfall photography guide. A thorough guide that covers waterfall photography, the ideal weather, equipment you’ll need, visual examples of how shutter speed works and other bits.

If you’re new to long exposures, my guide on daytime long exposures might also be of interest.

Hopefully this was helpful! 🙂
 

Posted on 8 Comments

How to Photograph Waterfalls – Tutorial

Photography Tips: Waterfall Photography

Waterfall photography is one of my favourite styles of photography as it combines my love of nature and long exposures.  I’m a sucker for standing waist deep in a freezing stream capturing a photo. It’s strangely relaxing especially when you have a scene all to yourself. But enough jibber, these photography tips should help you with:

  • What camera settings to use for waterfall photography
  • Explain and show how shutter speed can affect your photo through visual examples of different long exposures
  • What equipment to use
  • My personal step by step process of setting up a photograph and the things I consider in terms of composing the photograph and how I decide on what camera settings to use
  • Working out ideal weather conditions for waterfall photography

Continue reading How to Photograph Waterfalls – Tutorial

Posted on 18 Comments

Guide to Daytime Long Exposures

A small buying guide and photography tips to assist you in making the right purchases to photograph daytime long exposures. Using strong neutral density filters will allow you to shoot 1-5 minute exposures during the day depending on the conditions. If you’re bored with photography, neutral density filters are a great way to rejuvenate your hobby and get passionate again.

Camera with graduated neutral density filters
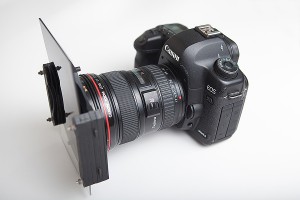
My day time long exposure setup consisting of a Canon 5D Mark II, Canon 17-40, B+W 110 and a Cokin Z-Pro Neutral Graduated FIlters

It can be rewarding but also sometimes challenging as you’re forced to look at a scene from the perspective of how a long exposure will transform it. This guide should help guide you on what equipment you will need if you want to shoot daylight long exposure photography and a few photography tips on how to calculate the long exposure shutter speed.

Continue reading Guide to Daytime Long Exposures

Posted on 6 Comments

Tips For Long Exposure Waterfall Photography

Hold up a second –  I’ve recently written a guide that explains waterfall photography in more greater detail. It explores the equipment needed for waterfall photography, visual examples comparing how shutter speed can affect the photograph, best weather for waterfall photography and other tips. You can view this other waterfall photography guide here.

I continually come across photographs of waterfalls and they seem to lack something. I wonder if the owner just doesn’t understand what their camera is capable of or they just don’t care. But anyway I wanted to note what natural resources I rely on (such as weather) but also the technical aspects such as shutter speeds. I just find it amazing that people come across waterfalls with such potential and if they just took their time for a extra minute then I think the shot would be of much higher standard. Anyhow here are a few beginners photography tips which might help.

When shooting landscape photography, not only does the location play a important factor but the weather and time of the scene must also be taken into account. For waterfall photography, I find the weather to be a very important factor, this comes as it can ensure that the exposure is good which contributes to the final shot.

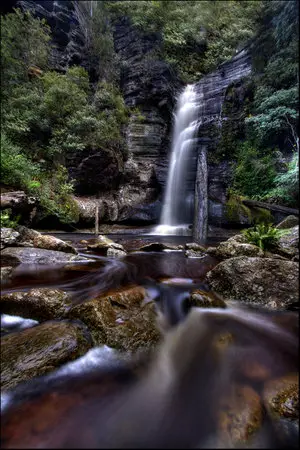
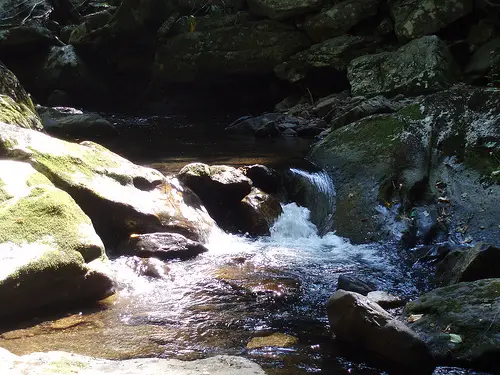
My favourite weather for shooting waterfalls is a overcast sky with patchy showers. The reason behind this comes as a result of the highlights which a clear sunny day may create when shooting. As you will be aware, most waterfalls have many surrounding trees which with a sunny sky can contribute to highlight around the scene. This in turn means that when attempting to take your shot, the end result will have patchy bright areas around the scene which aren’t exactly appealing. Also, when the weather is sunny and there is more light available this means that it’s difficult to use slower exposures to create movement in the water. So if you have the option and can be selective with when you are planning to shoot a popular waterfall, hold back for a overcast day. Here are a couple of examples of what I’m getting at and you can decide yourself which looks better..


Highlight

Thanks Flickr


2

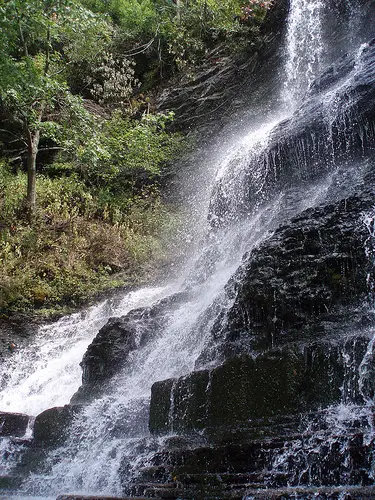
Another important part of shooting a waterfall is the exposure time. When shooting waterscapes at the beach I’m careful not to sometimes shoot exposures that are above 3-5 seconds. This is because an exposure of 20 seconds creates a completely different image which a 3″ second exposure may create. For waterfalls this isn’t as much the case and the only thing which puts me off a long exposure is that trees may move during the exposure and create a blur. This is usually fine if they aren’t even at the viewers attention but are something just to take into account because although the long exposure is good for the water to create an effect, you must carefully manage your other areas of the scene. I increasingly come across people who take pictures of waterfalls and just use a high shutter speed. This is fine and that’s your decision but I find adjusting the shutter so it’s relatively slow (say 0.3″ seconds) can make quite the difference. Obviously this requires a tripod but is well worth the extra weight you may have to carry in.

quickexp

Thanks again flickr

snug falls

So just in a nutshell for anyone starting out doing long exposures, set the camera into a shutter priority mode and set the speed to around 0.3″+ seconds and slowly play with it until you end up with a image your happy with. Initially you might be faced with an over exposed (bright image) which may mean you will have to fasten the shutter up a bit. If you just can’t get the shutter slow enough to create a blur in the water then I recommend neutral density filters.

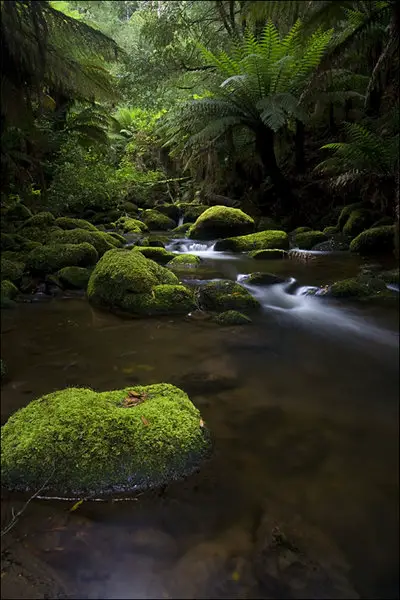
In terms of composite of waterfalls, that’s something which you can’t really teach someone as we all have our own way of taking a photograph. Personally I like to frame the shot so there is something in the foreground such as rocks and then have the waterfall in the background. This is good as it not only creates a bit more interest to the viewer but also forms a different perspective to the average post card image.


stcolumb

Hope that helps with your future endeavours. I’m by no means a expert at photography but these things are so simple, abide by them and you will be rewarded.